
Watch how to use an overlocker sewing machine with our video guide
Are you new to using a sewing machine? Then you'll need to learn some basic sewing techniques before you start your first sewing project – including how to use an overlocker sewing machine.
An overlocker, sometimes referred to as a serger, is a machine that uses several threads and two needles. They trim away excess seam allowance and frayes as they sew. They are great machines to invest in as they can give a really professional finish to your handmade clothing, and they help protect the edges of the fabric fraying from washing and general wear and tear.
Overlockers are used by sewists wishing to keep their woven makes neat and also for sewing knit and jersey fabrics. The combination of the threads means that the stitching can stretch with the jersey and can be used in replacement of a basic sewing machine to sew most of the garment together.
Here we take you through the step-by-step of how to use your overlocker sewing machine – from threading your overlocker to working your first stitches.
Top tips for before you start
Check your machine’s instruction manual. Each machine has a slightly different layout, and all have great manuals to guide you through threading up. If you are just beginning, or your machine is new, then it’s worth taking the time to read through and familiarise yourself with the components, components and names of parts.
Make sure you know how to change your thread. Threading up overlockers can be tricky, but they usually have great guidelines to follow both within the manual and thorough diagrams printed onto the machine.
Most overlockers need four spools of thread. Baby overlockers use five, so make sure you have enough for getting started. Always use a good quality thread for your sewing projects. They need to be on a spool and big enough to fit on the machine. Gutterman, Coats and Mettler are all good options.
How to change your threads
At Prima we love a little time-saving hack, and this is a great way to save time when changing the often dreaded overlocker threads!
Step 1
Snip the threads of each spool close to the spool itself and remove. Place your new spools on the spool pins and using a fair amount of slack and tie the previous thread to the new thread with a small knot for each of the four threads.
Step 2
Gently pull the threads though from the needle plate (making sure the presser foot is up and the thread tension is loose by turning the hand wheel on the left a little.) Trim the threads so you can clearly see the four threads separately rather than stitched together.
Step 3
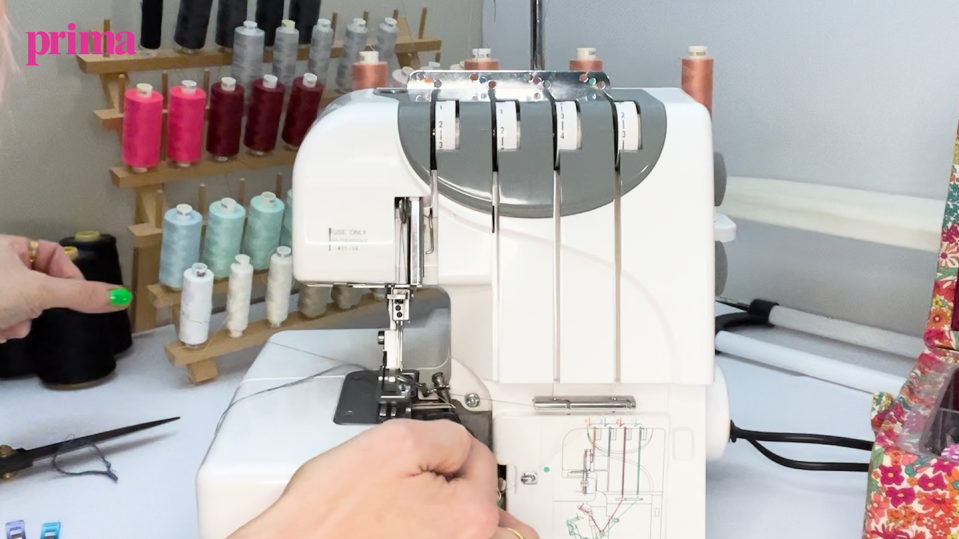
As you pull through the threads you will see the knots making their way through the machine. The two right hand side threads (the upper and lower looper threads) will pull through all the way, just be mindful to pull gently, don’t use any force.
Step 4
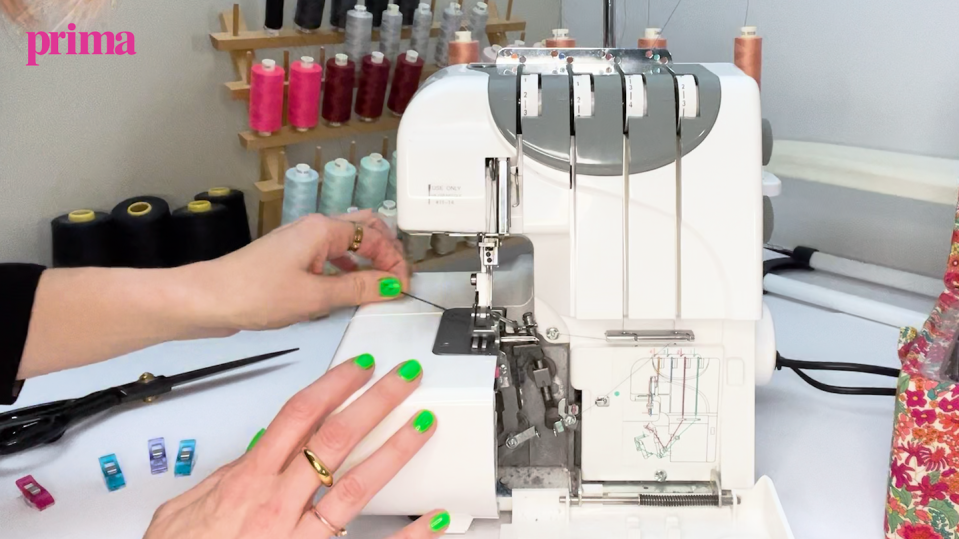
The two left hand side threads (the right and left needle threads) can be pulled through to the needles at which point snip either side of the knot and pull through the last of the previous threads from the needles, then thread through the new threads accordingly.
Step 5
Gently press the foot pedal down and pull threads through – they should start to create the chain.

How to use an overlocker sewing machine
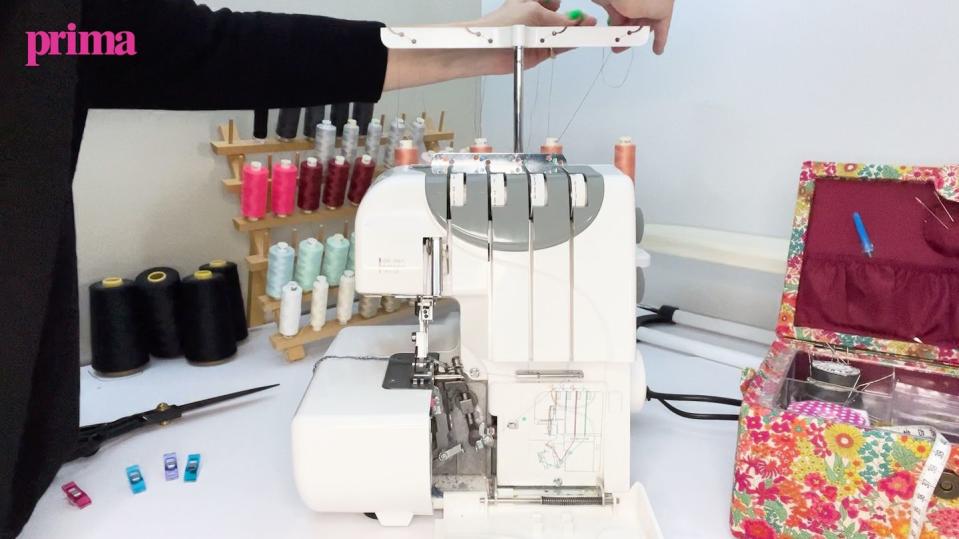
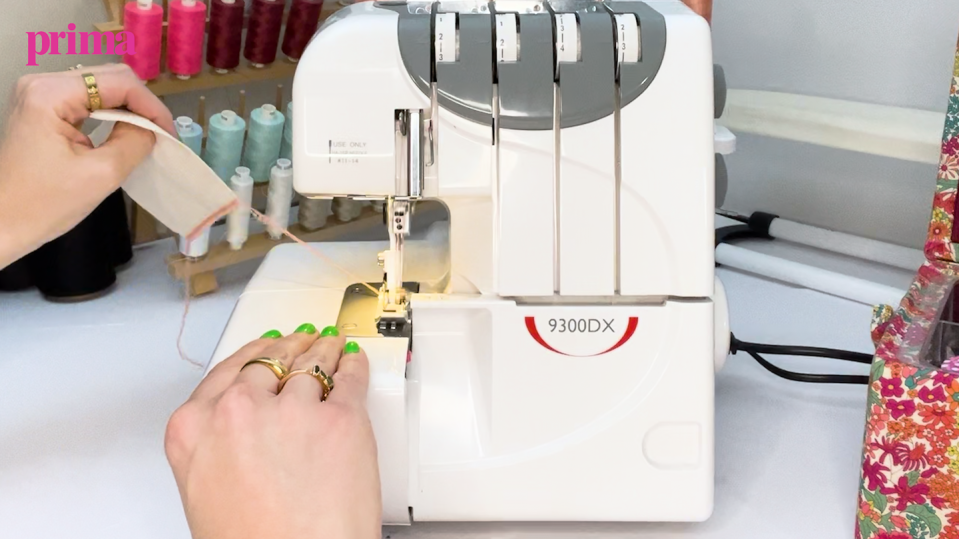
Below you will find your step-by-step guide to using your overlocker, this photo shows you the key areas we will focus on.
Step 1
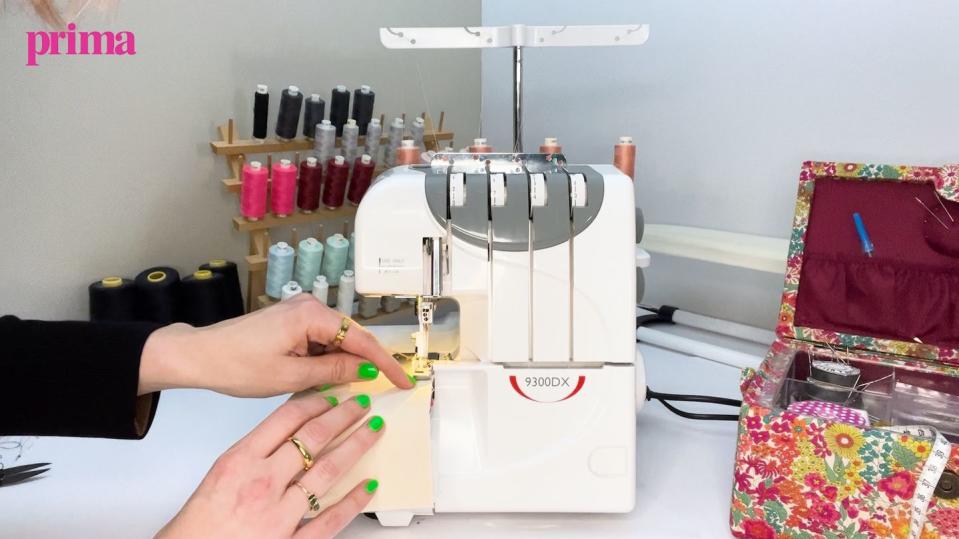
Most fabrics can be overlocked with all four tension dials on number 4, however once you’re ready its worth checking your chosen fabrics again with scraps in case the tension needs adjusting. There will be thorough guides in your manual.
Step 2
Insert your fabric under the toe of the presser foot lining up the edge of the fabric with the seam allowance guide. The overlocker will trim off any excess seam allowance. Pull the hand wheel gently towards you a couple of times to see the stitching and check the thread chain.
Step 3
Gently push your foot down on the foot controller to start sewing. The lighter the press the slower the machine goes, the heavier you press the faster the machine goes. Guide the fabric through the machine in the desired direction.

Step 4
When finishing each seam continue to run the machine to create a thread chain approximately 5 inches long. Pull gently towards the back and use the thread cutter to cut off. Always leave at least 3 inches of thread chain on the machine, as threads can easily get tucked back into the machine when sewing and tangle up in the machine.
Happy sewing!
Do you love crafting? Share your creations with us by tagging @primamag in your pictures on Instagram!
You Might Also Like

