
How To Remove The Bones From Chicken Thighs
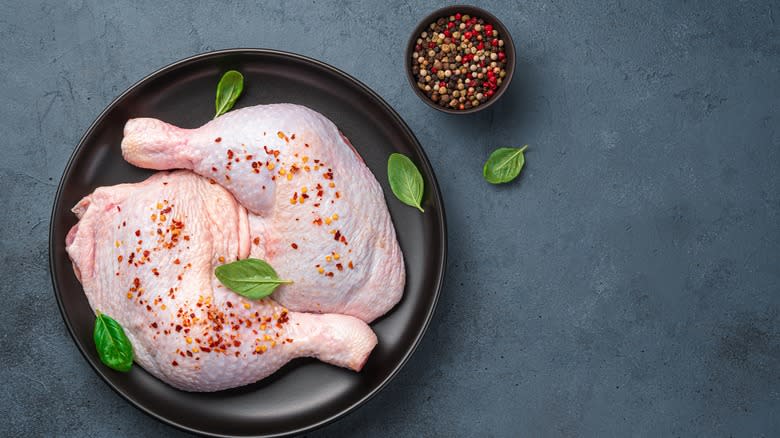
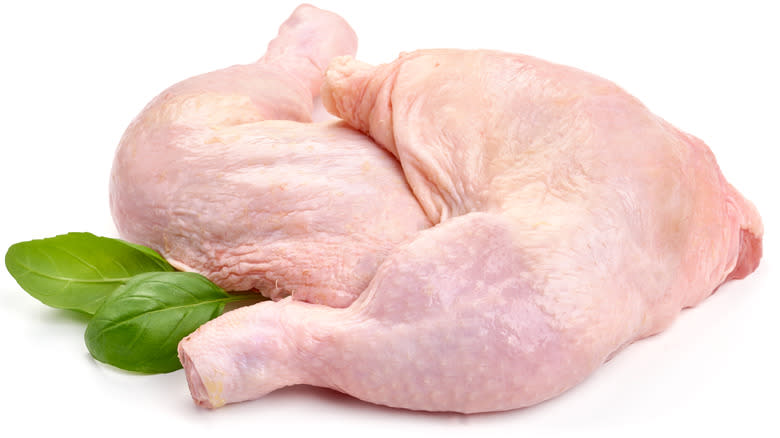
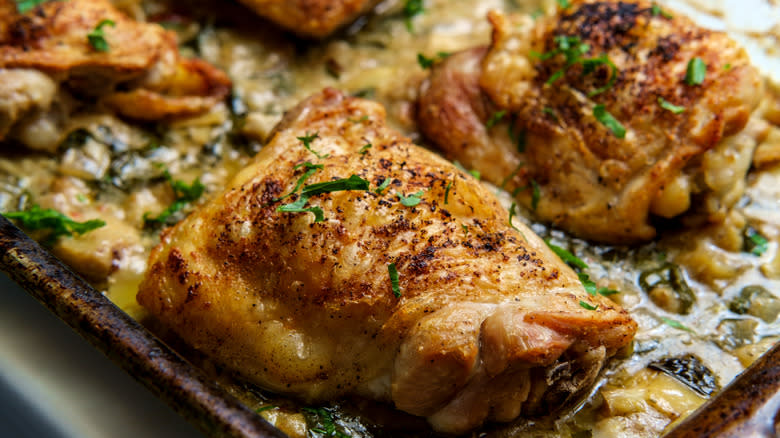
If you're craving a flavorful piece of chicken, ditch the dry, overcooked breasts and get some bone-in chicken thighs. Their dark meat has more fat and connective tissue than white meat, which makes them more tender and juicy. Also, unlike breasts, you don't have to worry about thighs getting dried out and stringy. While breast meat turns to leather if you let it go one degree past 165 degrees F, chicken thighs are hard to overcook, retaining their flavor and texture all the way up to 195 degrees F.
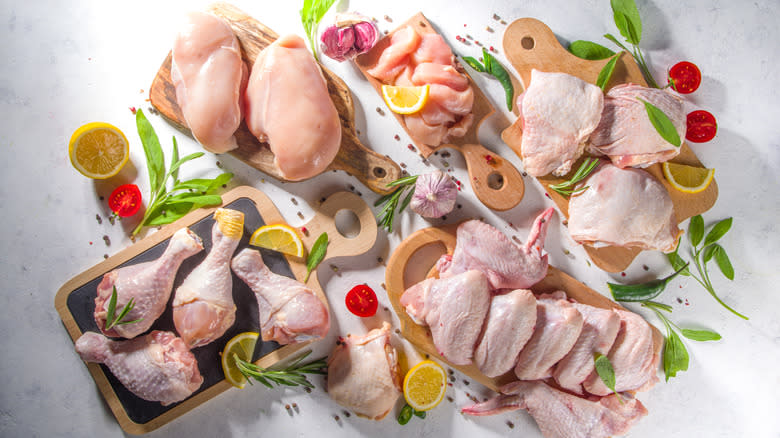
You've probably grabbed a pack of boneless, skinless thighs at the grocery store. They're easy to find, super convenient, and cook quickly. But if you want to improve your chicken game, pick up some bone-in thighs, leg quarters, or a whole chicken next time you're at the store.
Why? Well, for starters, you'll save money. When you buy boneless, you're paying extra for the convenience of having someone else process it for you. The less work the butcher has to do, the less it costs you per pound. On average, whole chickens and leg quarters cost a dollar less per pound compared to boneless, skinless thighs. You can save money by doing some or all of that work yourself. Plus, you can cook with more flavorful, harder-to-find cuts, like a boneless thigh with the skin on. Ready to level up your knife skills? Here's how to remove bones from chicken thighs, step-by-step.
Read more: The 20 Best Olive Oils For Cooking
Deboning Whole Chicken Vs Leg Quarters Vs Bone-In Chicken Thighs
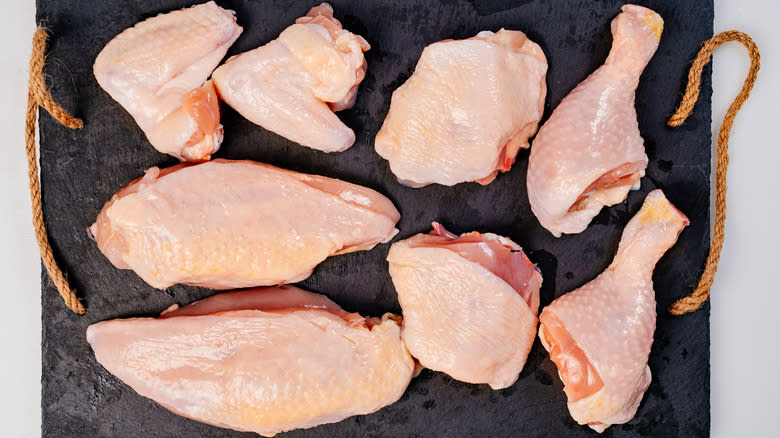
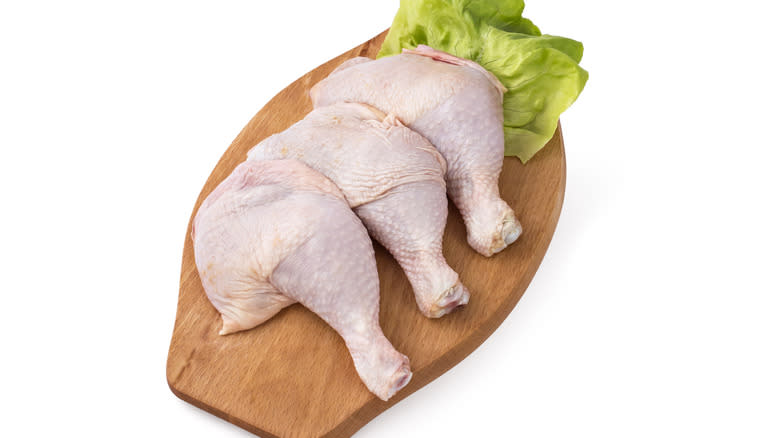
Next, consider whether you want to start with a whole, unbutchered chicken, partially butchered leg quarters, or bone-in thighs. A whole chicken is the least expensive option per pound, but you'll have to butcher the whole chicken yourself first. Depending on your skill level, this may be a more time-consuming task than you want to deal with, but you'll have a whole carcass left over for stock.
On the other hand, if you're cooking for a crowd and need a whole bunch of thighs, it might make more sense to save time by buying partially butchered leg quarters. After all, it's easy to save and use a lot of drumsticks, but you can quickly end up with more breasts than you want to deal with if you butcher multiple whole chickens. Of course, you can always go with bone-in thighs and save yourself the extra time and effort of breaking down larger chicken parts. There's absolutely no shame in making things as easy as possible for yourself, especially if you're in a hurry.
The Tools You'll Need For Deboning Chicken Thighs
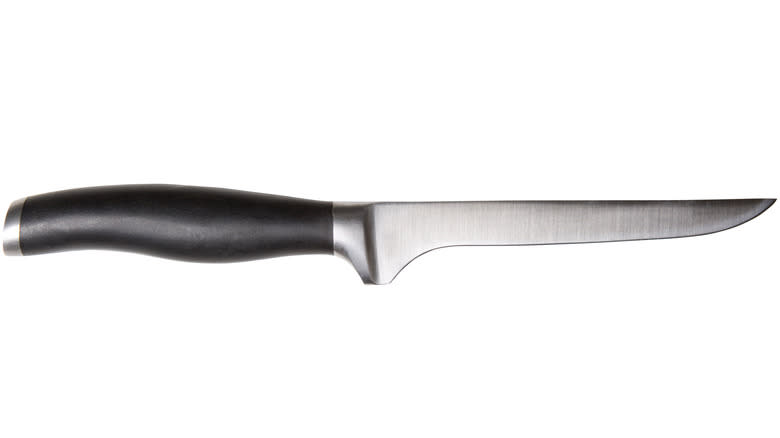
To get the most meat possible out of your bone-in chicken thighs, you'll want to start with a sharp boning knife. Boning knives, as their name suggests, are designed for removing bones from meat, and you'll find no better knife for the job. They're long, slender, and a little flexible, which makes them perfect for getting as close as possible to the bone to peel away the meat.
If you don't have a dedicated boning knife, that's okay! A paring knife, utility knife, or any other slender, non-serrated blade will work fine to remove chicken thigh bones. Just steer clear of larger chef's knives, cleavers, and santoku knives, as they're too heavy and unwieldy for the delicate job. Regardless of which style you choose, be sure to sharpen your knife before you start. This results in neater cuts that will help you get the bone as clean as possible, preserving more delicious thigh meat.
Another tool you'll need for butchering chicken thighs is a non-porous cutting board, such as one made from plastic or composite material. While you can use a wooden cutting board, it will take significantly more attention to sanitize it than materials that are less likely to retain bacteria. You should also consider a pair of disposable, non-latex gloves as well, a separate plate or tray to place your butchered cuts on, and a separate pot for the bones.
How Long Does It Take To Remove The Bones From Chicken Thighs?
Removing the bones from chicken thighs takes a little longer than buying boneless, skinless thighs at the grocery store, but it's worth the effort. Depending on your knife skills, your first thigh might take up to five minutes to debone, but once you're familiar with the motions, you'll quickly become more efficient at the process and soon be able to remove the bones from chicken thighs in about a minute per thigh.
Likewise, finding the right spot to cut the joint and removing the oysters from chicken leg quarters may take a couple of minutes the first time, but it should take less than a minute per leg once you get the hang of it. (And when thinking about the time it takes, remember that every cut does double duty, giving you bone-in thighs and drumsticks.)
Breaking down an entire raw chicken takes the most time but gives you the most bang for your buck. The first time you butcher a chicken, it may take up to 10 minutes, but you can get it done in five minutes or less once you know what you're doing.
What To Know Before You Start
One often overlooked thing to know before butchering is that it's possible to have knives that are too sharp. You want your knives to be sharp but not so sharp that they tear through the meat, hit the cutting board, and ricochet in a different direction. A skipping knife can be dangerous. It can also lead to chips or knicks in the blade, reducing the quality of your tools.
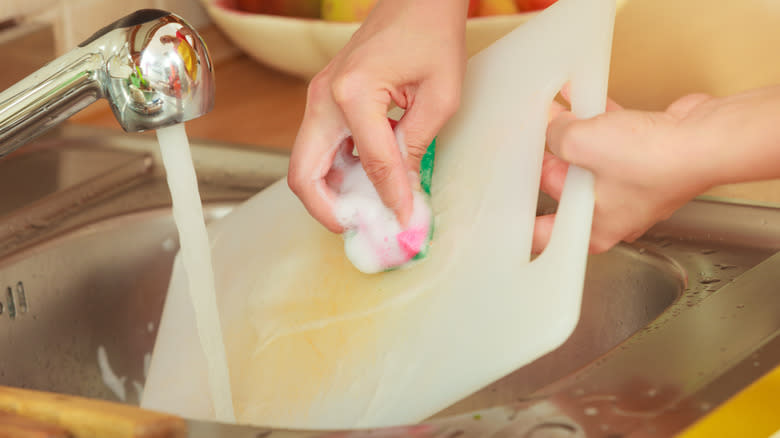
Another consideration for deboning meat is the potential for spreading bacteria. Although it's a controversial topic, it's not recommended to wash chicken, as this can spread bacteria unintentionally. Still, if you insist on doing so, consider your faucet pressure and height. Since contamination is always possible when cutting raw meats, you should be aware of the proper methods for cleaning up after cutting raw meat. Make sure that you use a separate side of the sink to clean your tools (if possible). The water you use to clean should reach 150 degrees F, and your tools should be exposed to it for five minutes in order to neutralize harmful bacteria.
A final consideration before you start deboning chicken thighs is to always keep the carcass and bones. They can make the foundation for stocks, demiglaces, and sauces. If you're cutting leg quarters or deboning only the thighs, freeze them until you have a large enough quantity to work with. Should you throw them away, you're tossing money in the bin as well.
Separate The Thigh From The Drumstick
To get bone-in thighs from leg quarters, start by separating the thigh from the drumstick at the joint. To do this, fold the drum toward the thigh with the joint facing up (like you're bending the knee or squeezing one of those old-fashioned hand exercisers), and look for a slight depression in the joint. With your knife, make a small incision through the meat in this depression to open the joint. Then unfold the leg (like you're extending it), put the knife in the incision you just made, and slide the blade all the way through the joint to separate the thigh from the drum.
You can add the drumsticks to your thigh recipe for a kid-approved dinner variation or save them for later. If you want to keep them, package the drumsticks in a zip-top freezer bag and pop them in the freezer until you're ready to use them. When you've saved enough, fry, grill, or bake them and serve them up as chicken wings.
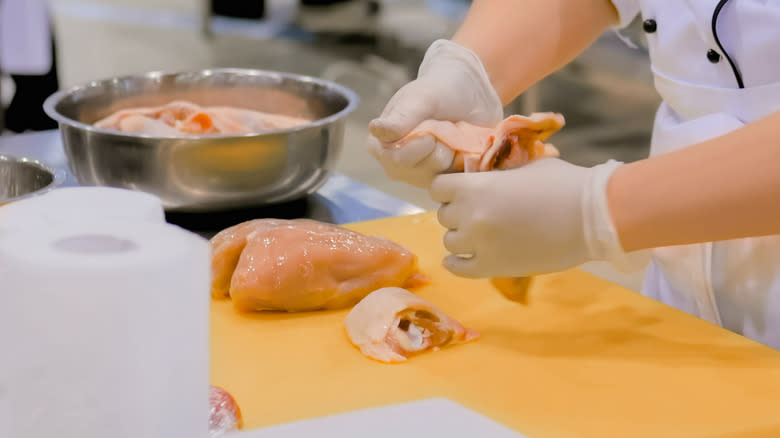
Use The Tip Of Your Boning Knife To Start Separating Meat From Bone

Whether you've started with a whole bird or partially butchered leg quarter, when you're down to a bone-in, skin-on thigh, you're ready to remove the bone from the chicken thighs. Pat the thigh meat and skin dry with a paper towel. This makes it easier to hold onto, reducing your risk of slipping and accidentally cutting yourself. Then flip your thighs so the skin is on the cutting board and the bone is facing you.
Next, spread the thigh open with your fingers and locate the bone under the meat. Use the tip of the knife to poke at the meat alongside the bone, making a straight line of shallow cuts until you reveal the bone. Starting at the top of the thigh and working your way to the bottom, carefully peel the meat away using a poking motion and making shallow cuts close to the bone. Don't try to cut too deep -- think about cutting thin layers of meat away from the bone a little bit at a time. This will help you get more meat off the bone than a long slicing motion would.
Follow The Curve Of The Bone
Continue making short, shallow incisions, working your way around the curve of the bone to get as much meat as possible. When you get to the bottom of the bone, be careful not to cut all the way through the thigh to the cutting board -- you don't want to slice the whole thigh in half! Instead, follow the curve of the bone and use the tip of your knife to get the meat off the underside, stopping when the bone curves back up to the other side.
Then, rotate the cutting board 180 degrees so the top faces you, and repeat on the other side. This time, when you cut the meat from the underside of the bone, you'll eventually connect with the incision you made on the other side, and the entire length of the bone should come free from the meat. If there's still some meat attached to the ends of the bone, use the same short, shallow incisions with the tip of your knife to separate it the rest of the way, leaving you with a boneless chicken thigh.
Repeat with each bone-in thigh. Collect the bones in a zip-top bag and store them in the freezer to make chicken stock later.
Remove The Oysters
One of the many benefits of butchering your own chicken is that you get to enjoy a sought-after bit of meat that you'll never see on store-bought boneless, skinless thighs -- the oysters. These tasty little morsels are sometimes called the "chef's treat" since the chef often keeps it for themselves back in the kitchen rather than serving it to the guests. The French know the oysters as "sot-l'y-laisse," which translates to "a fool leaves it there," and you're no fool, so don't leave them behind!
You'll just need a little extra patience while butchering your chicken. Turn your bird breast side down and look for two round lumps of meat under the skin near the tail end of the spine. When you slice open the skin and meat on the groin side of the thigh, slow down as you approach the spine and poke the tip of your knife under this lump. Then, slide your knife around the edge of the cup-shaped pocket of bone to scoop the oyster meat out, like shucking an oyster.
Depending on the butcher, you may be able to find oysters on partially butchered leg quarters, too. Look for a distinct bit of meat attached to the thigh skin furthest from the drumstick. If it's there, cut it free with a quick slice, season and sauce it with the rest of the chicken, then steal it for yourself when the cooking is done, before anyone else notices.
Leave The Skin On
Some people love chicken skin, while other people hate it. Whichever camp you fall into, consider leaving the skin on your thighs until after cooking. The skin helps keep the moisture inside the meat as it cooks, lending extra flavor to the chicken underneath.
If you still want to skin your thighs before cooking, look for a loose flap of skin around the edge of the thigh. Pinch the skin with one hand, hold the meat with the other, and pull to separate. Use the tip of your knife to cut away any stubborn bits.
You can also remove the skin after cooking -- it peels right off -- but consider serving it with the skin on instead. Contrary to popular belief, eating chicken skin is okay in moderation since some of the fat it contains is unsaturated. So leave it on for extra flavor and let your guests take it off if they want to.
To cook skinless chicken thighs with the skin on, lift the skin away from the meat and put your sauces and seasonings underneath. That way, if you remove the skin after cooking, you won't lose all that flavor with it. Add a few minutes to the recommended cooking time for skin-on chicken skin. While the skin doesn't stop the heat from reaching the meat, it does take longer to get crispy. Start and finish with the skin side up so all the delicious fats inside can melt into the meat.
Tips And Must-Try Recipes For Boneless Chicken Thighs
Most recipes call for either bone-in, skin-on thighs or boneless, skinless thighs, but you can use boneless, skin-on chicken thighs in any recipe that calls for chicken thighs. Why would you want to make the swap? For three main reasons — to save money, save time, or add flavor.
For example, if you're preparing a recipe that calls for whole thighs, you might remove the bones in the first place to save time. Since boneless thighs unfold to lay flat, they take less time to reach an internal temperature of 165 degrees F. Similarly, it can be challenging to balance thorough cooking with tender, juicy meat when frying chicken, but boneless, skin-on chicken is perfect for pan-fried chicken thighs, where the thinness again helps the deboned thighs to cook quickly and evenly. You can even make chicken thighs in the air fryer in as little as 20 minutes.
In contrast, you might buy bone-in thighs if you're working with a recipe that calls for boneless, skinless chicken. Bone-in thighs are often less expensive per pound, which saves you money, and cooking with the bone or skin adds flavor and moisture to the meat, even if you remove it before serving. Try it with these Middle Eastern-inspired maple-glazed chicken thighs or these grilled Mediterranean thighs. Once you can remove bones from chicken thighs, that knowledge will open up even more possibilities for culinary creativity.
Read the original article on Tasting Table.

