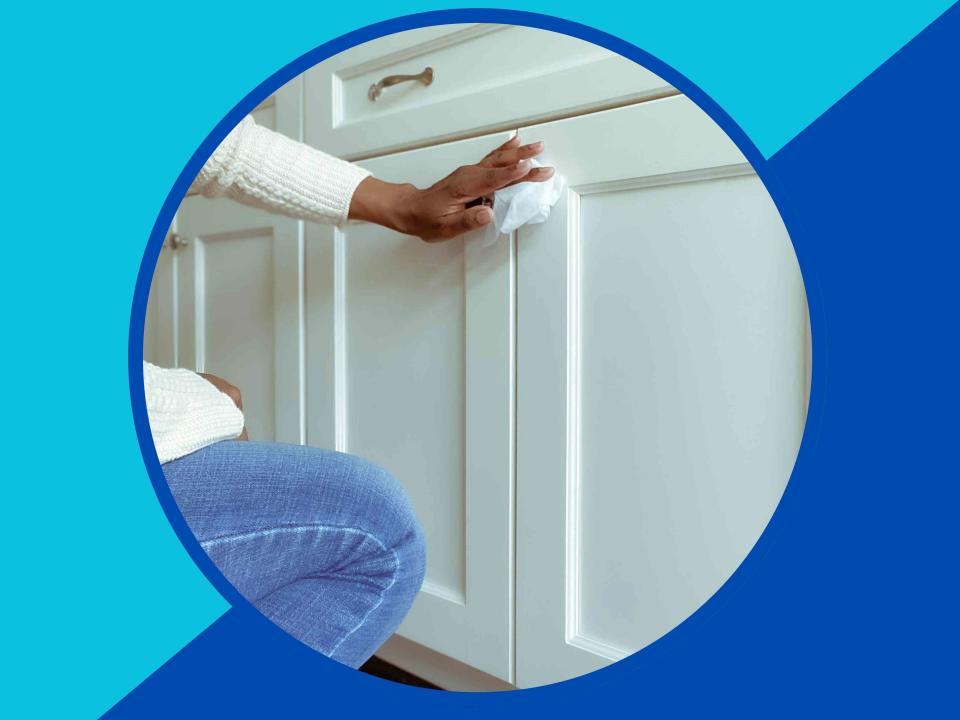
My Friend’s Mom Taught Me This Simple Cabinet-Cleaning Trick and It’s So Genius
It’s chemical-free and works like a charm.

Getty Images/Allrecipes
Many moons ago, I was at a friend’s house, and I walked into the kitchen to find her mom standing on a chair, completely in the zone deep cleaning her cabinet doors. She was a second generation Italian, and maintained a very strong sense of pride in keeping her home sparkling and spotless. Her mother from Italy was also sitting in the kitchen, supervising and nodding her head at this process. Being Italian and growing up in New Jersey, surrounded by Italian culture, it wasn’t uncommon to see generations of women deep cleaning their homes on a steady basis. If you grew up in, or have ever visited, an Italian-American home, you can probably relate!
These women always used simple, budget friendly, efficient methods to keep her home neat and clean, and were always happy and proud to share their wisdom. On this particular day, I noticed my friend’s mom using a tool of some sort to meticulously get into the sharp, tiny grooves on the square inserts of the cabinet doors. Always curious in the kitchen, I asked what she was using. Her mother took my hand in hers and responded in her beautiful Italian accent, “It’s the putty knife. All you need is the putty knife and a rag.”
How to Use a Putty Knife to Clean Your Cabinet Doors
What You’ll Need:
Paper towels
Lukewarm water
Putty knife
Two clean kitchen towels
Step 1: Prep Your Cabinets
Use damp paper towels to wipe down your cabinets before cleaning them with a putty knife to remove any surface level dust, grease, or food residue. While you’re at it, learn how to remove grease from your backsplash, too!
Step 2: Use A Clean Stainless Steel Putty Knife With a Thin Blade
If you are using a putty knife you already own, make sure there is no residual material left over from previous use, such as paint, plaster, cement, concrete, or of course, putty. The goal here is to protect and preserve, and any residual material runs the risk of scratching, leaving color streaks, or worse damage to your cabinets.
It’s best to use a stainless steel or high-carbon steel putty knife for this, because the damp towel will attach more securely when wrapped around. Thinner blades are better, because they can dig into those tough to reach cabinet grooves and corners.
Step 3: Prep the Putty Knife
Putty knives have sharp edges, as they are generally used for scraping and smoothing thick and sticky materials—so it’s important to be very mindful of this part of the process in order to prevent scratching or damaging your cabinets. You’ll need a clean kitchen towel that is absorbent, but not too thick, so you can cushion the edges of the putty knife without losing the ability to get into those tight, tough to reach cabinet corners.
First, run a kitchen towel under lukewarm water. Ring the towel out until it is damp enough that it won’t drip. Leaving the handle exposed, wrap the damp kitchen towel around the putty knife so that the scraper is completely covered. Tuck the corner of the towel in above the handle so it’s securely wrapped around the putty knife.
Step 4: Clean Your Cabinets
Run the wrapped putty knife along every ridge and corner of your cabinet inserts. Use gentle force to loosen dust and residue, but do not push so hard that it will remove paint or scratch the finish. If you have a lot of residue and dust accumulating on the putty knife, use your hands or a paper towel to remove and discard it before continuing.
As the toweled edges of the putty knife become dirty, unwrap the towel, and then rewrap it around the putty knife until a new, clean section of the towel sits on the edges. Repeat this as needed throughout the process. Learn how to degrease more kitchen surfaces here.
Step 5: A Final Wipe Down
Using a different, clean, slightly damp kitchen towel, gently wipe down the cabinet doors once more. This will remove any leftover residue or dust that the putty knife loosened, leaving you with clean cabinet doors that sparkle and shine.
Read the original article on All Recipes.


