
Make a beautiful layered snowflake Christmas card with your Cricut machine
Making your own Christmas cards is a lovely way to add a personal touch to your preparations for the festive period – and your Cricut machine is a great tool to use to get beautiful and professional-looking results.
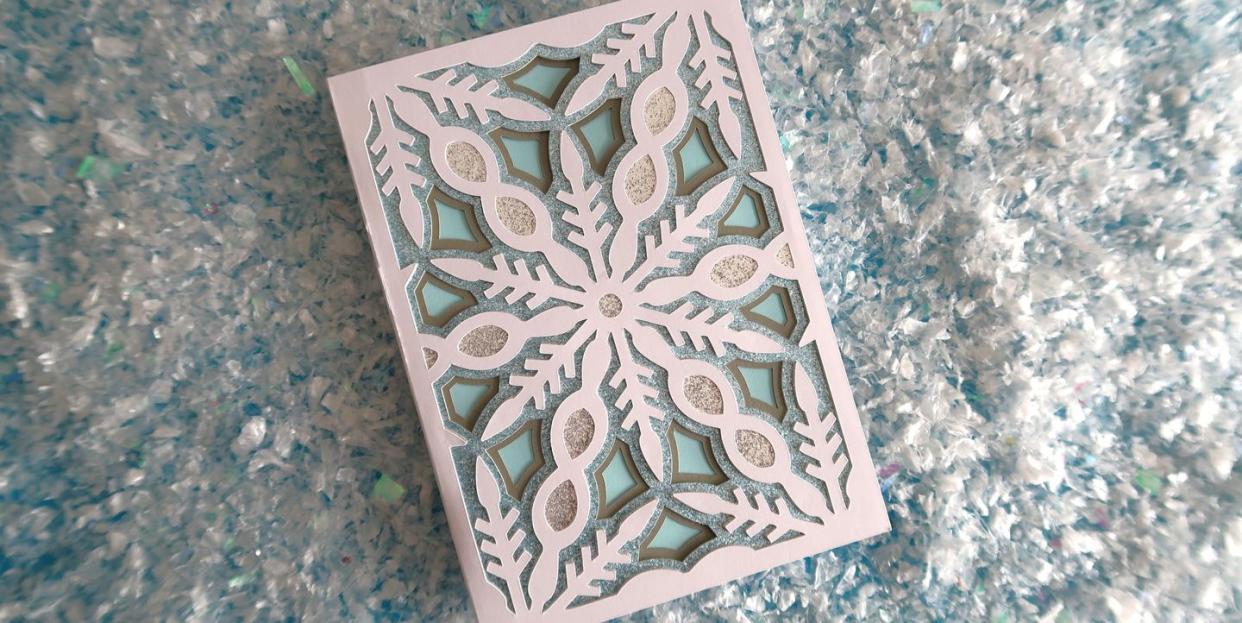
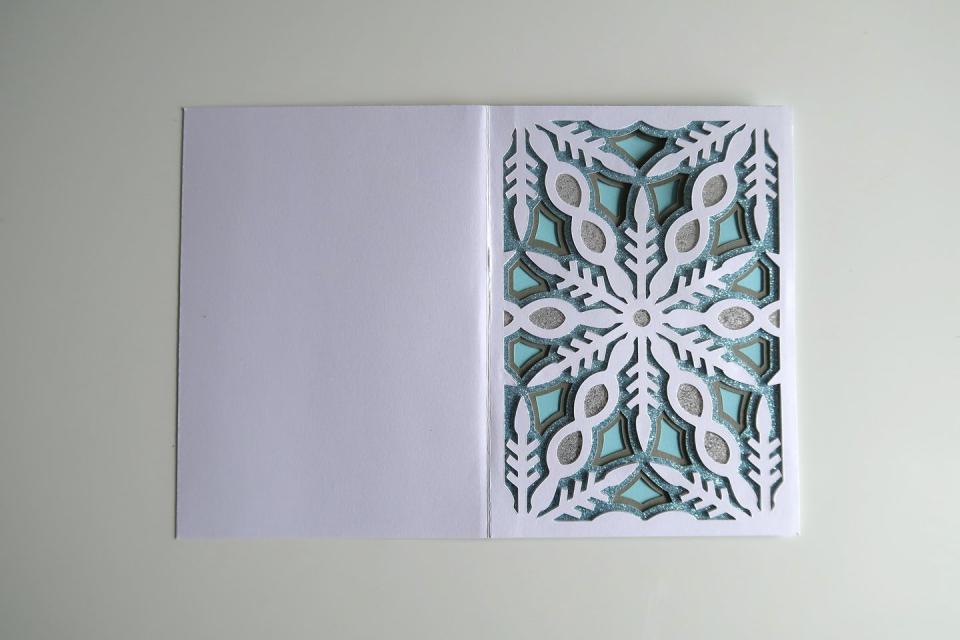
We've come up with a beautiful snowflake design to make your handmade Christmas cards really stand out. The design is compatible with a Cricut Joy, Joy Xtra, Explore or Maker – whichever machine you have will work perfectly.
This snowflake card is created by layering up sheets of coloured and glittered card. Make sure to leave some time for each layer to dry before adding the next one. We think this design works best with blue and silver-coloured card, for a snowy effect, but you can pick any colours you like.
Happy crafting!
Not sure which Cricut machine to buy? Check out our comprehensive comparison guide first.
What you need
How to make a snowflake card
Step 1
For this design we are using a Cricut Access template (Cricut Access Asset - #M4C66BF83). This template gives you all the cuts you need to make your card completely from scratch using just plain card and a Cricut machine so there is no need to use a blank greeting card.
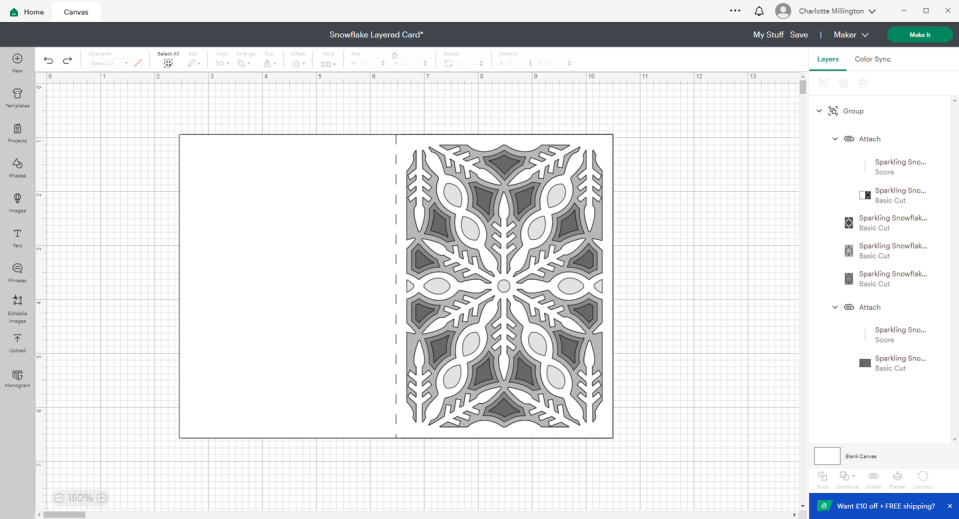
Step 2
Once you have the template loaded onto your canvas, you can click the ‘Make It’ button in the top right-hand corner of the screen. Follow the onscreen instructions to load up your Cricut mat with the corresponding colour of cardstock and set it to cut.
Once all of your card pieces are cut, you can start arranging your layered snowflake design!
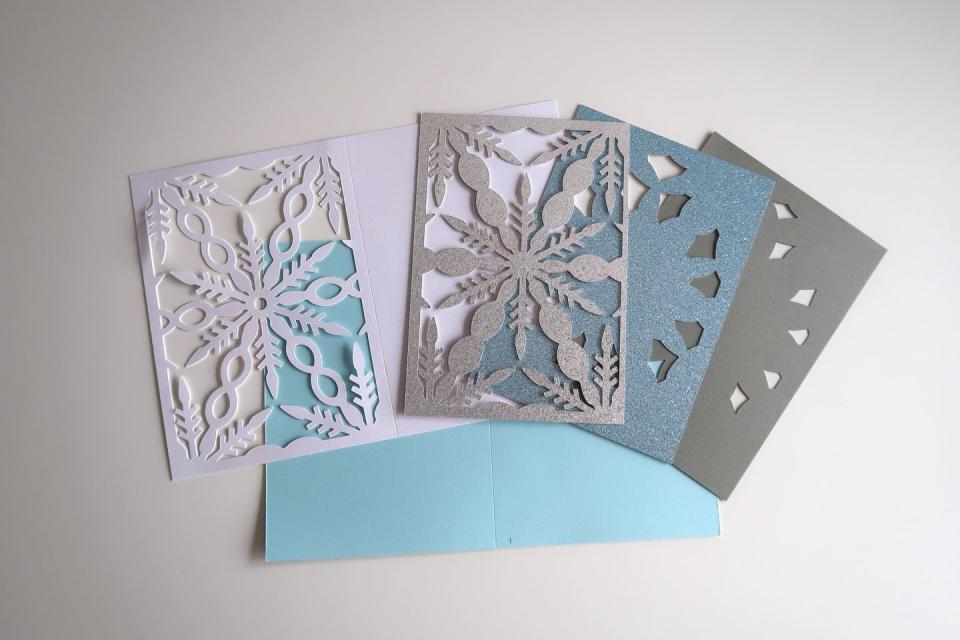
Step 3
This card is built up from back to front to create the 3D decoupage effect. Starting with the lining layer of the card. Glue your first layer of the design to this lining piece being careful to line up the edges fully.

Step 4
Carry on adding the layers, making sure to line up the edges of the card each time and give them some time to dry before adding the next layer.
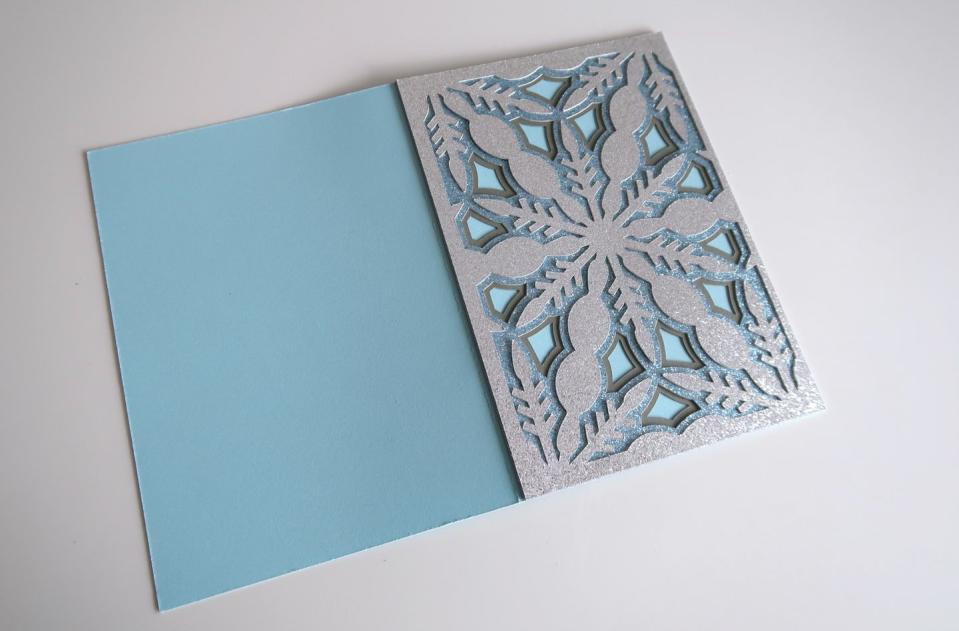
Step 5
When you get to the final layer of adding the white card front, add dabs of glue around the cutout design first and stick that side down. Once it is fully dry, you can fold along the crease to create your finished card.
Do you love crafting? Share your creations with us by tagging @primamag in your pictures on Instagram!
You Might Also Like

