
16 Hacks For Cooking With Sausage You'll Wish You Knew Sooner
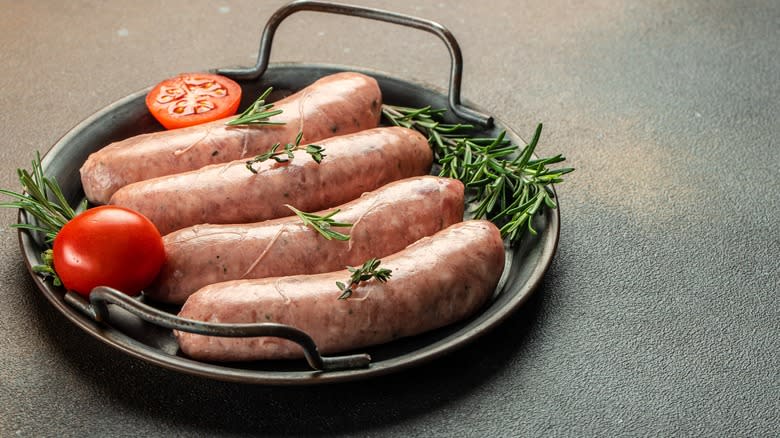
Sausages aren't complicated to deal with, right? Slap 'em in a pan, turn them a few times, and you're done. That's not entirely true. Sure, they began as a way to use up scraps and leftovers, and even in today's high-tech food processing plants, they still serve the same role. Yet, in their understated way, sausages are one of the greatest expressions of culinary ingenuity. Each one represents a carefully calculated balance of lean meat, fat, and seasoning, and as a former chef, restaurateur, and sometimes sausage-maker, I can personally attest to this. Getting the proportions right is what makes sausage-making so fascinating and so maddening.
Whether the sausages in your fridge are mass-produced commodities or hand-crafted artisanal masterpieces, they'll benefit from cooking techniques that preserve this balance. Good technique is what makes the difference between a sausage that's tender and juicy or one that's dry and disappointing. Here are some top hacks and tips for cooking sausage and getting the absolute best out of them.
Read more: The Best Meat For Your Charcuterie Board Isn't One You'd Expect
Turn Down The Heat When Cooking Sausages
This is our "number one with a bullet!" piece of advice. For most kinds of sausage, high heat is one of those fundamental mistakes everyone makes with sausage.
A sausage gets its texture from the interaction of salt with the meat's proteins. As they cook, those proteins form a sponge-like web that holds the sausage's fat and juices in place as it cooks, like eggs setting a custard. At high temperatures, the proteins contract and toughen, the fat and juices run out, and you're left with a dry and chewy sausage, not tender and juicy. Those juices turning to high-temperature steam are also a top reason why sausages split or burst.
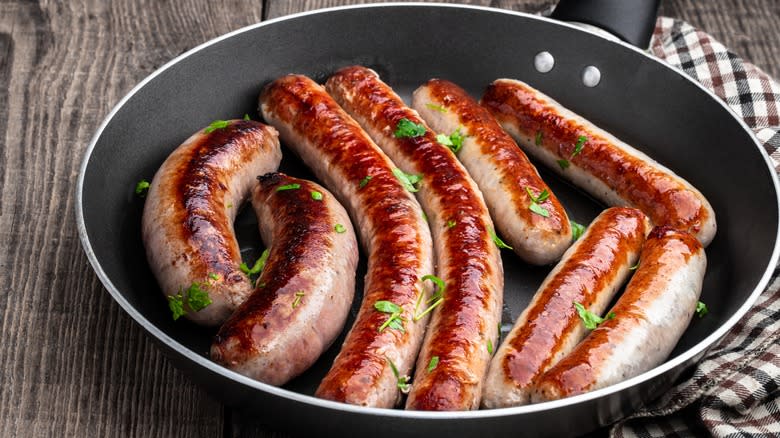
So do what we professionals do. Turn down the heat to a low medium, let the sausages cook gently, and turn them often. The juices will stay in your sausage, their skins will brown and crisp evenly, and you'll enjoy a better meal. The same rule applies to oven-baking, grilling, or air-frying sausages as well. If they're dry, chewy, or bursting, turn down the heat. Low and slow is the way to go!
Don't Pierce The Casings
Many sausage recipes start by telling you to pierce the casings. They'll tell you it helps render the sausage fat or that it helps keep the sausages from bursting. In truth, it's not a good idea.
That fat isn't an inconvenience to be removed; it's a fundamental feature of a good sausage. When you prick the casings to let the fat out, you're deliberately creating a drier and less tasty sausage. That's partly because the balance of fat and lean is crucial to sausage and partly because it also lets the meaty, flavorful juices escape.
There are also better ways to keep your sausages from bursting, beginning with our very first tip above. If you've turned down the heat, exploding sausages shouldn't be an issue. The advice to pierce sausages probably dates from the days before food-safety regulations, when sausages routinely incorporated more water and filler. The water turns to steam when heated and bursts the sausages as it escapes. According to Britannica, wartime rationing in WWI worsened the situation, and those exploding sausages inspired the nickname "bangers." Those days are long gone, so stop poking holes in sausages: Just because your granny did it doesn't mean you have to.
Warm Your Sausages Gently Before Cooking
Aside from thin sausage patties that are meant to be cooked from frozen, don't put cold sausages into your pan. The exterior will cook faster than the interior, leaving you with a sausage that's cooked on the outside but not the inside or one that's perfect in the middle but overcooked at the edges.
Cooking low and slow helps, but so does warming your sausages before cooking. One common sausage cooking hack suggests leaving the sausages out at room temperature for 20 minutes to warm up. Honestly, that's not long enough to warm them, and leaving the sausages out increases the risk of cross-contamination with other foods.
We find that sealing the sausages in a bag and putting them into room-temperature water for the same 20 minutes is more effective. A quicker option is warming them for a few minutes in your microwave at half-power. The exact time will vary, depending on your microwave, so check them after each minute or so. Take them out at the first sign that they're cooking, and make a note to use less time or a lower power setting in the future.
Learn To Grill Sausages With Indirect Heat
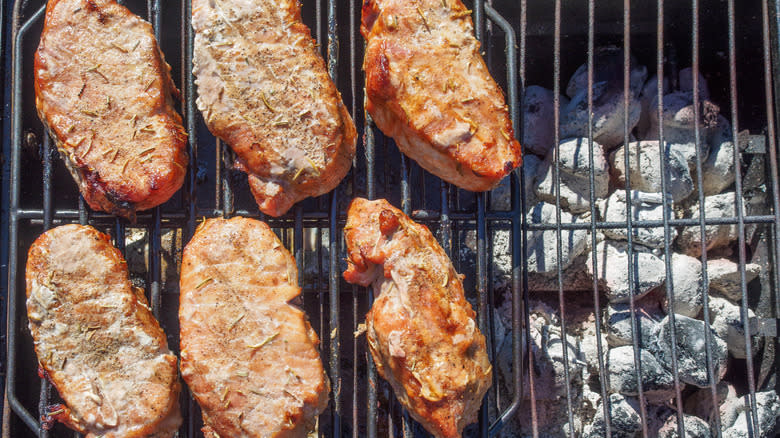
Nothing beats a perfectly grilled sausage, but grilling one perfectly takes skill. One of those skills is a fundamental technique known as 2-zone grilling.
You'll create two zones on your grill, one with higher heat and one with low or no heat. On a charcoal grill, rake all of the coals to one side; on a gas grill, light the burners on one side but not the other. Now, put your sausages on the low-heat side and close the lid. They'll cook gently and absorb smoky grilled flavors in the enclosed space. Once the sausages are mostly cooked through, move them to the hot side of the grill and turn them regularly as they brown. Done!
As a bonus, getting the hang of 2-zone grilling is a big step to becoming a grill master. It's how we get our best results with most meats, from chicken to thick steaks and chops.
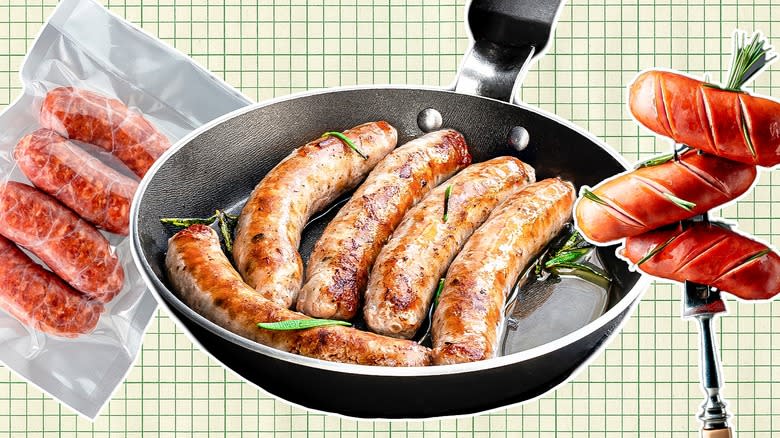
Cook Your Sausages Sous Vide
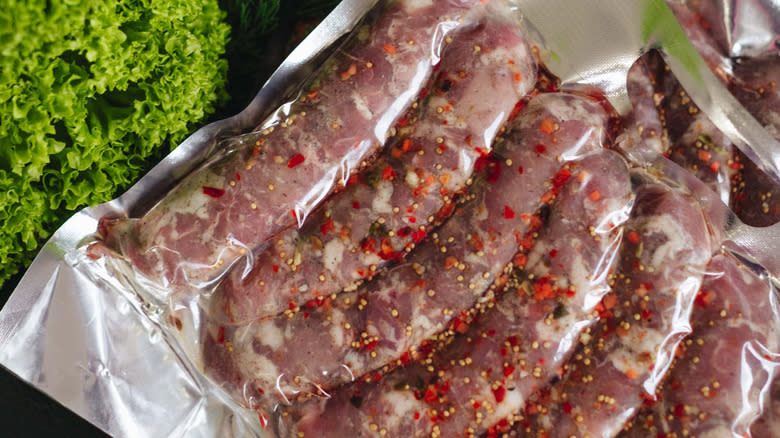
Sous vide cooking has become hugely popular over the past decade. It's the ultimate "low and slow" cooking method: you seal your food into a bag and drop it into water that's held at a carefully precise temperature using an immersion circulator to heat and circulate the water.
It pays to sous vide sausages, in part because they love low-temperature cooking and in part because of the flexibility it gives you. Sausages usually only need one hour to be fully cooked, but you can safely leave them in their water bath for another two or three hours. When your meal is almost ready, simply open the bag and brown the sausages (we professional chefs love that!).
Lengthy sous vide cooking softens and tenderizes the meat, which is fine for making a tough stewing cut as tender as a filet mignon but problematic with sausages. Don't sous vide them for longer than four hours, or they'll become mushy.
Check Your Sausages' Doneness With A Meat Thermometer
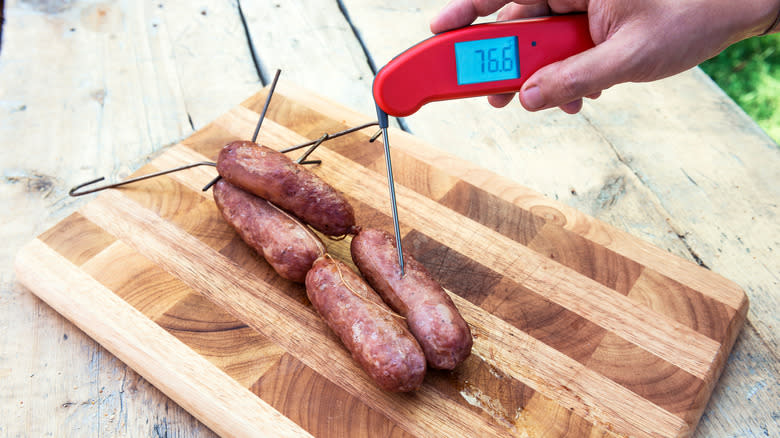
Folk wisdom gives us lots of ways to know when meat is fully cooked: When the juices run clear, when it's not pink anymore, or when you prod it with a fingertip and it feels like the base of your thumb. None of those methods is especially accurate. Professionals know there are really only two ways to be sure: cut into it and see, or use a thermometer.
Cutting into it isn't ideal, so you really do need a meat thermometer. Some are the leave-in kind, some are the instant-read kind, and some are all one piece, while others have a separate probe and display. Because of the sausages' cylindrical shape, you'll get your best reading by inserting the probe lengthwise into the center of the link.
The USDA recommends cooking sausages to 160 F, though that's the desired final temperature. In practice, you can stop cooking at about 5 degrees less because there's additional thermal energy already trapped in the sausage, and its final internal temperature will continue to rise.
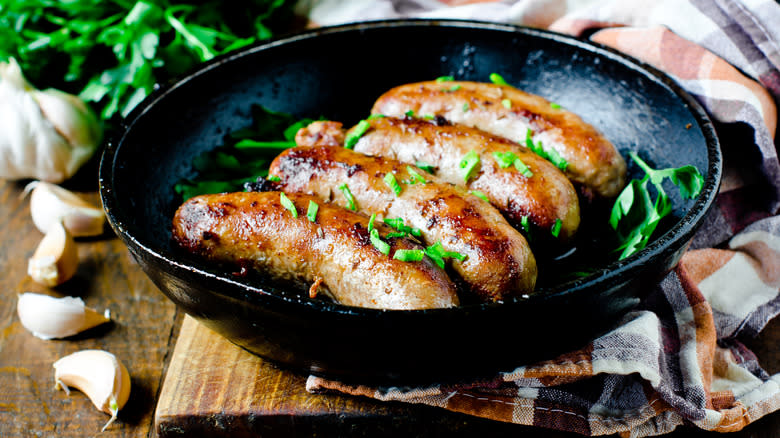
Don't Put Your Sausages In A Cold Pan
If you've read this far, you already know not to put your sausages into a pan that's screaming hot. But many people make the opposite mistake, putting sausages into a cold pan.
That's not critical if you use a non-stick pan that's new enough to be really non-stick, but most skillets will work better if you heat them up first. Remember, we're only talking about low and medium temperatures, which even a non-stick pan can tolerate. Once the pan is warm, you can add the oil, and when the oil begins to shimmer, add your sausages.
Why does that matter? Because if you drop your sausage into a cold pan, especially a dry one, the casing will try to stick to it. If you preheat your oil in the now-warm pan, the casing sears on contact and won't stick. Not only will the casings stay intact and do their job of holding the juices in, but you'll get better browning as well.
Use Cured Sausages And Charcuterie As A Flavor Bomb In Your Cooking

So far, we've focused on fresh sausages, the kind that need cooking. There are lots of others, including the whole range of cured sausages. Those include everything from artisanal salami to regional favorites like German landjäger, French saucisson sec, or Spanish chorizo.
The thing about these cured sausages is that they pack a wallop of savory umami flavors. We usually use them as the star of the show on a pizza or a charcuterie board, but they also make great supporting players in your other cooking.
Chefs know that even a handful of diced scrap pieces can utterly transform a dish. Incorporate them into omelets, scrambled eggs, or quiches at brunch; add intensity to soups or crisp them as garnishes for your salads at lunch; elevate casseroles, pasta, or bean dishes at dinnertime; and bake them into savory pastries or even biscuits for easy take-along snacks. It's a great way to use up leftover charcuterie from your party or discounted end pieces from the supermarket. Either way, it stretches your budget.
Use A Contact Grill For Sausage Patties
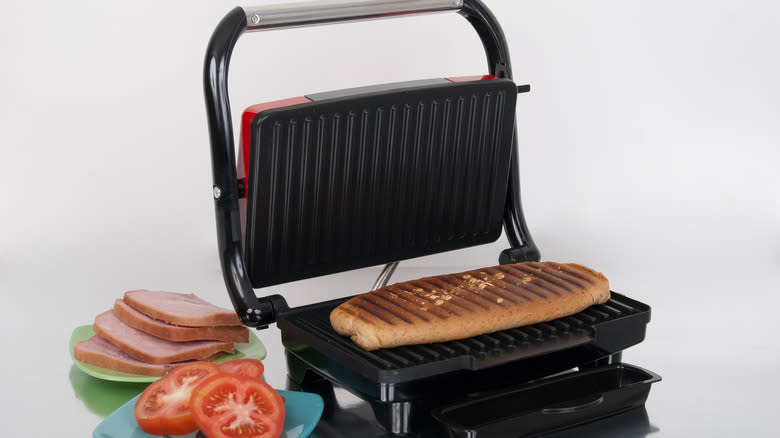
Every rule has its exceptions, and that applies to sausages as well. The usual rule of cooking low-and-slow doesn't apply to breakfast sausage patties because they're flat and thin, and we find they can dry out with long cooking. A high-temperature cooking method is better because you'll get good browning on the patty without letting it overcook.
You can do that in a skillet, but for home cooks, the best tool for the job might be a contact grill like the popular George Foreman grill or a panini press. Most of us already have one (at least one!) in our cupboards, and they're great at this. They cook the patties from both sides simultaneously and give your sausage that flavor-enhancing, deeply browned grill marks. Better yet, if you're using the sausage in breakfast sandwiches or wraps, you can pop them right back into your panini press to heat up and crisp.
Don't Crowd Your Sausages
Most of us have times when we love being part of a crowd, but also times when we need our space. Sausages need their space, too, and aren't at their best if you're overcrowding your pan.
A crowded pan is less than ideal for a lot of reasons. Most pans are designed to transfer heat quickly. If you overload them, the cold food sucks up that heat and cools the pan quickly. Steam and moisture escaping from the sausages also gather in the pan and interfere with browning. Finally, in a crowded pan, it's much harder to turn your sausages without damaging them. The same rule applies to baking your sausages, especially in the small drawer of an air fryer where air circulation is crucial.
It's best to cook your sausages in batches or put them on a sheet pan in your oven instead. That's why we prepare sausage in bulk in restaurants, and it has the added advantage of freeing up your stovetop for other things.
Let Sausages Rest Once They're Cooked
One widely-repeated "chef tip" is letting meats rest after they're cooked. A properly rested steak, bird, or roast will be juicier than one that isn't, though there's debate within the food science community about why or even whether that's the case. Leading food-science figures like Kenji Lopez-Alt of Serious Eats (who advocates resting) and BBQ Hall of Famer Craig (Meathead) Goldwyn of Amazing Ribs (who's dead against it) disagree on the subject.
Oddly, you'll seldom see sausages mentioned in this debate, though they appreciate a rest. When they come out of the pan, the fats and juices inside the sausage are at their hottest and runniest. A few minutes of resting time does two things: Proteins in the meat stop contracting and squeezing juices out, and the fats and juices become slightly more viscous. That means they'll be slower to ooze out of your sausage when it's cut — keeping it nice and juicy — rather than running out onto your plate or cutting board.
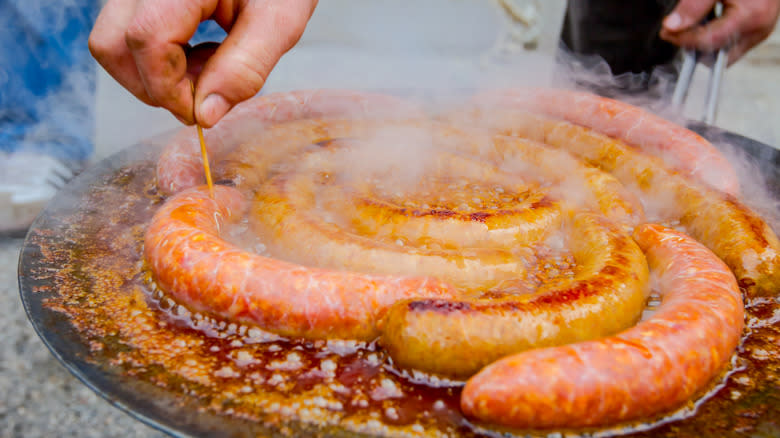
Poach (Don't Boil!) Your Sausages First
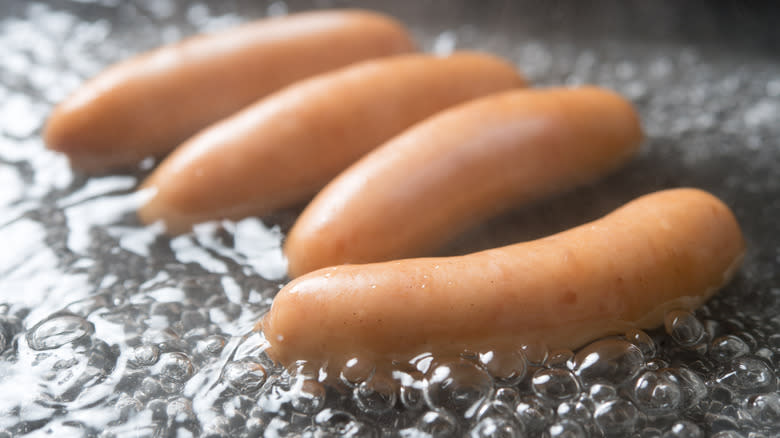
Another contentious tip is boiling your sausages. A lot of people like to par-cook their links in beer, wine, or broth before finishing them in a pan or a grill, and that's fine, with one important correction: Never boil your sausages. Poach them instead.
What's the difference, and why does it matter? Well, again, it comes down to temperature. Water boils at 212 F (sea level), but you can poach at temperatures as low as 140 F. Try poaching chicken breast at 140 F and compare it to one that's been boiled. The boiled one will be tough and dry every time (we've done this demonstration in cooking classes).
The same is true of sausages. They're more forgiving because of their fat content, but cooking them at a boil will leave them chewy and dry. If you poach them instead, they'll par-cook evenly and be ready to go to your grill or skillet for finishing. Poach them to an internal temperature of 130 F or 140 F if you're going to finish cooking them immediately, or cook them fully to 150-160 F and then refrigerate them for later use.
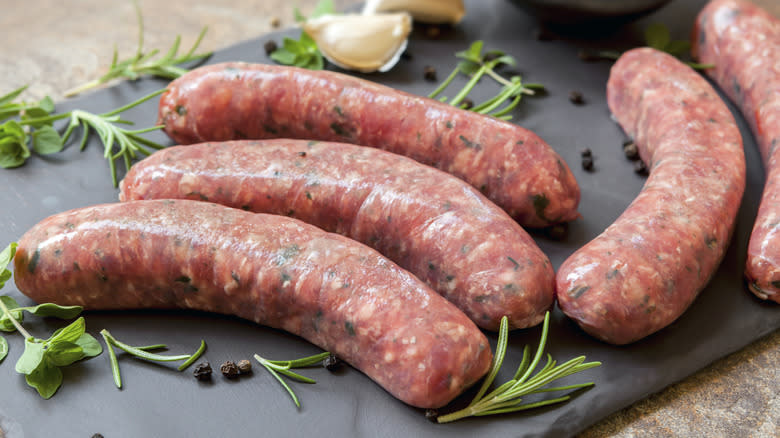
Pat Your Sausages Dry Before You Cook Them
One reliable rule is that moisture is the enemy of browning. That's why you pat steak dry before searing it and dry your bird to get shatteringly crisp chicken skin. The same applies to sausages.
Usually, your sausages will feel dry to the touch, but there may be moisture in the packaging if they've been frozen and thawed. In that case, you should always blot them dry on paper towels or a clean kitchen towel before cooking them. You should do the same if you've poached or marinated your sausages before cooking,
This way, browning can begin immediately without wasting any thermal energy on evaporation. Avoiding moisture on the surface of the sausage also reduces hot fat spatters. It's partly a safety issue (nobody wants to get burned) and also partly a cleaning issue because spatters will coat your work area with grease.
Increase The Sausages' Surface Area For Extra Browning, Crisping And Flavor
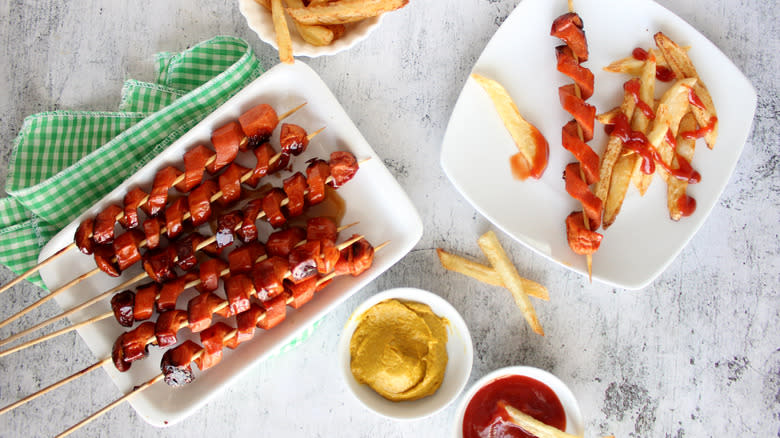
Fresh sausages are like a vinaigrette, in a way, because their ingredients can and will separate if given the opportunity. Smooth-textured sausages like hot dogs, knackwurst, and — yes — even bologna are more like mayonnaise because they're fully prepared and ready to eat.
You could just microwave them, but where's the fun in that? They'll be tastier if they're crisped and browned. If you cross-hatch or spiral-cut hot dogs before they're fried or grilled, you'll increase their surface area and create corners that will caramelize in the heat.
Another option is butterflying your sausages before grilling or frying them, which helps them brown and cook much faster. You can do this with pre- or par-cooked fresh sausages or sausages cooked sous vide, as well. It's a good option for breakfast sandwiches if you don't have sausage patties or don't want to make them.
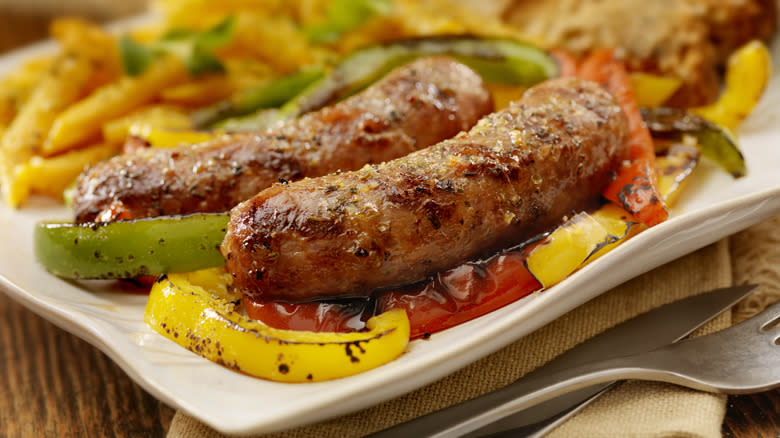
Salvage Overcooked Sausages With Toppings And Condiments
In an ideal world, after reading an article like this one, you'd never cook another sausage that isn't perfect. Of course, real life isn't ideal, and in practice, overcooked sausages will still happen occasionally (even to professionals).
No matter how you come to this unsatisfactory result, an overcooked (or badly made) sausage will still pack the flavor. You'll just need to compensate for its lack of moisture, and of course, bumping up the taste is an added bonus.
You can save the day with toppings and condiments, including onions, peppers, mushrooms, sauerkraut or coleslaw, and of course, some good mustard. Alternatively, if the sausage is really dry or chewy, you can double down by slicing it thin and then crisping the slices like bacon. Each bite will be extra-tasty from the browning, and the thinness of the slices helps mask their relative dryness.
Make A Pan Sauce For Your Sausages
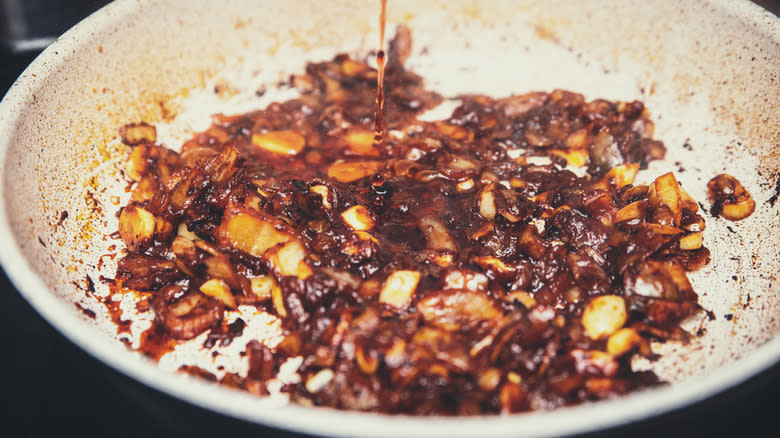
Low and slow cooking doesn't just brown your sausages; it browns your pan as well. The French call those browned drippings the fond, which literally means "base" or "foundation," because they provide a foundation of flavor you can build your sauce around.
Drippings make good sauces and gravy, but most of us — aside from Southerners, who love their sausage gravy, and professional chefs — don't necessarily think of this when we cook sausages. That's a mistake because, if anything, sausage drippings are more flavorful than most.
It's not a difficult process. Start by pouring off or blotting up any excess fat, then splash some wine or beer, or broth, or the sausages' poaching liquid, or even plain ol' water if that's what you've got, into the emptied but still-hot pan. Stir and scrape as the liquid dissolves the browned-on fond, and then let the mixture reduce to concentrate the flavors (this is also the best time to add extra flavor if needed).
If you plan to thicken the sauce with a flour-based roux, keep some fat in the pan and add the flour first, then deglaze once the roux has lost its raw smell. It'll take a bit of practice to learn how much fat to use for a pan sauce, but you can always pour your sauce into a measuring cup and skim any excess from the top if necessary.
Read the original article on Tasting Table.

