How to Wax Yourself At Home the Right Way
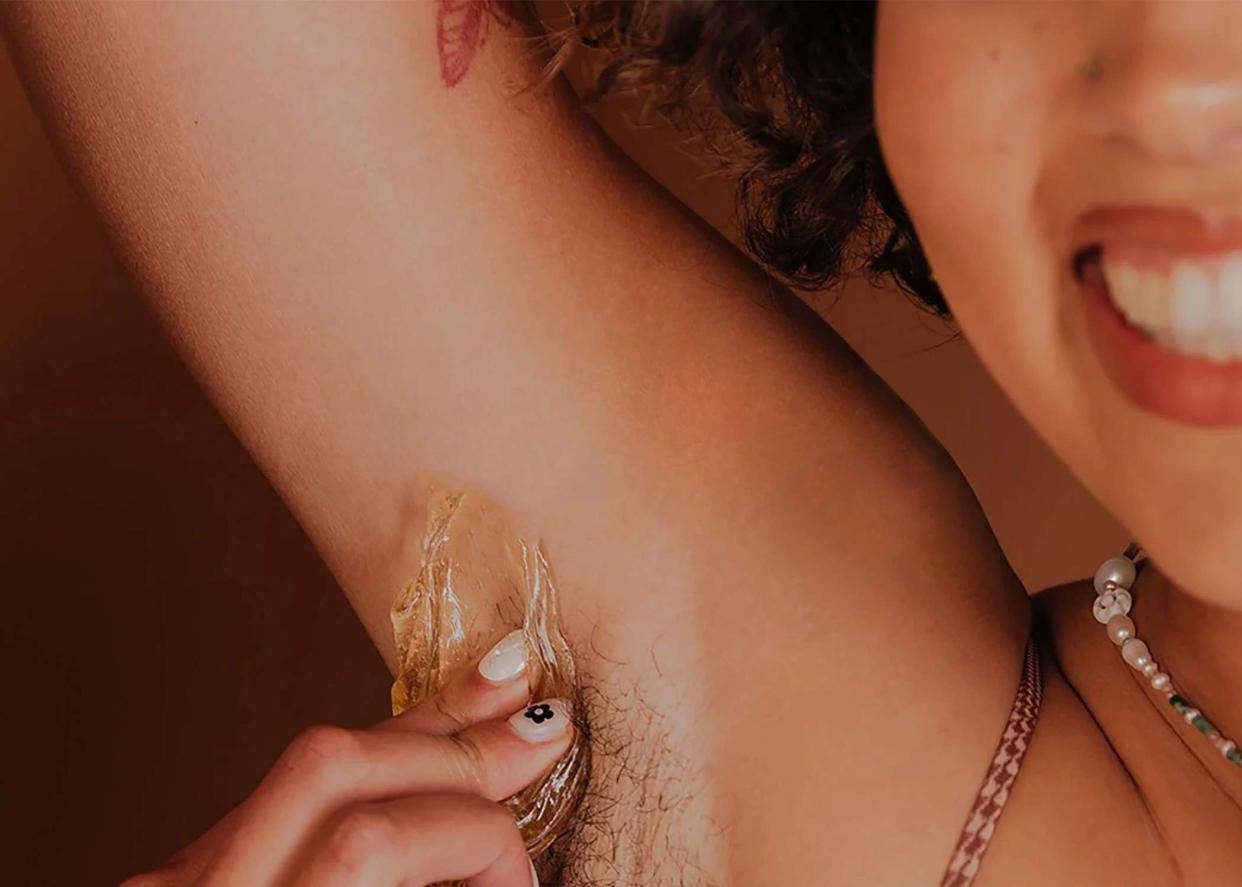
Tired of shelling out an arm and a leg for monthly in-salon wax appointments? There’s always the option to take matters into your own hands and do the hair-removing ritual at home. While it might be a bit of a learning curve, at-home waxing costs a fraction of the price and offers more flexibility since it doesn’t require a set date and time. Still, there are some precautions you’ll want to take when waxing yourself at home.
Related: Here's Exactly How to Avoid Bikini Line Bumps
To walk you through the process, we chatted with a few dermatologists about how to prep skin for waxing, which kits are most worth trying, and the level of aftercare necessary to keep your skin happy post-pull. Keep reading to learn more.
How to Prep Skin for At-Home Waxing
1. Make Sure You're Not Using Retinoids
Take a beat to think about your skin-care routine before waxing. “It is recommended to wait at least six months if you have been on isotretinoin (AKA Accutane) since the skin’s wound healing capabilities are compromised,” Farhang reveals. “You also want to avoid any harsh skin care ingredients such as retinoids to ensure the skin is non-irritated and has a healthy skin barrier."
Tips
Stop using topical retinoids for seven to 10 days before you wax.
2. Trim Longer Hairs
“You want to ensure optimal hair length no longer than ¼ to ¾ inch,” says board-certified dermatologist and Bliss ambassador, Dr. Sheila Farhang. Waxing longer hairs can result in breakage, which can lead to a longer wax time since you’ll have to reapply and try again, she explains.
3. Gently Exfoliate
“A mild, gentle exfoliation is sometimes recommended a few days before waxing for those who are able to tolerate it,” Farhang says. “Mild exfoliation loosens ingrown hairs and removes dead skin cells, resulting in a more effective waxing treatment.” If your skin can tolerate mild exfoliation, she says to opt for mechanical options like dry brushes or exfoliating gloves (we like the Dr. Barbara Sturm Body Brush, $40) or mild chemical exfoliation using alpha hydroxy acids and beta hydroxy acids (the Sol de Janeiro Bom Dia Bright Clarifying AHA BHA Body Wash, $26, is a deliciously scented option).
4. Cleanse
Directly before waxing yourself at home, board-certified dermatologist and founder of Dermatologist’s Choice Skincare, Dr. Richard Bottiglione, says to wash wherever you’re waxing with a gentle cleanser. Doing so will prevent makeup, oil, and debris from mixing with the wax and potentially sinking deeper into your pores, which can exacerbate the possibility of ingrown hairs.
5. Moisturize
While it may seem counterintuitive, Jamie Conner, European Wax Center's Senior Field Trainer, says it’s best to moisturize skin post-cleanse, pre-wax. “Use a film-free or non-comedogenic moisturizer the day of waxing—the more moisturized the skin, the less painful and cleaner your wax results will be,” she explains.
As helpful as moisturizer is during the wax prep process, Conner admits that some types of wax (i.e.: hard wax) require an oil barrier to prevent the wax from adhering directly to the skin, which can cause potential bruising. (This potential at-home waxing side effect is why most dermatologists and estheticians recommend going to a professional waxer for the safest and most effective hair removal.)
6. Do a Test Patch
Lastly, no matter the type of wax you use or the level of prep you submit to, you should always do a patch test before applying wax to a large area of skin/hair.
“If you haven’t waxed before, you should do a patch test prior to your big wax day to see if your skin is sensitive,” says board-certified dermatologist Dr. Michelle Henry. If your skin reacts neutrally to the experience, you can move forward with the pre-wax exfoliating, cleansing, and hydrating steps, and follow through with your at-home waxing sesh.
How to Use Hard Wax at Home
If you opt for an at-home hard wax kit, your best bet is to follow the included instructions. If you misplace them, though, Farhang says to follow the steps below.
1. Prepare the wax. Heat the hard wax until it reaches a spreadable consistency (as directed on the box).
2. Apply. Use an applicator to spread a thick layer of hard wax in the direction of hair growth, ensuring there is enough on the edge to pull up.
3. Be patient. Wait for the wax to cool and harden.
4. Remove the wax. Hold the skin taut and pull the wax off against the direction of hair growth in a quick, firm motion. Avoid pulling upwards; instead, keep the strip parallel to the skin.
5. Repeat if necessary. For stubborn hairs, you may need to reapply wax to the same area.
How to Use Soft Wax at Home
If you opt for an at-home soft wax kit, work your way through the included instructions. If you can’t find them, Farhang says to follow the steps below.
1. Prepare the wax. Soft wax doesn't require heating if using pre-made wax strips. If using a jar, warm it slightly until it's spreadable.
2. Apply. Apply a thin layer of soft wax in the direction of hair growth using an applicator or the pre-made strip.
3. Lay the strip. Place the strip by pressing a wax strip firmly onto the waxed area, making sure it adheres well.
4. Remove the strip. Hold the skin taut and swiftly pull the strip off against the direction of hair growth.
5. Repeat if necessary. If some hairs remain, reapply wax to the same area and repeat the process.
Tips
If you have a low pain tolerance, Svidzinski suggests taking OTC pain medication like Tylenol prior to waxing. It will help dull the ripping sensation.
Choosing the Right Kit
At-home waxing kits exist in hard wax and soft wax varieties. “Hard wax hardens on the skin and is pulled off; soft wax requires a strip,” Farhang says.
Overall, Henry says that hard wax kits are better for smaller areas, like armpits and the bikini area, while soft wax kits are ideal for larger areas like arms and legs. When choosing your kit, Henry says to steer clear of synthetic fragrances and colors, especially if you plan to use it in a sensitive area (such as for an at-home Brazilian). “You also want to make sure that the kit has the right tools, such as spreading tools, and if it’s a soft wax kit, make sure it has cloth strips,” she adds. “I recommend looking at reviews of the brands too, and if you are new to waxing, maybe get a few different ones to patch test first to make sure they’re safe for your skin and aren’t irritating.”
The Best At-Home Waxing Kits, According to Dermatologists
There are many at-home waxing kits on the market. According to the experts we spoke with, the seven following wax kits are the best of the best.
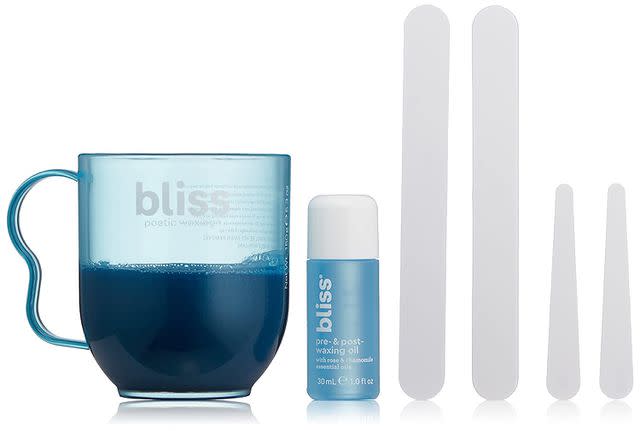
1. Bliss Poetic Waxing At Home Wax Kit
Bliss
“I love this product because it is a warm hard wax kit which doesn’t require strips,” Farhang says. “It’s formulated with chamomile and apricot oil for skin soothing and moisturization.”
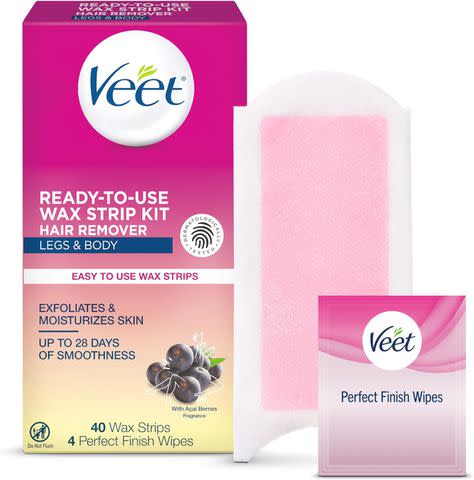
2. Veet Professional Wax Strips
Veet
“The Veet Professional Wax Strips kit is good for beginners and has everything you need,” Henry says. “It’s also less messy because it is a wax strip.”
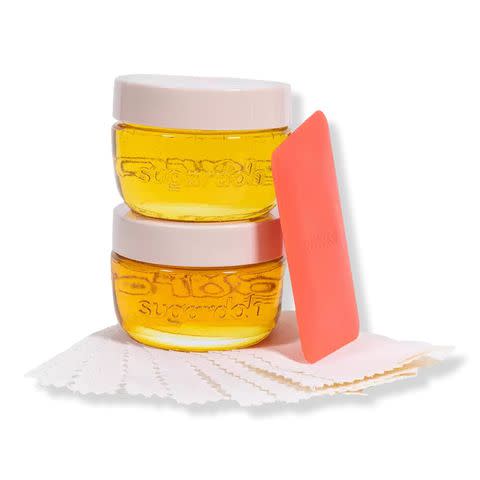
3. Sugardoh Head-to-Toe Sugaring Kit
sugardoh
Board-certified dermatologist Dr. Cula Svidzinski likes sugar wax formulations most of all thanks to their gentler nature. One of her top picks is the Sugardoh Head-to-Toe Sugaring Kit, which includes jars of firm and medium waxes for full-body hair removal. Like traditional soft wax, sugar wax is pulled off with strips and is said to be less painful than classic waxing.
4. Nad’s Body Wax Strips
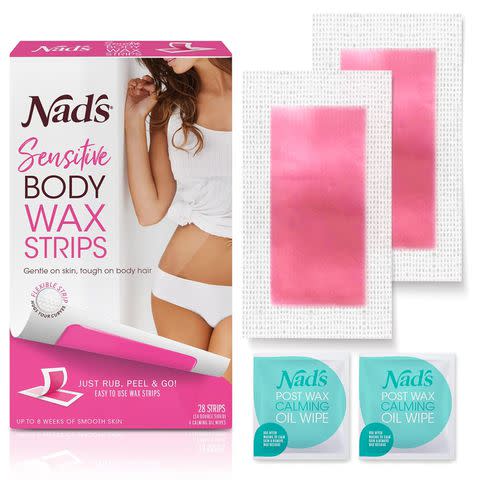
Nad's
“The Nad’s Body Wax Strips are a good option for those who prefer a soft wax,” Farhang says. “[They are] formulated with soothing shea butter and beeswax to help moisturize skin.”
5. Flamingo Head-to-Toe Wax Kit
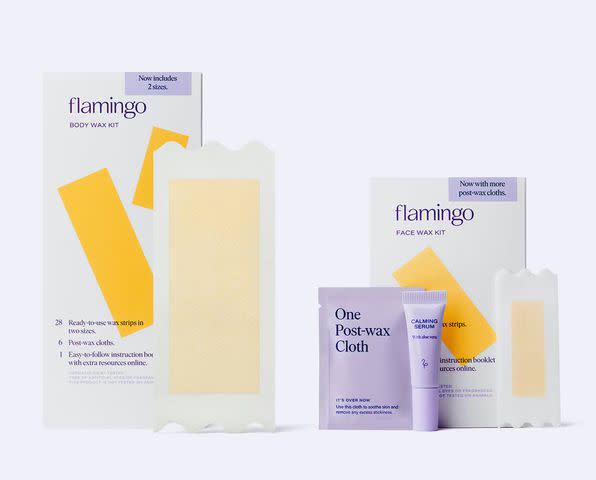
flamingo
Another reason Svidzinski recommends sugar waxes is because they’re designed to be used at room temperature so there’s no risk of a burn (more on that in a bit). Another of her top picks is the Flamingo Head-to-Toe Wax Kit, which comes with face and body wax kits, including a tube of calming serum to alleviate any potential post-pull irritation.
6. GiGi Roll-On Waxing Kit
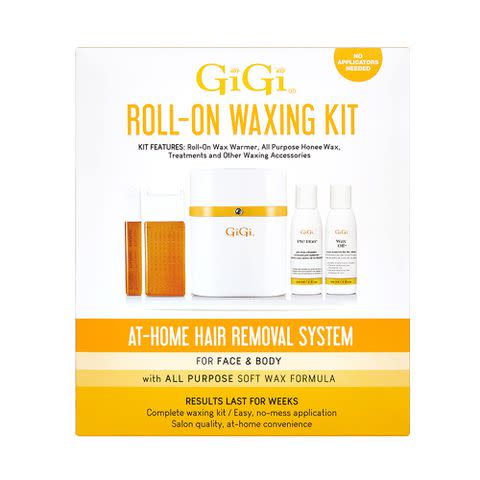
GiGi
Henry’s other top pick is the GiGi Roll-On Waxing Kit, which features a mess-free, roll-on applicator and strips for easy pulling. It’s a soft wax formulation.
7. Sugaring Factory Sugaring Paste Luxury Pro
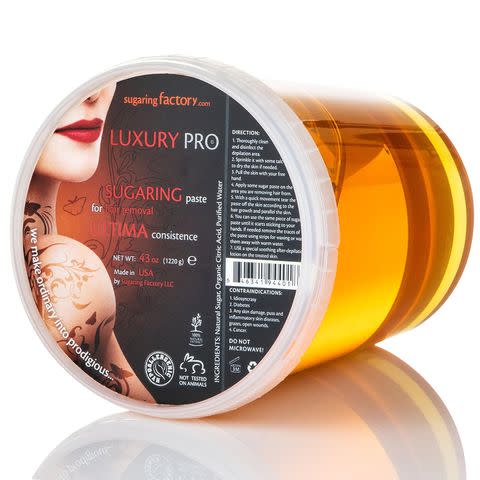
Sugaring Factory
For a long-lasting jar of sugar wax, Svidzinski suggests buying a tub of the Sugaring Factory Sugaring Paste Luxury Pro. The 43-ounce jar has enough wax to enjoy hairless results for months on end and the formula itself is designed to offer three or more weeks of smooth skin.
Safety Precautions
While being mindful of the kit you use and considerate of your skin’s sensitivities can lead to better waxing results, there are other safety precautions to ponder (as obvious as they may seem).
“You definitely don’t want to wax any area that has been recently sunburned, has eczema, or is inflamed in any way,” Henry says. You also don’t want to wax recently lasered/treated skin, Svidzinski says. “Avoid waxing within two weeks of any laser treatments, microdermabrasion, or chemical peels or if you have completed isotretinoin or Accutane therapy in the last six months to reduce your risk of removing skin along with hair leading to erosions in the skin, which can be painful and with potential for scarring or discoloration,” she advises.
Lastly, Henry reminds us to be conscious of the temperature of the wax we use. “When heating up the wax, make sure it is warm and not too hot so you don’t burn your skin,” she emphasizes.
This is especially important because, according to Svidzinski, wax burns can lead to lasting damage on darker skin tones. With this in mind, she says that if you experience any level of irritation post-wax, you should consider OTC hydrocortisone 1% cream at the onset to prevent hyperpigmentation.
At-Home Wax Aftercare
Directly following an at-home wax treatment, Henry recommends applying aloe vera or a moisturizer with soothing ingredients like ceramides or niacinamide (Svidzinski suggests the LaRoche Posay Cicaplast Balm B5, $18) to restore the skin barrier. “Then, follow basic, gentle skincare for the next couple of days,” she says. “I would also suggest not wearing any tight clothes that might rub or irritate the area that you have just waxed for the next few days.” The more friction that occurs immediately post-wax, the more likely you are to develop ingrown hairs.
Keep In Mind
Despite there being many top-rated at-home wax kits on the market — and regardless of the recommendations above — Svidzinski admits that professional hair removal is always your best bet “to minimize complications such as burns, breakouts, and infections.”
For more InStyle news, make sure to sign up for our newsletter!
Read the original article on InStyle.


