
Watch how to master cable knitting
Cable knit is a great knitting stitch to master when learning how to knit. Cable knit stitches are more straightforward than they look and yet endlessly impressive to your non-knitter friends.
This knitting stitch creates a beautiful raised effect that adds depth, texture and some extra interest to your work, and best of all, it's surprisingly easy to learn.
The rumours are true, cabled patterns in knitting do require the use of a third needle – but don’t worry. It’s not a case of growing a third arm or doing acrobatics. This needle, known as a ‘cable needle’ does all the hard work for you. More on that below.
If you’re knitting patterns in cable knit you’ll soon notice the extra thickness as a result of all the gorgeous added texture. This does mean that you’ll get through your yarn at a quicker rate for cable stitch patterns than you would for a flatter piece of stocking stitch, say.
To work the cables, you basically get to the point in your knitting where you’re ready to add the texture and swap a few stitch locations around. This creates the twists that you see on the surface of your design.
But how and when you do them is never something you would have to remember. Cable stitch patterns will have very specific guidelines about what you should be moving where and when and will often abbreviate this down to save on space, so do have a thorough read of your pattern before you begin.
And don't forget to brush up on your knowledge of knitting abbreviations before you embark on a cable knitting project, too.
Check our our favourite free cable knitting patterns below.
What you need to cable knit
Firstly, you’ll need a knitting pattern. This could be from a directory of different stitch patterns to choose from, or it could be instructions for a knitted sweater. Some patterns will write out your instructions, others will use a chart so that you can visualise exactly where your cable stitches are occurring.
And then you’ll need the right needles and accompanying yarn for the pattern. Or you could substitute for a different yarn that matches the thickness and length if you’d prefer.
Then comes your cable needle. Cable needles don’t come in many sizes. For patterns using 4ply yarn, a small one is fine. For DK or aran-weight yarns, use a medium needle. Anything thicker, a ‘chunky’ or ‘large’ cable needle will do the trick. If in doubt, use one slightly smaller than the needle size you’re using – it will be easier to work with than one that is too large.
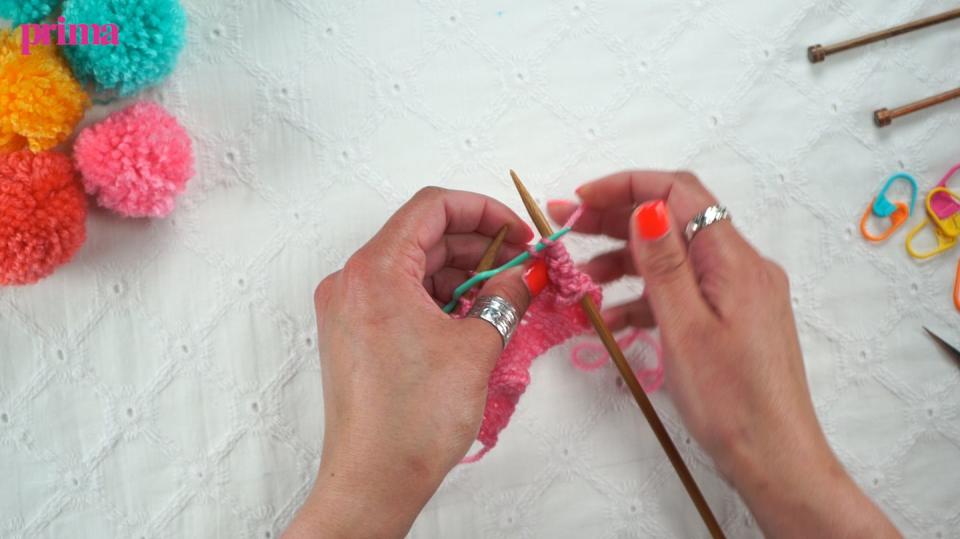
Cable stitch step-by-step with pictures
Start with a simple one: the ‘cable 4 forward’ or ‘C4F’ is worked over 4 stitches in a panel on your knitting and can be made more prominent by working reverse stocking stitch on either side.
Row 1: Work to where your cable is placed, knit (k) 4, work to end.
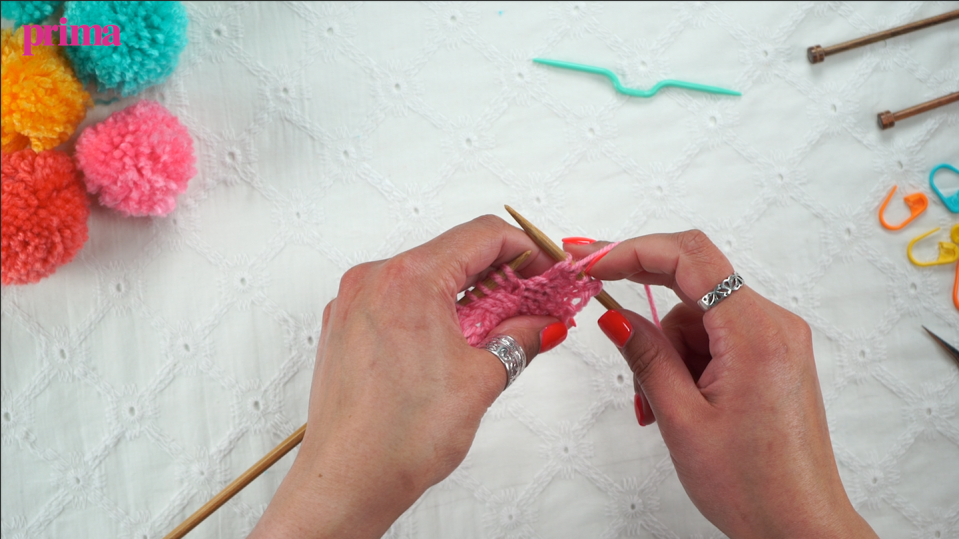
Row 2: Work to where your cable is placed, purl (p) 4, work to end.
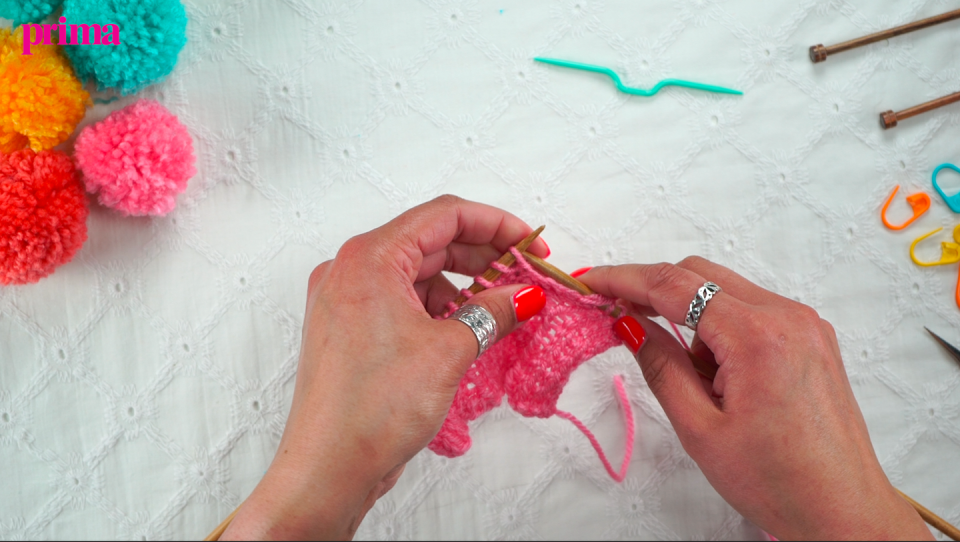
Row 3: Work to where your cable is placed. Using your cable needle, slip 2 stitches from the left hand needle and leave it hanging at the front* of your work.
Going back to your knitting needles, knit the next two stitches from the left hand needle.
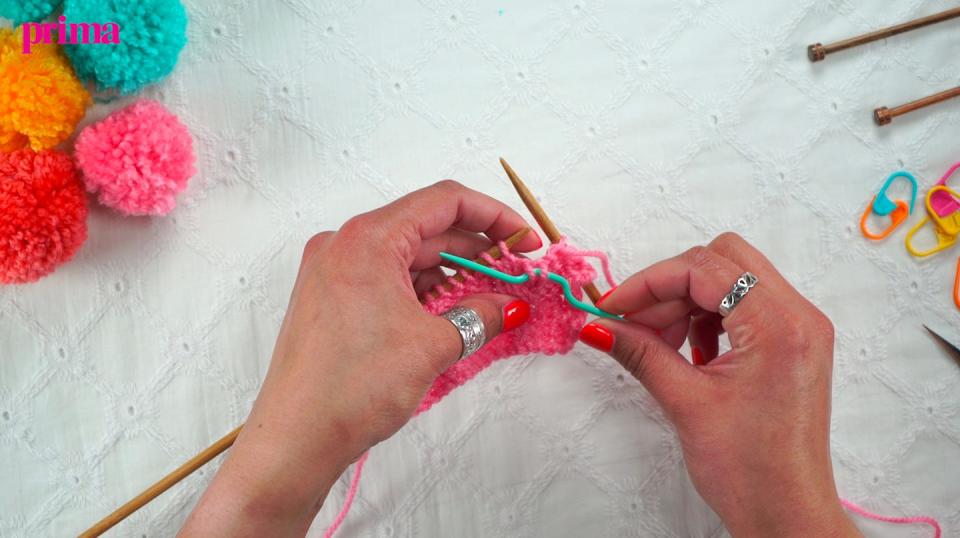
Pick up your cable needle and hold it in your left hand, being careful not to twist it. Using your right-hand needle, knit these two stitches. Work to the end of the row.
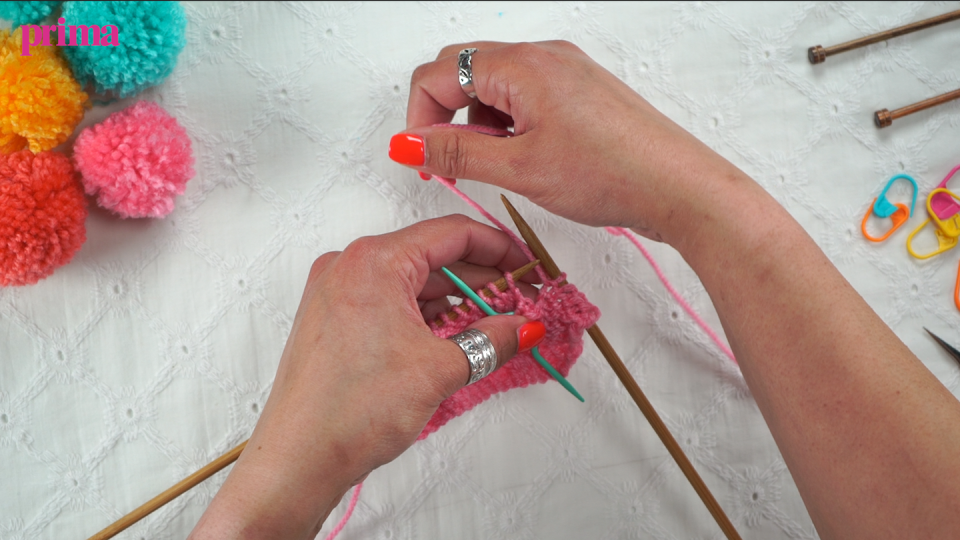
Row 4: As row 2.
* If you instead leave it at the back of the work at this stage, this would instead create a cable that twists the other way. This would be known as a ‘cable 4 back’ or ‘C4B’.
Loving the cable knit texture? Add further facets to your textured knitting skills with our easy-to-follow moss stitch tutorial.
Do you love knitting? Share your creations with us by tagging @primamag in your pictures on Instagram!
You Might Also Like

