We tried De'Longhi's newest offering, which made our expert tester switch to bean-to-cup coffee machines for good

Automatic bean-to-cup coffee machines are notoriously expensive, and the new De'Longhi Rivelia is no exception, with an RRP of over £700. But if you want the convenience of a whole coffee shop menu at the touch of a button, this technology doesn’t come cheap.
When you’re looking for one of the best coffee machines, the first choice you need to make is between a manual style espresso machine, pod coffee machine, or a fully automatic option like the De’Longhi Rivelia.
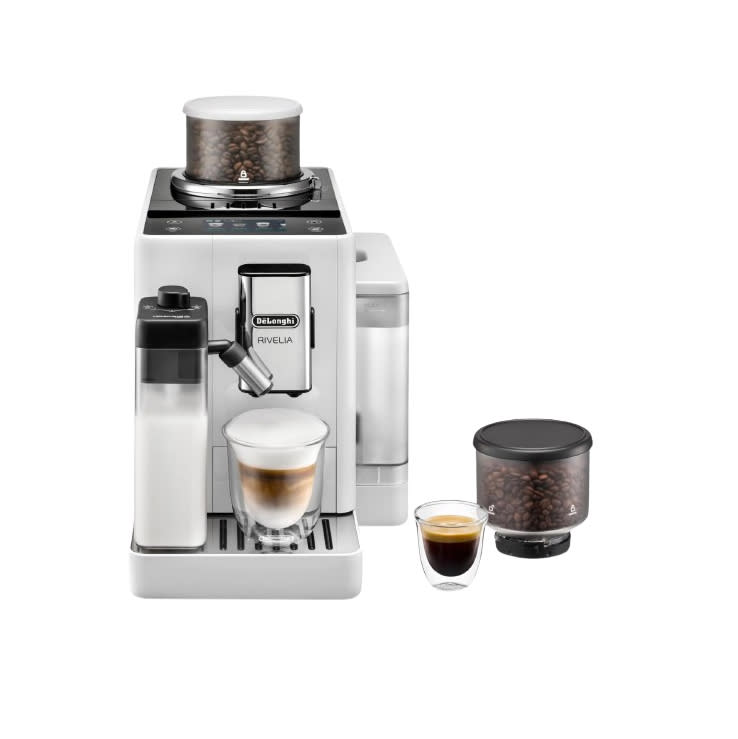
The Rivelia is De’Longhi’s newest automatic bean-to-cup machine. It’s a one-touch coffee machine that allows you to select your favourite drink from the menu of 16 choices. It’ll grind the beans, brew the coffee, and dispense frothed milk. It’s like having a barista in your kitchen, but is it as good?
I’ll level with you, I love my manual espresso machine. I’ve tried lots of automatic bean-to-cup machines but they never excite me. Even the eye-wateringly expensive ones are often big, ugly appliances. And more often than not you have to spend a lot of time fine tuning the settings to get a vaguely decent cup of coffee. But, the De’Longhi Rivelia has done what many previous models could not, it’s won me over to the best bean-to-cup coffee machines. Here's why.
De'Longhi Rivelia Product specs:


Type: bean-to-cup
Control type: automatic
Water tank capacity: 1.4 litres
Bean hopper: 2 x 250g hoppers
Pressure: 19 bar
Dimensions: H38.5cm x W24.5cm x D43cm
Weight: 9.7kg
Colours available: black, grey, beige, white
RRP: £749
Unboxing, setting up and first impressions
Setting up an automatic bean-to-cup coffee machine can, in my experience, be a laborious process. But I had this one out of the box and ready to prepare its first coffee within 20 minutes, and I wasn’t even trying to be speedy.
The colour touch screen is the key here, not only is using a touch screen second nature to most of us, but this one walks you through every stage of the initial set up and rinse, with diagrams. Which is handy, because you don’t get the full manual in the box, for that you’ll have to scan a QR code and scroll through it online.
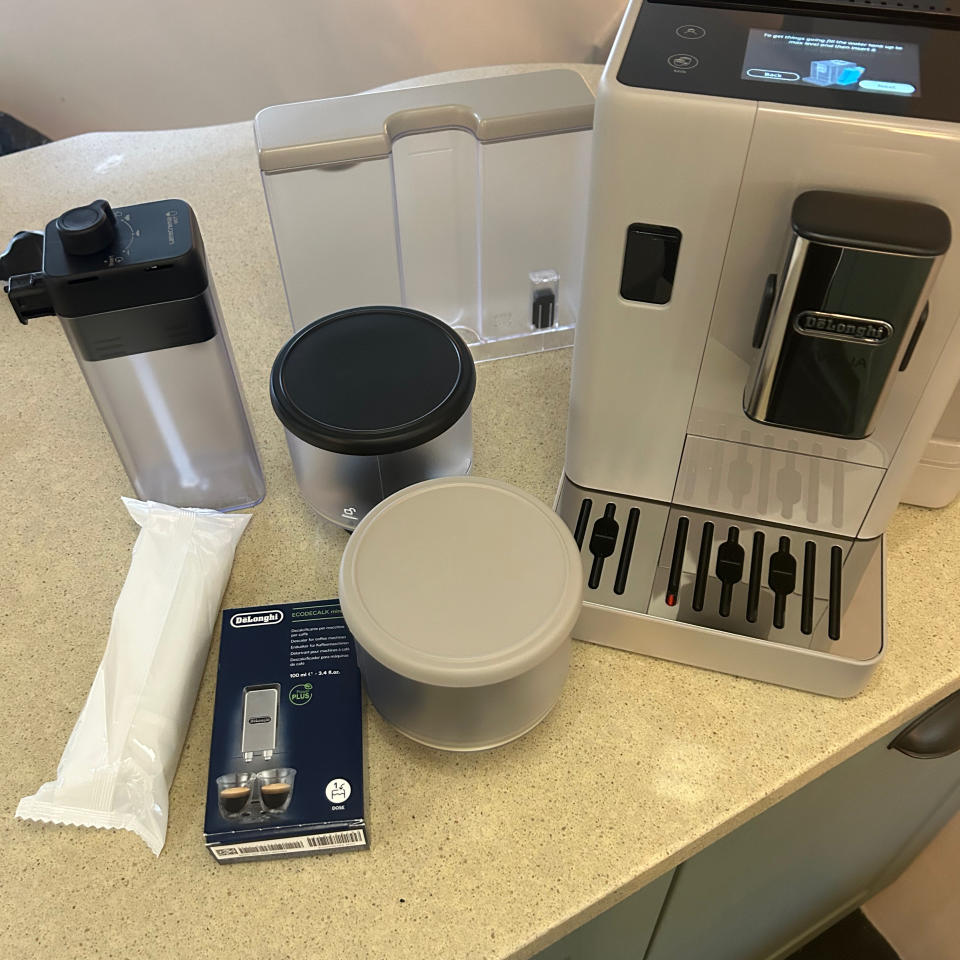
Apart from a few plastic bags, the coffee machine came in fully recyclable cardboard packaging, which calmed my eco anxiety. Along with all the necessary parts like the two bean hoppers and the milk carafe, there’s also a water filter and a descaling product included to get you started.

Uniquely, this bean-to-cup machine comes with two bean hoppers, so you can vary your coffee type without waiting for your current beans to run out. And underneath a flip up lid on top, there’s a slot for adding pre-ground coffee, which will be good news if you like the occasional decaf too.
Switching the bean hoppers isn’t quite as simple as just removing one and adding the second. Once the hopper is twisted into the unlock position, you then have to either brew a coffee or select the ‘grind and empty’ setting to discard the beans that are in the grinder. But once this is done, switching the hoppers is simple.

Alongside the bean hopper, a sliding dial offers seven numbered grinding positions, allowing you the opportunity to experiment with the grind size to achieve the best brew. However, with the bean adapt technology, you don’t have to faff about with this for multiple drinks to get it right.
Bean adapt allows you to simply select your bean type and roast on the touch screen, as well as the current grind position, and the coffee machine will adapt settings such as the coffee dose and infusion temperature, it’ll even advise you on the best grind setting. It’s a great feature that takes a lot of the guesswork out of achieving the perfectly brewed coffee.

Once set up, the bean adapt technology will also remember the particular settings for each bean. So when switching between hoppers, you simply need to make sure you reselect the bean adapt setting for the beans you’re using. It’s very simple and intuitive and I could taste the difference in my espresso after setting it up.
The coffee spout adjusts up and down to suit your cup height. At its highest it allows space for cups up to 14cm tall, or it can be pushed down, leaving space for an 8cm cup. This helps avoid splashing when you’re using shorter espresso or cortado size cups.

To the left of the spout is a small sliding door that when open, reveals the attachment point for the milk carafe or the hot water spout. The hot water spout is neatly stored next to where you add pre-ground coffee.
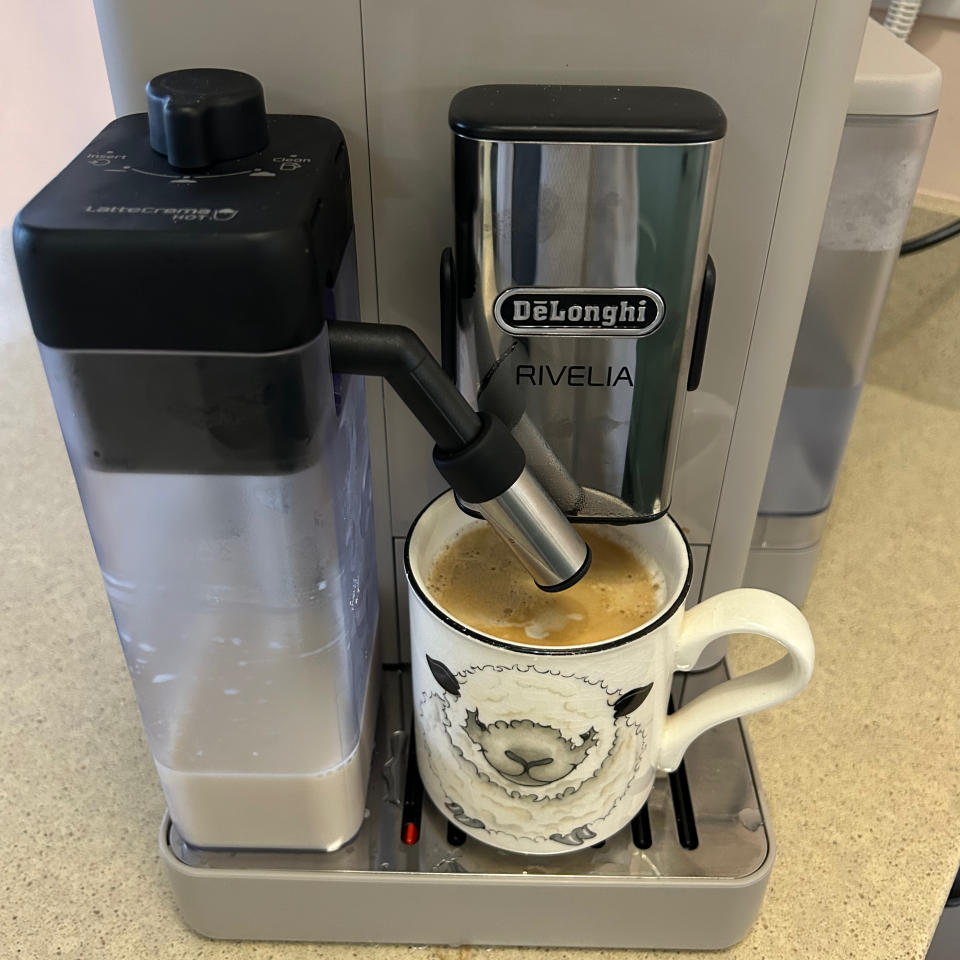
The milk carafe is a nice rectangular shape that’ll conveniently sit in your fridge door between uses. The milk spout height is adjustable, and the angle can be adjusted too. On top of the milk carafe a dial allows you to select between three foam levels, plus there’s a clean setting.
The removable water container is easily accessible at the right hand side of the machine. It can be filled in place or taken to the sink. And if you live in a hard water area, you’ll welcome the option to insert a water filter.

At the front of the machine, the drip tray slides out and along with it comes the used coffee bin, so it makes sense to empty and rinse both at the same time. The machine prompts you to do this as and when needed.
As I mentioned above, the touch screen and menus are very well designed and simple to understand. Coffee settings are straightforward to adjust and you can save your favourites to your own user profile which I’ll discuss more below.
What is it like to use?
When you first switch it on in the morning, it takes around 40 seconds to heat up. This process includes rinsing water through the spout, so I’d suggest you avoid putting your coffee cup under the spout until afterwards.
Once it’s ready to go, the coffee menu is displayed on the screen and you can scroll through and see what you fancy. It took me a few drinks to discover my preferences, which as it turns out, is a medium sized flat white with an extra shot. It’s worth pointing out that when you select an extra shot in a drink, it grinds and brews the first shot and then repeats the process, which makes the brew time somewhat longer.

To give an example, a medium sized flat white or cappuccino with a single shot takes around 1 minute 30 seconds to dispense. Whereas a flat white with an extra shot takes around 2 minutes 20 seconds. But because it’s fully automatic, the time didn’t bother me. I could be doing other things like buttering toast or emptying the dishwasher while my coffee was being made.
Immediately after pouring the coffee shot, there is an option on the screen to dispense more coffee. This is not to be confused with adding a second shot. Instead this option dispenses extra hot water through the coffee grounds until you tell it to stop. The extra shot option has to be selected in the drink settings before you hit brew - unless you’ve saved it as a preference.

On the middle of the milk foam settings, the milk in my flat white was creamy, with a silky microfoam that’s very stable and consistent every time. I tried the frothier setting when I had a cappuccino. It was much bubblier and while it wasn’t for me, it’ll suit people who like frothier cappuccino style foam.
I love that once you’ve figured out your preferred settings, you can save them. I saved mine so that, every time I wanted a flat white I simply pressed the button and it automatically gave me an extra shot as well as the perfect size drink for my cup.
Furthermore, setting up, and switching between the user profiles is effortless. So my flat white was saved to my user profile and my husband’s flat white preferences were saved to his - which certainly took the thinking out of our morning routine.

For most drinks there are four drink sizes to choose from: small, medium, large, and extra large. Or, you can go into more detail and use the ‘my’ function to select a bespoke volume of coffee and milk. I also played around with the coffee intensity within the drink settings, there are five levels to choose from and for me number 3 was about right.
I’m partial to the odd espresso too, and this coffee machine creates an espresso with a good thick crema. Flavour, and crema for that matter, are dependent on the beans you use. My cheap supermarket beans produced a bitter drink. But, freshly roasted beans from my artisan coffee subscription were a different story altogether. This espresso was fresh and fruity with no bitterness and a really thick, creamy crema on top. It was easily as good, if not better than my manual espresso machine.

The espresso was dispensed at around 70C while a cappuccino and flat white were 60-65C. Which I found to be a good temperature. The coffee temperature is set by the bean adapt technology. But you can also go into settings and choose between low, medium, and high temperature settings..
If you like to make the occasional decaf, then adding pre-ground coffee couldn’t be simpler. Just select ground coffee in the drink settings, pop a scoop full into the chute on top of the machine, then it brews as normal. The included scoop means you always add the right amount.
In addition to hot coffees, there are iced coffees on the menu too, so I tried an iced americano to see how it worked. Before pouring the coffee, the screen instructed me to add 6 ice cubes to my cup. By the time the coffee had poured and I’d given it a stir, the ice cubes had all melted, but the coffee was cold. So I was then able to add a handful of additional ice to keep it super chilled. All in all it worked well, and if it wasn’t February at the time of reviewing, I'd be enjoying a few more of these.
I experimented with making tea using the hot water spout. A large hot water proved to be a tad too much for an average sized mug, so I opted for a medium to leave space for a tea bag and milk. It took 75 seconds to dispense, which feels a bit slow, but it’s quicker than boiling the kettle.

I stuck a temperature probe under the spout as the hot water was dispensed and it averaged around 90C. So it’s not quite as hot as freshly boiled water, but it did the job for a cup of builders tea. My only criticism is that water splashes as it dispenses into the cup and I had to wipe over the front of the coffee machine and the worktop afterwards.
Everything about the control panel and the settings is easy to use and understand. I’d go as far as to say this is the most straightforward automatic bean-to-cup machine I’ve ever used.
There are loads of helpful on-screen reminders to keep you on track. If you leave the milk carafe in place, it beeps to remind you to pop it back in the fridge. It tells you when to top up the water, or when the drip tray and coffee grounds need emptying. And it reminds you to clean the milk carafe too.
As you’d expect, the noisiest part of the brew process is the grind. But I measured it at 78dB, and it didn’t feel super loud to me.
How does it compare to other bean-to-cup machines?
If your budget is tight, our affordable bean-to-cup choice is the Beko CEG5311X. At around half the price of the Rivelia, it’ll certainly save you some pennies. Plus its minimal design looks good too. But at this more budget end of the scale you'll have to forego some of the user-friendly design features like the colour touch screen and vast menu of drinks.
Alternatively, if you like the idea of top-of-the-range design, but capsule coffee if more your vibe, then you should check out the Nespresso Creatista by Sage. This swanky machine has the look of a manual machine, and even lets you experiment with latte art, by automatically frothing milk in a jug.
Cleaning and maintenance:
There’s no getting around it, coffee machines do have to be cleaned and descaled to keep them well maintained and running at optimum performance. And no matter how automated all the settings are, this is a manual job.
That said, to rinse the milk spout after every use, you only have to turn the dial on top and the machine does the rest. It also automatically rinses the coffee spout every time it starts up and shuts down. So the main two things you need to do regularly are emptying the drip tray and coffee grounds, and washing out the milk carafe and its parts. But these items are all dishwasher safe, which makes the job easier.

On a monthly basis you’ll need to clean other parts like the brew unit and pre-ground coffee funnel. This is all straightforward enough. Descaling is one of the bigger maintenance jobs that you need to do when prompted by the machine. But with step-by-step instructions given on the display, you can’t really go wrong. Just make sure you buy De’Longhi descaler to avoid invalidating the warranty by using an unsuitable descaling product.
Should you buy it?
As I’ve already alluded to, I’m often left underwhelmed by automatic bean-to-cup machines. But I really enjoyed using this one. It’s so simple to use and set up, and crucially, it can make a tasty coffee. Yes, it is expensive, but most automatic bean-to-cup machines are.
I also love the look of it, the matte finish and natural muted tones are really elegant. And it’s far smaller than some others that I’ve reviewed in the past.
Changing the settings and creating my perfect coffee didn’t give me a headache, nor did I have to scrutinise the manual for hours on end, it’s just so straightforward. If you’re looking for an automatic bean-to-cup and you’ve got the budget for this machine, I really don’t think you’ll regret making the investment.


