
Tips, Tricks And Hacks To Give You Perfectly Flaky Pastry Every Damn Time
Making pastry is one of those baking things that can seem seriously overwhelming. They make it look crazy-hard on the The Great British Bake Off, right?
But perfect homemade pastry can be yours at the click of a finger if you take your time, have a solid plan and keep everything nice and cold (more on that later).
Pastry chef Amber Croom is a dab hand at making perfectly flaky pastry every time, so we got her to share her expert pastry-making knowledge so that one day our pastry could ~maybe~ be as good as hers…
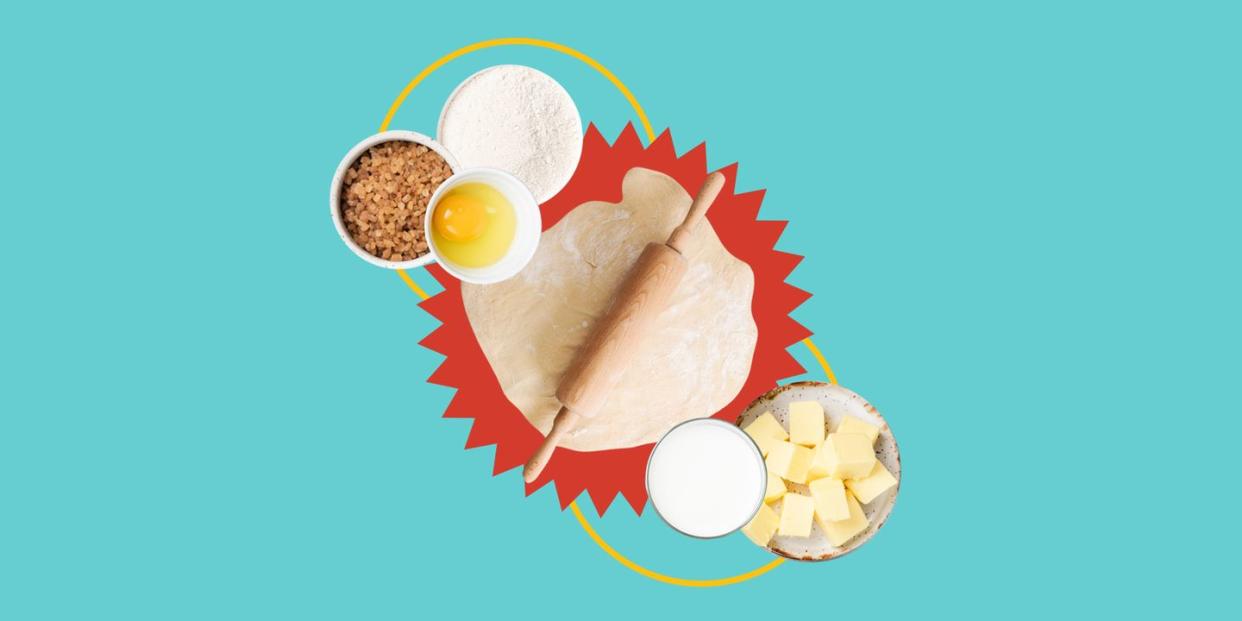
HOW TO MAKE PASTRY
Keep Everything Cold
You may have come across this before, but Amber says it’s critical that everything is cold, cold, cold – and not just the butter and water. Amber says she also put her flour in the fridge before making her pastry. “It helps to keep everything at the same temperature,” Amber tells Delish. “The science behind this is that using very cold butter helps you not to overwork the dough causing you to have a very tough crust. Plus, it also gives you those pockets of fat that will lead to a flaky crust.”
Mmmmmm, fat pockets.
Leave Some Of That Butter
Speaking of pockets of fat, Amber says that the best pastry still has little chunks of butter in it before you cook it. “Butter chunks are an essential part in getting that flaky, delicious crust we all crave. The best way to achieve this is by not working the dough until it’s a fine crumbly texture. Instead, you should still be able to see little fat chunks in your dough. These pockets, while baking in the oven, will help create flaky dough from the steam as it melts.
Chill Your Dough
So, we know we want our pastry ingredients to be cold, but that’s not where the chilled them ends: you also want to chill your pastry dough for a minimum of 30 minutes, according to Amber.
Use As Little Water As Possible
The main ingredients for pastry are flour, butter, and water. But when it comes to water, you really want to use as little as possible to stop it from getting too tough. “You use water in some pastry doughs to help with developing gluten, which you don't want in your pie because it will become extremely tough and unpleasant to eat. Instead, you want to use the least amount of water to help the dough come together.
“If a recipe calls for 250ml water, you’re best off adding a little at a time until you end up with the right consistency. This can vary because of the moisture that's already in the air, but you will know when it's done because you can pinch the dough with your fingers and it stays together. If it's sticky that means you've added too much water.”
Work With Flour
Now then, you’ve made your pastry. And you’ve chilled your pastry. What’s next? Rolling it out, of course! Ambers says it’s imperative you work with floured hands and a floured work surface. “The best way to start things is by rolling pre-shaping your dough into the shape of the pan you're using to bake it in. This will help to lessen the time you’re rolling it out. The rolling and turning technique works best. You want to roll it then turn it a quarter. Place the rolling pin horizontally in the middle and roll away from yourself, and keep rolling and turning until it’s the thickness you require.
“Apply the same pressure every time you roll the pastry, so the dough is even all around - you don't want one size too big and the other too thin. It’s also important to make sure you keep the dough the shape of your baking dish. If the dough starts to stick just lift up one side and sprinkle some flour under it.”
It can be quite tricky to transfer your pastry to your baking dish, but Amber’s way of doing it makes things a million times easier. “Sprinkle a little flour on your rolling pin and roll the dough on to it. Start at the edge furthest away from you and place the edge on the rolling pin, and begin to roll it up like you're re-rolling kitchen roll. Start rolling the dough out over the baking dish and simply let it fall. Don't put too much pressure on the dough or it might stick together.”
Prepare For Baking
Once again, the temperature is key here. Once your pastry is in the baking dish, it is time for it to go in the fridge again. “Doing this will keep the shape of the dough and cause less shrinkage when baking,” Amber explains. “You’ll do this step before you blind baking (baking the dough halfway before adding the filling if making a pie). You don't want all your hard work to be sabotaged because you missed this step, trust me.”
At last… it’s time to bake your pastry! Make sure you’ve pre-heated your oven to the temperature your recipe states. Do NOT put your pastry in the oven before it’s heated up. Ambers says to keep your eye on the pastry and bake until it’s a lovely golden brown colour. This will give you a flaky and tender crust. If you have to question if it's done or not, bake it a little more. We want brown, not ‘almost brown’.

