
Step-by-step guide: How to paint a radiator
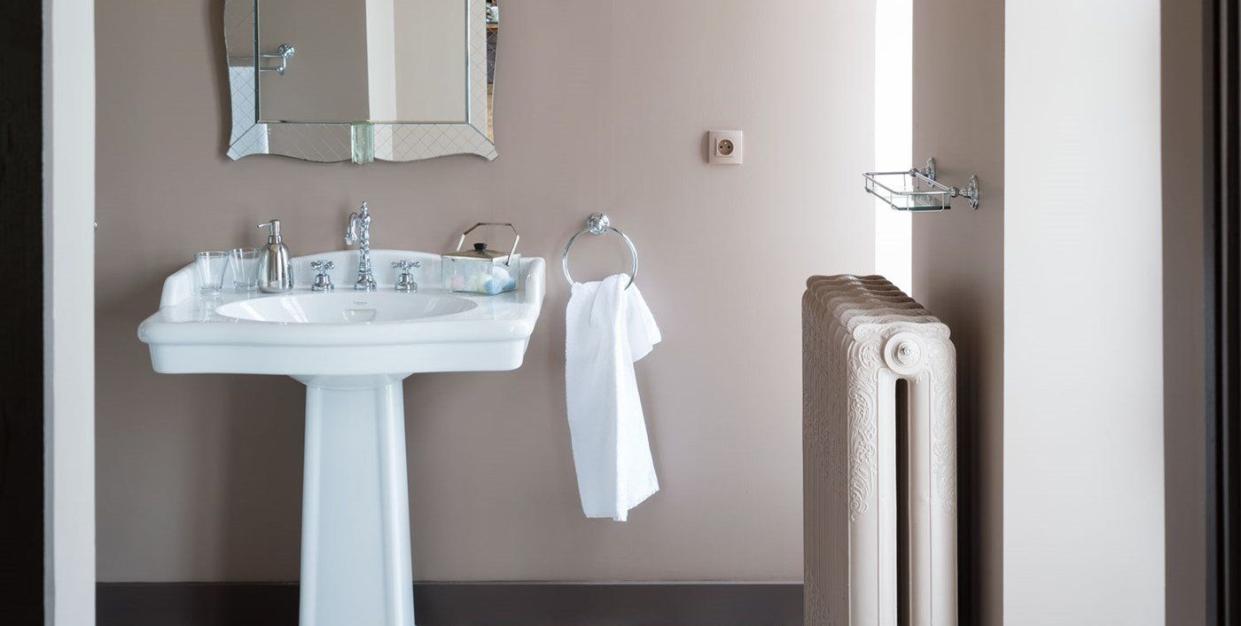
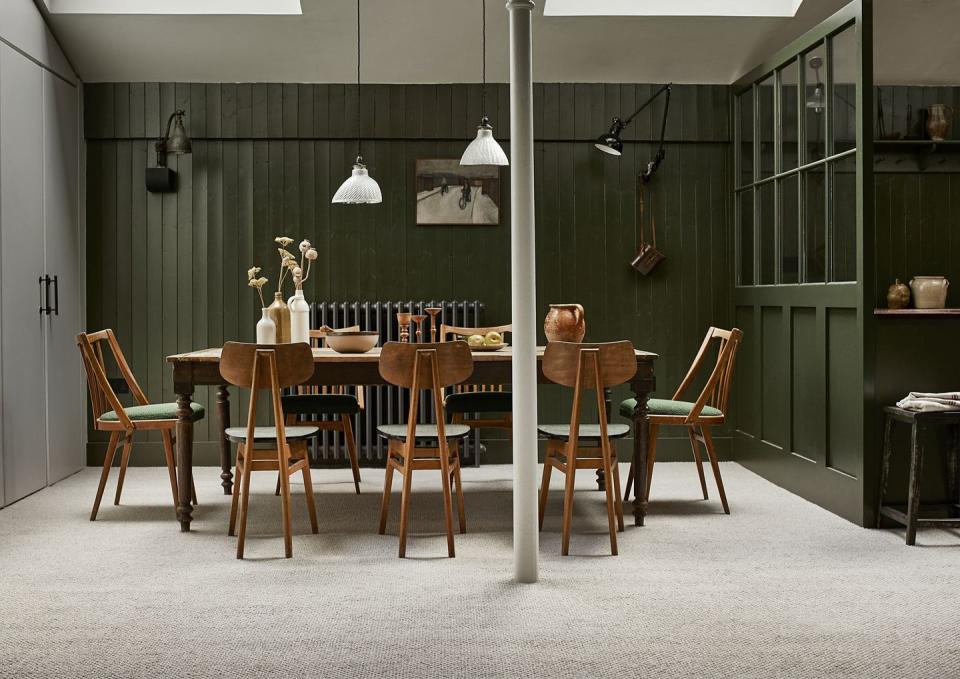
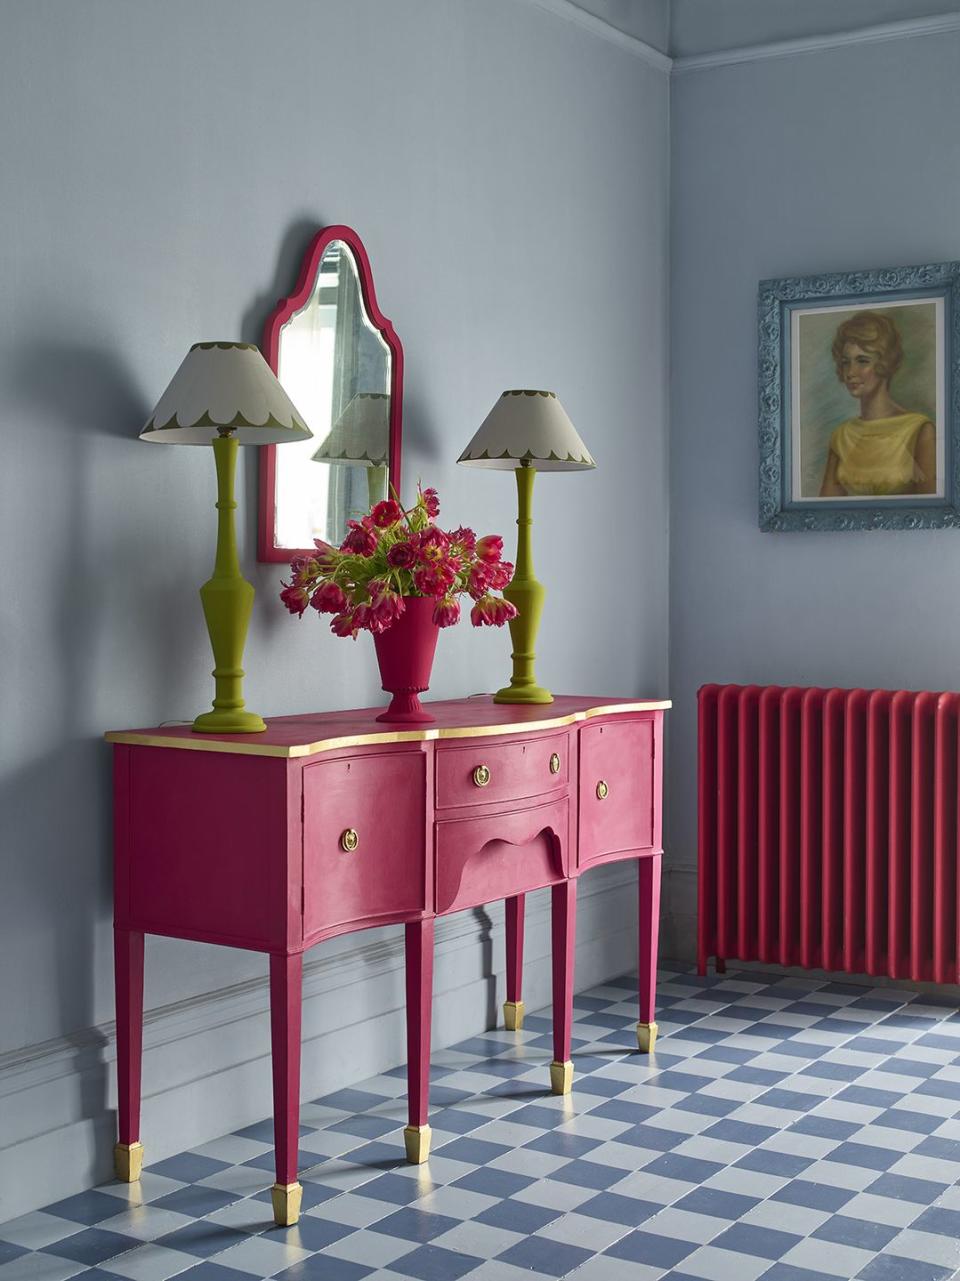
Radiators can so often be an eyesore in your home – especially for those who put so much weight on the finishing touches and little details in a room. But painting a radiator is such a transformative and indeed feasible task, whether you match it to your walls in an attempt to disguise it, or paint it in a bold contrasting colour to make a feature.
Painting a radiator requires a little more preparation than most other DIY paint projects, and Michael Rolland, DIY expert and MD at The Paint Shed, has put together a simple step-by-step guide to do it correctly.
To paint your radiator you will need:
Metal primer
Metal paint
Dust sheet
Synthetic brush
Sandpaper
Cloth
Protective gloves
Step 1: Turn off the radiator
This might seem obvious, but the first and most important step before you start painting your radiator is to make sure it is turned off and cold. Painting a warm radiator will lead to blistering and dripping, so make sure it is completely cooled down before you begin painting.
Step 2: Protect the areas around the radiator
Lay down a dust sheet around the radiator including the floor and secure it with tape. Do make sure it is a ‘paint proof’ dust sheet to better protect your floors, skirting boards or carpet with any accidental paint splashes or stray paint drops.
Another tip is to place some card or slide paper between the radiator and the wall, to protect your wall paint behind the radiator. Be sure to also cover any valves or vents with masking tape.
Step 3: Clean the radiator
It’s always a good idea to clean anything you are about to paint for a seamless finish and this is the same with a radiator. Clean the radiator with warm water and mild detergent to remove any dust. You could also vacuum the radiator to be sure you have removed all dust and debris before painting.
Step 4: Sand the radiator down
Using light-weight sandpaper (120 grade), give the radiator a good once over making sure to buff away any unsightly lumps or bumps in the old paint. Your dust sheet should protect the floors from any debris.
Step 4: Prime
If there is any bare metal exposed through the sanding process, you should apply at least one coat of metal primer paint prior to painting with colour. Make sure you research which primer to choose for your metal surface.
Step 5: Paint the radiator
The best paint to use for a radiator is a water-based satin or gloss finish metal paint, as it is best suited to constant changes in heat.
Make sure you stir the paint well before and during use. Using a synthetic paint brush, start painting the radiator, in the same direction as the grooves. Less is more when it comes to loading up the paint on your brush. You should extend the brush into the paint tin or paint pail so that only one-third of the bristles are dipped in the paint, otherwise, you will drip paint everywhere.
For best results, you should paint in the following order:
Using a 2-inch brush start by painting the edges of your radiator.
Move on to the front, working in small sections beginning with the mouldings (paint the top and then the bottom before bringing the two together.)
When it comes to painting the back of the radiator this can be a bit tricker. You can use a long-handled mini roller frame and mini microfibre roller cover.
If your radiator is close to the wall and you are unable to fit a roller behind, you can use a small brush and reach around as far behind as possible.
Step 6: Leave plenty of time to dry
Leave the paint to dry overnight and apply a second coat. You should note that several thin coats are better than one or two thick coats – you will not only achieve a much smoother surface appearance but you will get a harder and more chip-resistant finish.
Only turn the heating back on when the paint has thoroughly dried out. Leave a minimum of 24 hours. This is really important to avoid ruining the paintwork completely.
You Might Also Like

