
How to Paint Your Nails at Home Like a Pro
Follow these 10 steps for a perfect mani.
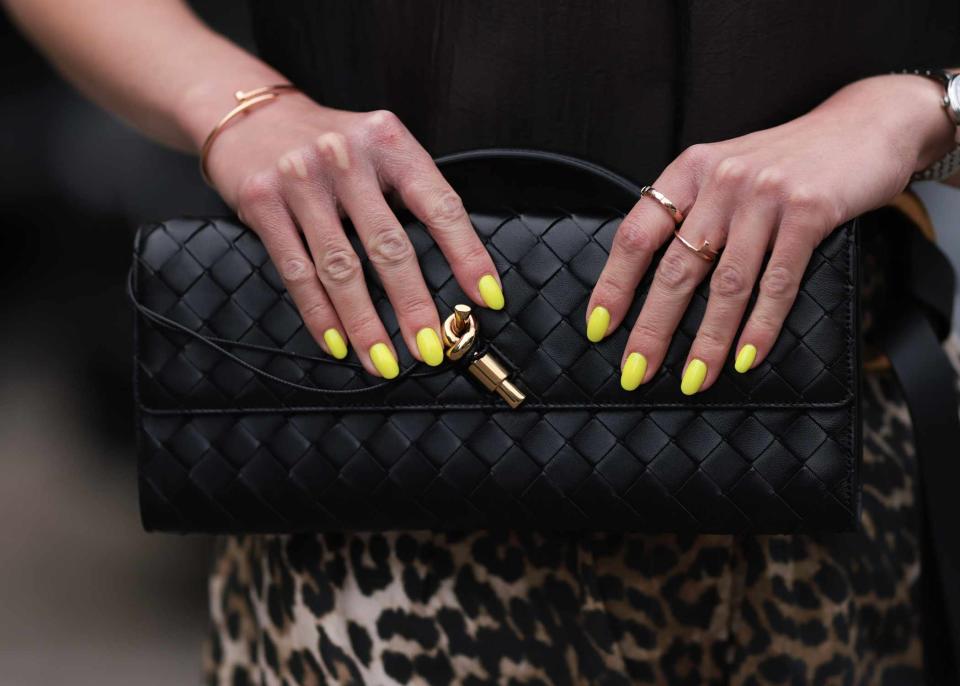
Getty Images
Who doesn’t love a little treat? We’re big fans of everything from iced coffee and (mini!) shopping sprees to spa days and fresh manicures. When it comes to the latter, though, it can be particularly satisfying when you're your own nail artist. Sure, it might require more effort than a salon appointment, but the end result and feeling of accomplishment make it worth it.
Meet Our Expert
Olivia Van Iderstine is a trend expert and vice president of content and creative at Olive & June.
Mazz Hanna is a manicurist and the CEO of talent agency Nailing Hollywood.
You can even treat your DIY mani as a mindfulness moment, as its repetitive nature makes it meditative. Keep reading to learn how to paint your nails like a pro using traditional, air-dry polish. You’ll be zen-ing out with a perfectly polished mani in no time.
How to Paint Your Nails in 10 Simple Steps
The trick to achieving perfectly painted nails is to break down your DIY mani into 10 simple steps “Before you get started, remember to avoid washing your hands right before painting your nails—water causes chipping, and no one wants that,” says mani trend expert Olivia Van Iderstine. Now, onto the steps.
Step 1: Shape your nails.
Before you begin prepping your nails for a fresh manicure, you’ll want to shape them. Van Idertine suggests following the 90/10 rule: "Use flat-edge nail clippers to achieve 90 percent of your desired length and shape, and use a file for the last 10 percent—just smoothing the details,” Van Iderstine says. This method will streamline the shaping process so you don’t have to endlessly file down unwanted length. Furthermore, over-filing your nails can make the tips peel, Van Iderstine shares, so this method prevents potential damage.
Tips
Shape your nails while your old polish is still on. "The whites of our nails can often be uneven and misleading, so this trick always helps us get a more perfect shape at the end,” Van Iderstine says.
Step 2: Push back your cuticles.
After you’ve perfected your shape, it’s time to prep your nails. Start by removing any old polish with acetone. Then, manicurist Mazz Hanna, says to use a cuticle pusher to gently push back your cuticles. While some nail artists will tell novices to avoid this step (to avoid potentially damaging your cuticles), Hanna and Van Iderstine agree that it’s a necessary step for a picture-perfect DIY mani. “Painting over cuticles or any skin left on the nail plate will cause your polish to lift and chip,” Hanna explains. While pushing back is A-OK, it’s ill-advised to cut your own cuticles. “We don’t recommend cutting your cuticles, as you can hurt yourself and even cause an infection,” Van Iderstine says. “We recommend only clipping any skin that is hanging [after you push] with your nail clipper.”
Step 3: Buff your nails.
Part two of prep is buffing. This will create an even yet slightly abrasive surface that polish can better adhere to. “Gently buff your nail plate with a buffer—I recommend using a higher grit around 220/240 for natural nails,” Hanna says. Just be sure not to over-buff your nails, as doing so can damage and weaken the natural nail plate.
Step 4: Clean your nails.
Complete the prep stage with a quick nail cleanse, sans water. “Use a lint-free wipe and isopropyl alcohol or a nail prep solution to thoroughly clean your nail plate,” Hanna says. Alternatively, you can dip your nails into the Olive & June Polish Remover Pot. “After this dip, remember to not touch anything and don't wash your hands,” Van Iderstine says.
Step 5: Apply base coat.
Now that your nails are shaped and prepped like a pro, it’s time to add polish to the mix. Before moving straight to color, start with base coat. “Do not skip the base coat, it helps the polish adhere better and protects your nails from staining,” Hanna says. “When applying, be careful to not get the base coat on your cuticles or surrounding skin since this will lead to chipping and lifting. Also make sure you completely cover the nail plate—the polish will lift/chip off any spots where the base coat was missing.”
Step 6: Add color.
Next up, color! Choose your fave nail polish color and get to painting. To avoid bubbles or a messy-looking mani, Van Iderstine says to wipe excess polish off the brush on the inner edge of the bottle. Apply polish in thin coats and wait at least five to 10 minutes between coats allowing them to dry fully. “It's always better to do two to three thin coats than too few thick ones,” Van Iderstine says.
Meanwhile, if painting within the lines feels like a challenge, Van Iderstine has you covered with her go-to application hack. “For a neat polish application, start your brush in the center of your nail, then push down towards the base of your nail; then swipe the brush up to the tip of your nail,” she says. “This prevents the messy pooling of polish at the base of your nail—a telltale sign of a bad DIY mani.”
Step 7: Clean up the edges.
Once your polish is dry, look at the edges of each nail. Before moving on to top coat, clean up any smudges with an angled brush dipped in acetone.
Step 8: Apply top coat.
Seal in your gorgeous DIY mani with glossy (or matte!) top coat. Then, to keep your nails looking fresh, Van Iderstine says to reapply top coat every two to three days for the longest-lasting DIY nail look.
Step 9: Let your nails dry.
Perhaps the most difficult part of painting your own nails is forcing yourself to stay still while they dry. “Depending on the polish, this can take anywhere from 20 minutes to an hour,” Hanna says. “Thinner coats of polish will dry much quicker than thick coats of polish.” (If you’re impatient or short on time, Hanna recommends using Dazzle Dry polishes. “Dazzle Dry is a lifesaver when it comes to drying times—it’s easy to apply and dries completely solid within five minutes,” she says.)
Step 10: Hydrate your cuticles and nails.
Once your nails are completely dry, rehydrate your cuticles and hands as a whole. For clean, healthy-looking nails, Van Iderstine recommends applying cuticle oil or serum two to three times per day. “Keeping your cuticles looking and feeling their best will help make your manicure look perfect and last longer,” she says.
For more InStyle news, make sure to sign up for our newsletter!
Read the original article on InStyle.

