
Here's how to make your own envelope

Don’t Miss Out! Sign up for the Prima newsletter today for your free weekly fix of entertainment news, shopping inspiration, craft ideas and more… Click here to sign up now!
Knowing how to make an envelope is a handy craft skill to have. It’s easy to take an envelope for granted until you can’t find one in the right size! They're also a great craft idea for with kids.
Envelopes are so versatile, especially if you’re a card maker or would like to get into paper crafting as it gives you the freedom to create cards in bespoke sizes and an envelope to match.
Making origami envelopes allows you to personalise your post; so whether you’re sending invitations, a letter, thank you note or gift card, it will give you the freedom to choose the colour, type of paper and embellishments. It's such an easy craft project, it's great to make as part of a crafty afternoon with kids, too. They'll love customising their envelopes for the lucky card recipient!
Just be careful with young children using scissors – it can be a good idea to cut out all the pieces first, then let crafty little ones get on with glueing and sticking!
Envelopes can be made from everyday tools and materials in your craft stash and once you’ve mastered the craft you’ll no longer need to rely on a shop-bought envelope again. They'll give your handmade cards for Christmas, Mother's Day, Easter and Valentine's Day an extra special finish.
What type of paper is best for making an envelope?
Good news! You can make an envelope with any kind of paper but vary it so that it’s suitable for what you’re sending. If you're sending something heavier than a greetings card, use paper with a greater weight for your envelope.
The best paper to practice on is normal printer paper then once you’ve mastered the technique you can move on to colourful prints such as scrapbooking paper.
What do I need to make an envelope?
Paper
The type of paper you use will vary according to what your envelope will be used for. Try ordinary A4 printer paper, patterned paper or scrapbooking paper.
A card, letter or postcard
Decide what you’re sending before you make an envelope for it, as it will ensure you have the right size for what you need.
Glue stick
Any basic glue stick will work on paper.
Stickers
Choose colours and designs to match your paper.
Bone folder (optional)
This is a tool often used in bookbinding and cardmaking that allows you to make sharp creases when you fold paper. If you find it difficult making fold, or you have a lot of folding to do because you’re planning to make a lot of envelopes, a bone folder is worth investing in.
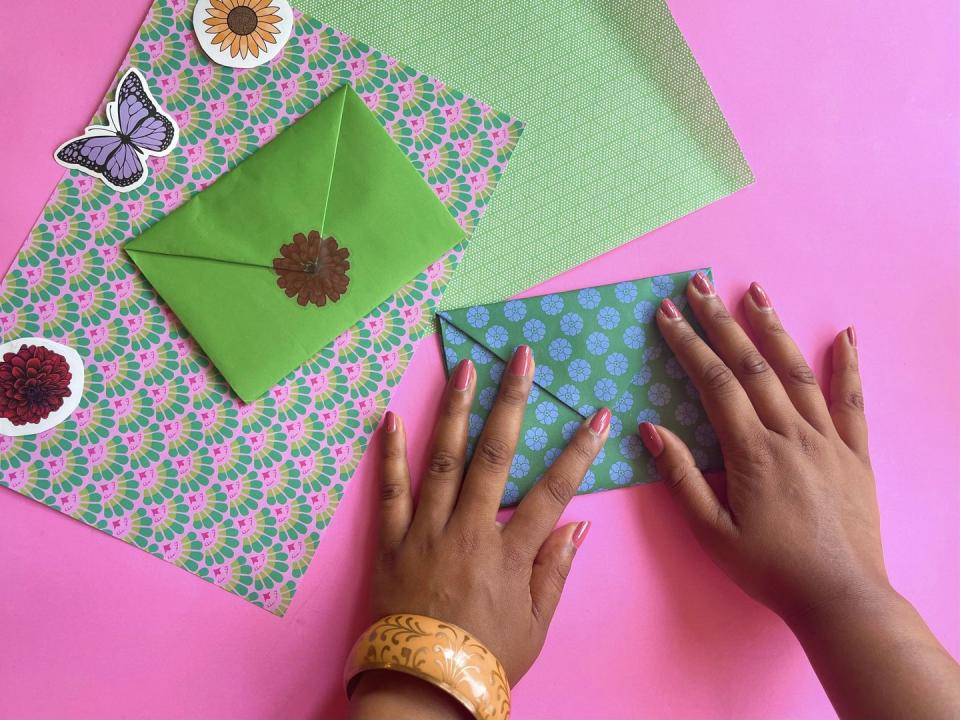
How to make an envelope in five easy stages
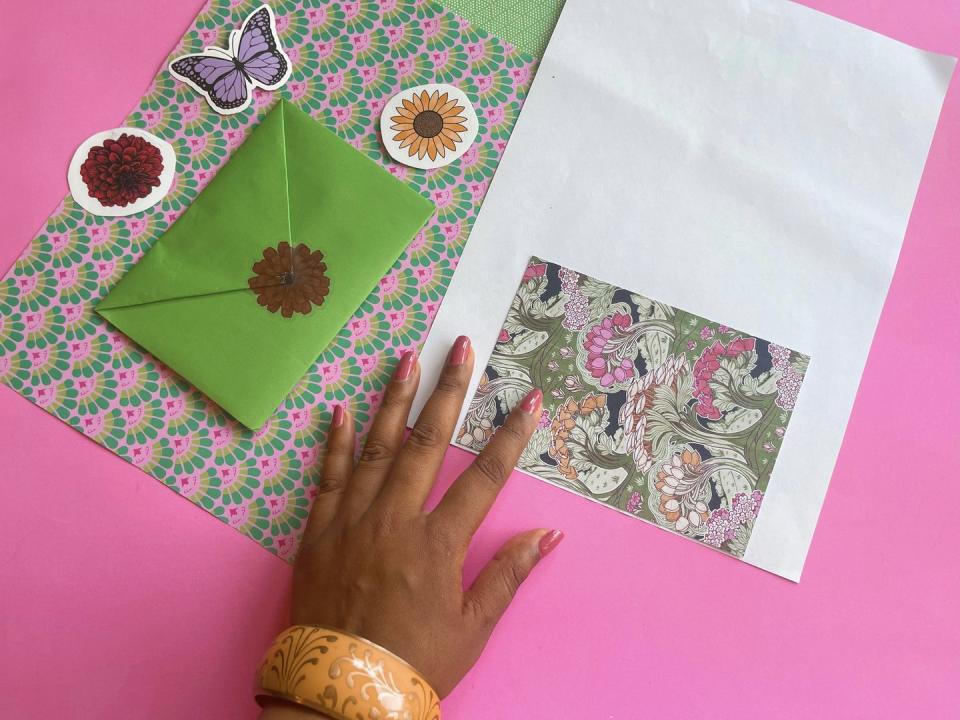
Step 1
Position an A4 piece of paper so that it is portrait. If you’re using patterned paper, the pattern should be on the reverse. Place your card on the centre edge at the bottom of the paper.
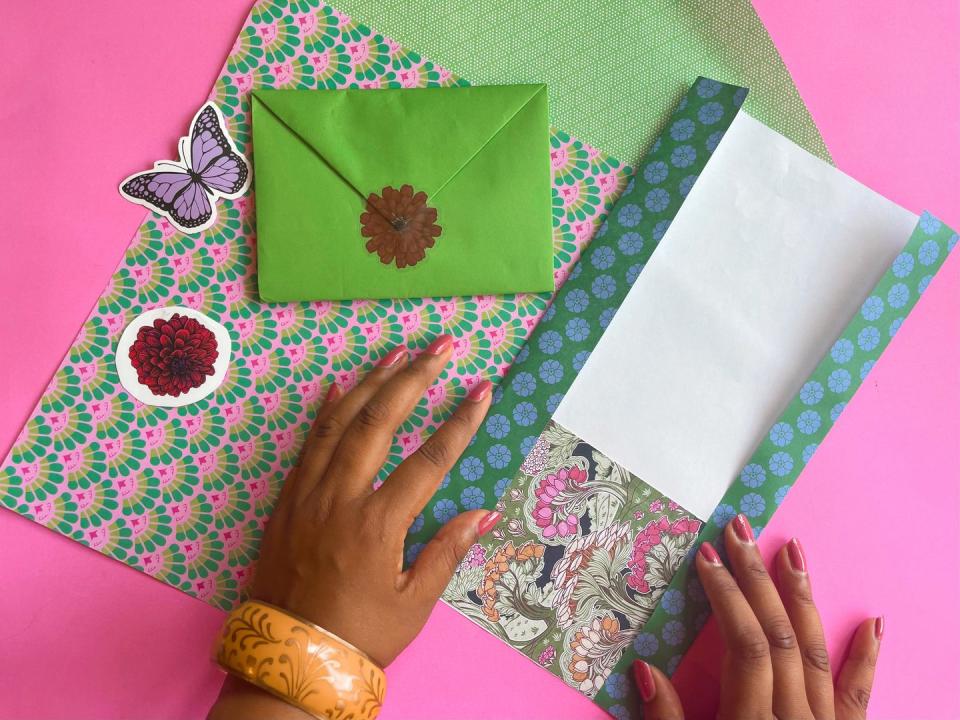
Step 2
Fold in both sides of the paper. This will create the flaps of the envelope. They will both overlap the card. You can use your hands to make the folds, or your bone folder if you have one.
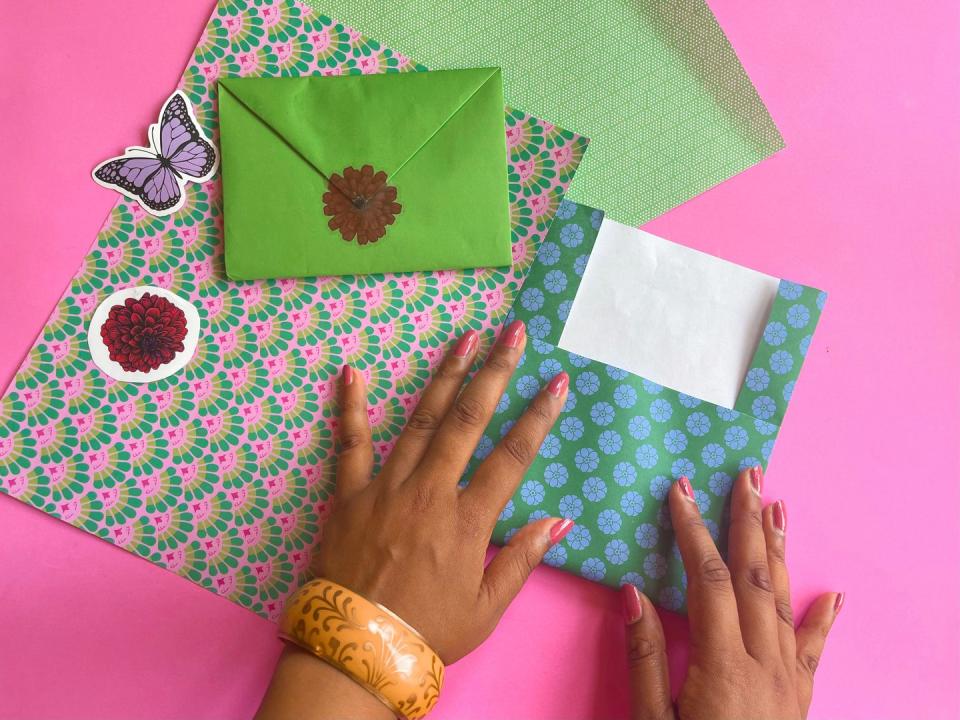
Step 3
Fold your paper upwards with the card still inside the flaps. The card will now be hidden from view but the top section of your paper will be seen.
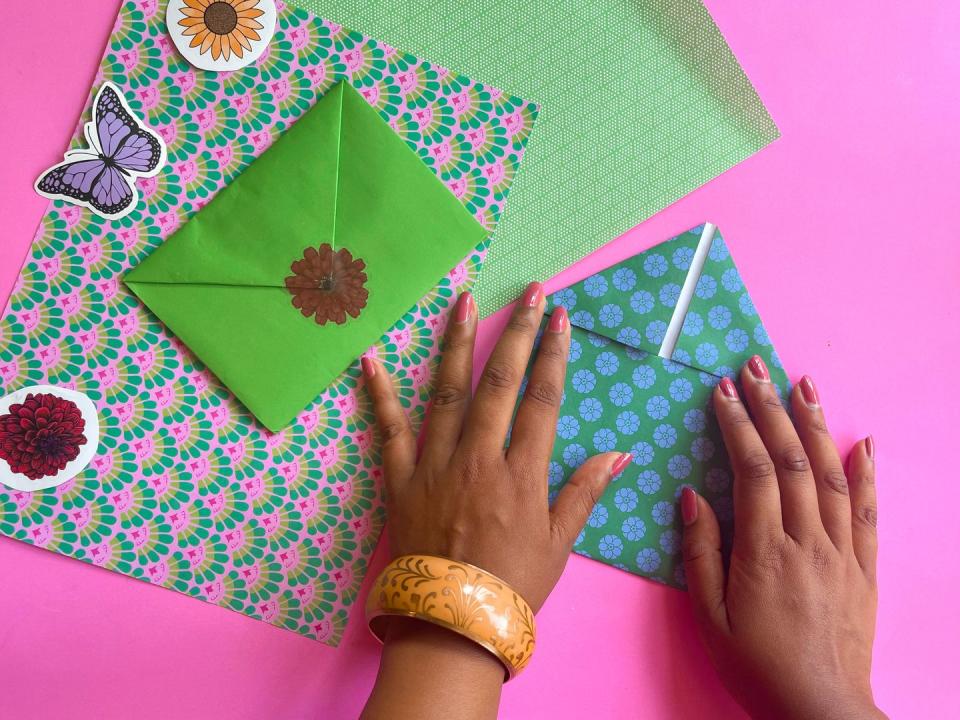
Step 4
Fold the top down by bringing in both corners. This will create two triangles that meet in the centre. Their bottom edges should touch the top of the folded paper.
Step 5
Glue the top triangles down so they lay flat. Open up both sides of your envelope and then glue these down so that your envelope is now secure with your card inside.
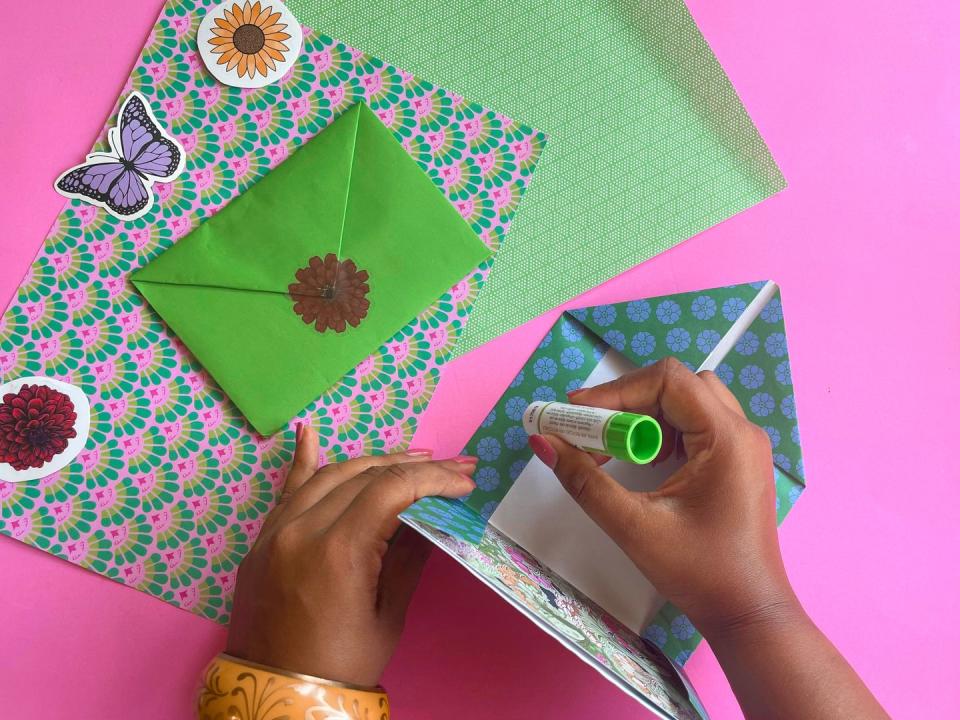
You can now easily remove your card in and out of your envelope. When you’re ready to send your card or letter, glue the envelope closed and add a sticker to brighten it up.
TIP: This envelope-making tutorial uses an ordinary A6 size postcard and an A4 sheet of paper. This is a great size to practice with before you adjust paper sizes to your requirements.
Now you’ve mastered the art of making an envelope it’s time to put it to the test. Next time you’re sending a handmade card, make an envelope to match. The recipient will be impressed by the thought and effort you’ve put into your creation when seeing how the two complement each other, while you'll feel proud that you’ve learnt and shared a new paper craft skill.
Our pop up card is so simple to make – and will be loved by recipients young and old!
Do you make your own cards? Share them with us by tagging @primamag in your pictures on Instagram!
You Might Also Like
