This Instagrammer found an easy DIY alternative to ‘the chair’ that we all dump our clothes on – and it’s genius!
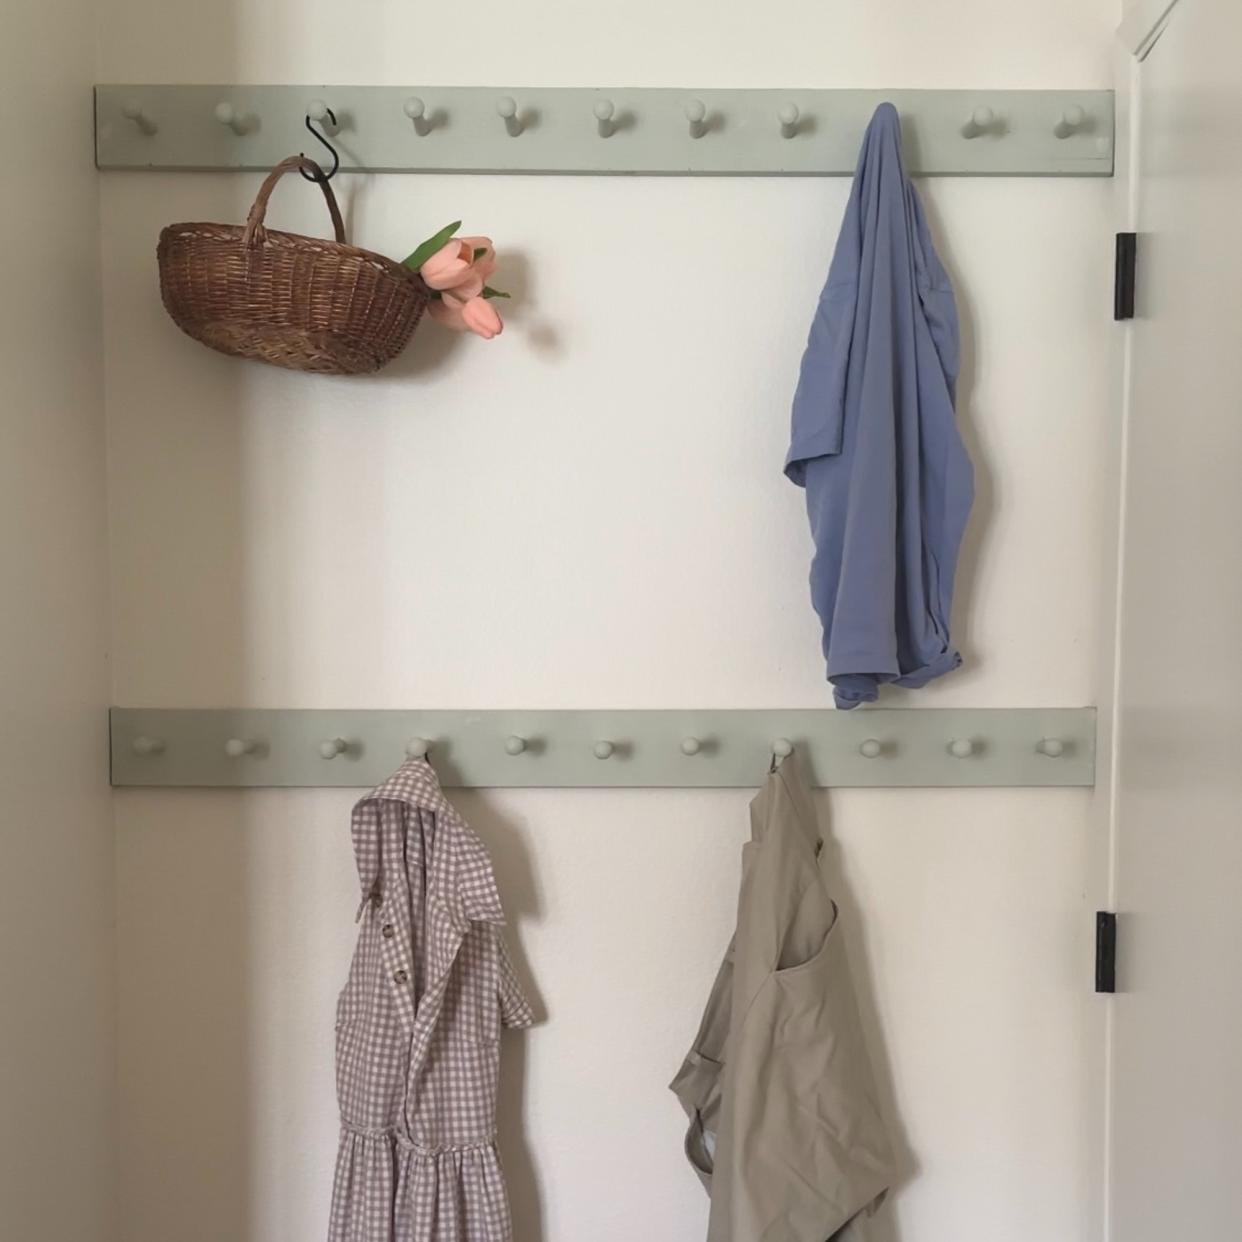
We all have that one chair or surface of sorts at home that has become the dumping ground for our worn clothes that are not dirty enough to go in the wash. For this writer, it’s the top of the laundry basket and in the past, the side of a headboard was used for this purpose. But one Instagrammer came up with an ingenious DIY alternative to ‘the chair’ that effectively gets rid of the messy display.
The easy DIY project in question is a simple peg rail, utilising the unused wall space to hang the in-between clothes (not clean, nor dirty) – and its space-saving benefit makes this the perfect small bedroom idea. Coming courtesy of Sosha Phlip of @houseofhillflower who shared a reel of her new storage solution on Instagram, the creator opted for two rows of peg rails, which both offer enough storage for various sizes of clothing and look more aesthetically pleasing as they better cover the wall.
A photo posted by idealhomeuk on
DIY alternative to 'the chair' you dump clothes on
We love a good Instagram or a TikTok hack, like the IKEA hack turning a BILLY bookcase into a dreamy library. In many ways, Sosha’s hack is even better as it doesn’t require a lot of skill or know-how and makes for the perfect DIY or upcycling project for beginners.
‘All my life, I've never known what to do with my used clothes,’ Sosha says. ‘I always throw them on the chair or on the floor but end up getting upset because I never can find the used clothes I'm looking for or it gets so unwieldy that I just throw it all in the wash.’
‘It occurred to me that - like everything else in life - what my used clothes needed was a designated space where I can easily find what I'm looking for, organise it, and let it air out. I polled my followers on Instagram and the majority of respondents also said they struggled with this. Most people also throw their used clothes on a chair.’
So she decided to do something about it. And so can you.

What you’ll need
A drill
Paint – this step is optional if you prefer the look of raw wood but Sosha used the Eddy shade from Farrow & Ball, with the sample pot being more than enough
Nails like these from Amazon to attach the peg rail to the wall
Command strips available at Amazon also work well if you can’t make holes in your walls
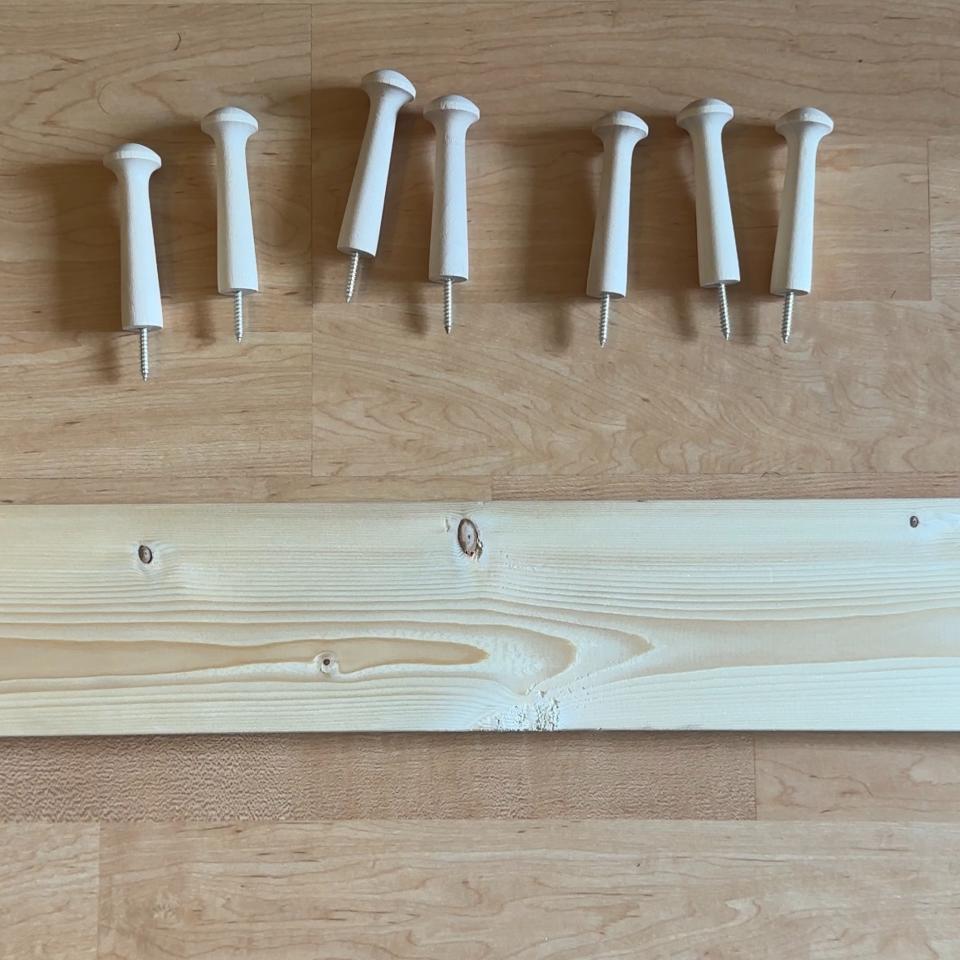
How to make it
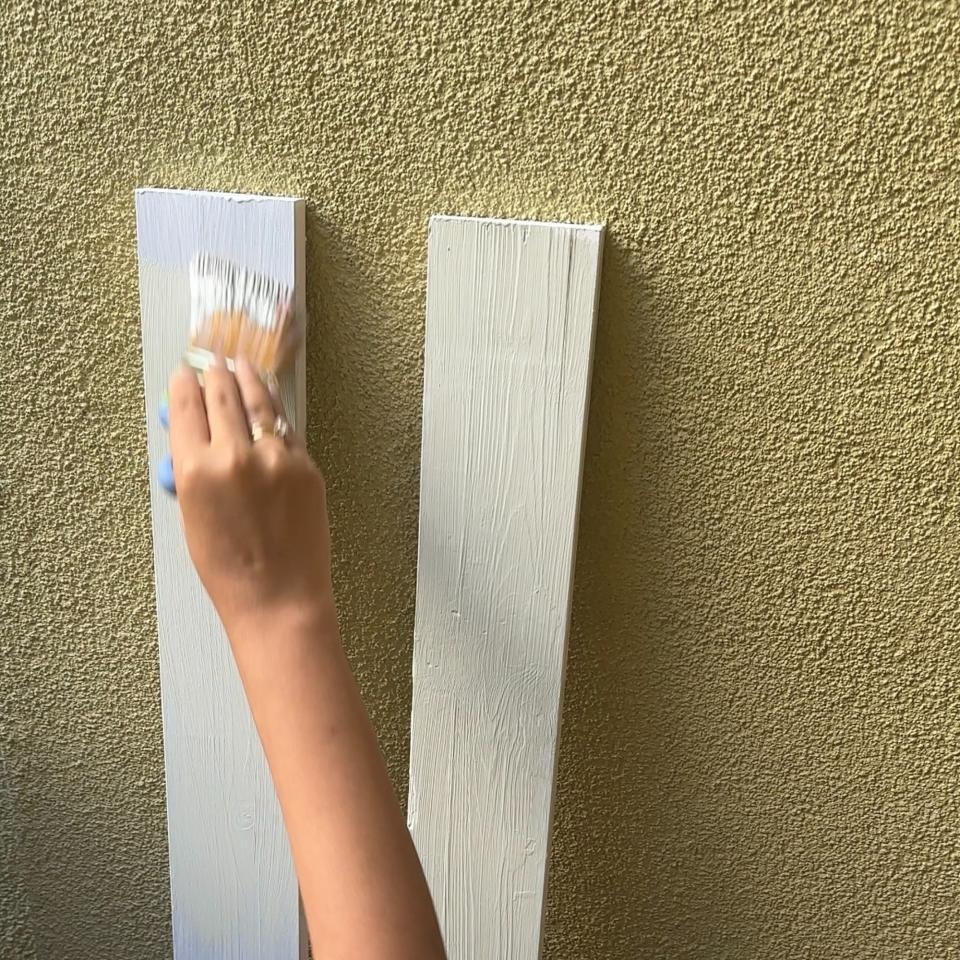
Start by cutting your pine board to the desired length, or have it cut in store. If you are planning on painting your peg rail, then this is the time to do it. You can also prime it beforehand in order to hide stains and prevent discolouration.
Then measure out where to attach your pegs, Sosha recommends spacing them out between 4 and 6 inches. Make sure that the first and last peg is the same distance from the edges to ensure a clean and symmetrical look.
Sosha recommends to pre-drill the holes for the pegs - you can screw them in without drilling but pre-drilling makes the process easier and it ensures that the wood doesn’t split.
And finally, just hang your new rail by attaching it to the wall with nails. Or you can use Command strips instead if you’re renting and can’t make holes in the walls.
‘This is a beginner friendly DIY and I can’t recommend it enough,’ Sosha says. ‘It’s really helped curb my clothing mess. But if you don’t feel like making your own you can always buy an accordion rack or a peg rail.’
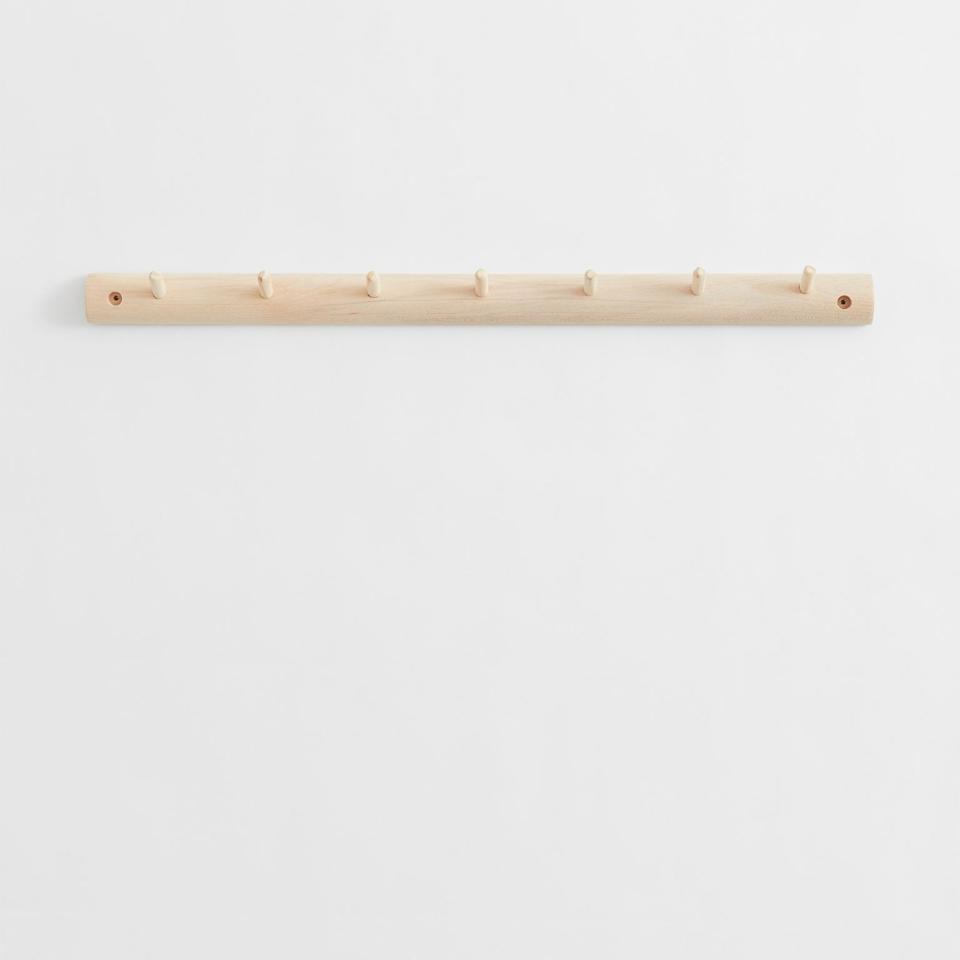
H&M Home Birch wood hanger
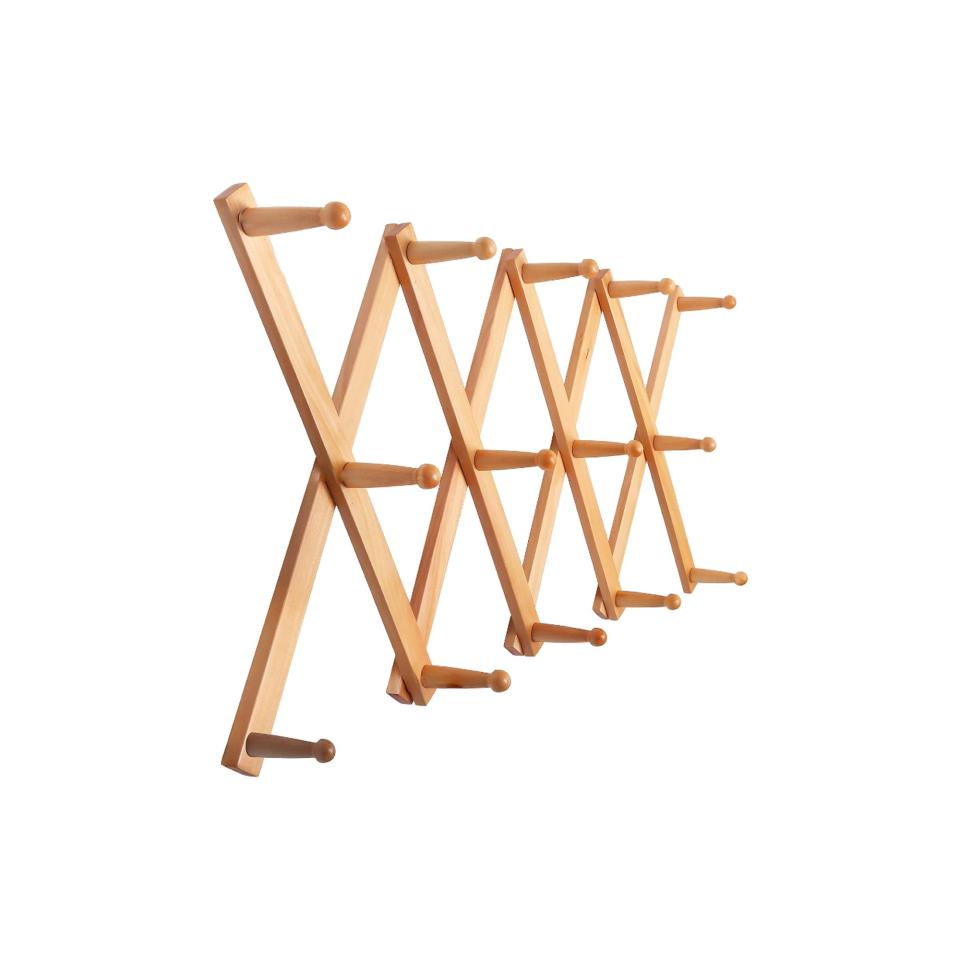
SKOLOO Accordion Wall Hanger
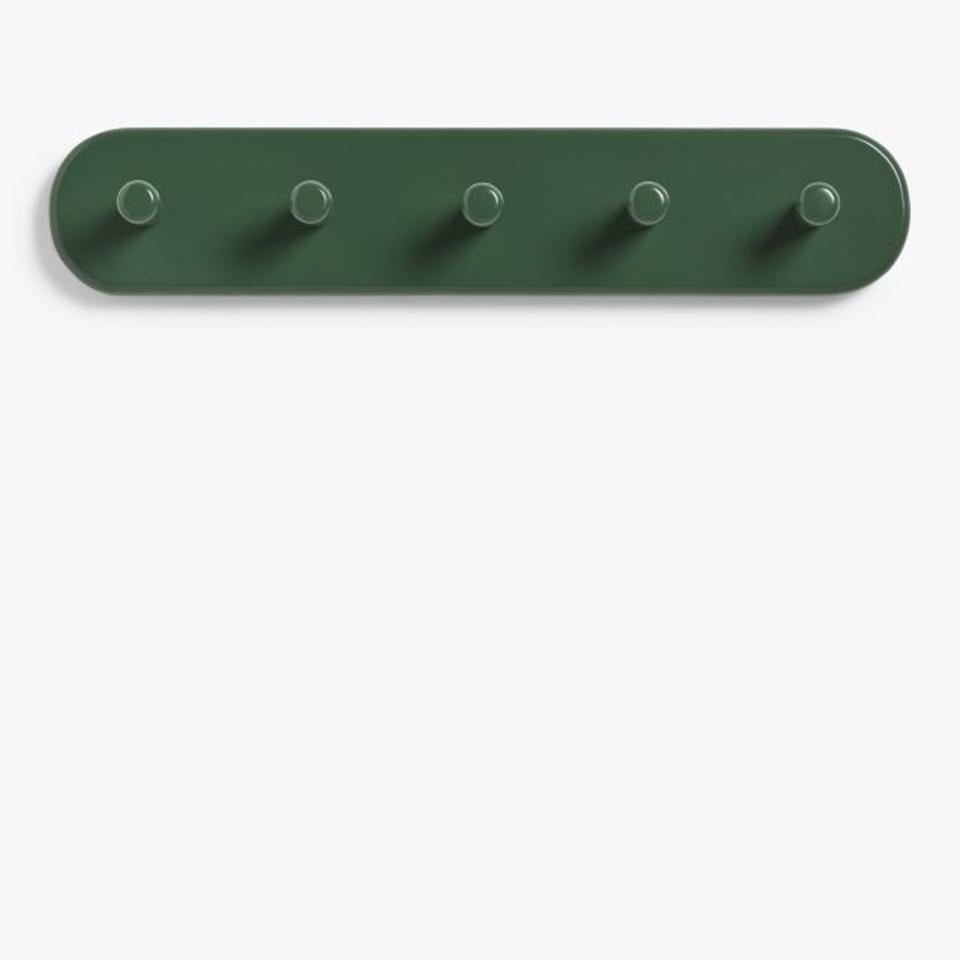
John Lewis ANYDAY Shaker Style 5 Hook Hanging Rack
So if you don’t want to make your own, you can just buy ready-made peg rails or accordion racks like the ones above and attach them to the wall. Problem solved!


