
Here's how to make your own playdough
Learn how to make playdough for an inexpensive afternoon of art and crafts with the kids – and it's done in just five steps.
If you’re fed up of buying ready-made playdough for the kids only for it to end up merged into a multicoloured mess and put in the bin, then making your own colourful playdough is the answer.
It’s much easier than you might think. Plus, it’s a great way to save money, while making a rainy afternoon stuck indoors more fun – the perfect activity for weekends or over the school holidays. Playdough is also great for children’s parties, as an activity or to take home a pot in a party bag. You'll use this recipe again and again!

The good news is that making homemade playdough requires few ingredients. All you need to make a batch is a few kitchen cupboard staples, mixing bowls, some warm water and our easy-to-follow playdough recipe.
Some playdough recipes require cooking, but we've found using warm water binds the ingredients to create just the right consistency and elasticity. We've also left out the cream of tartar found in lots of other playdough recipes for the same reason.
Playdough is suitable for children ages 2 year and up and should be used under supervision. If your children are older, you can also involve them in the making process.
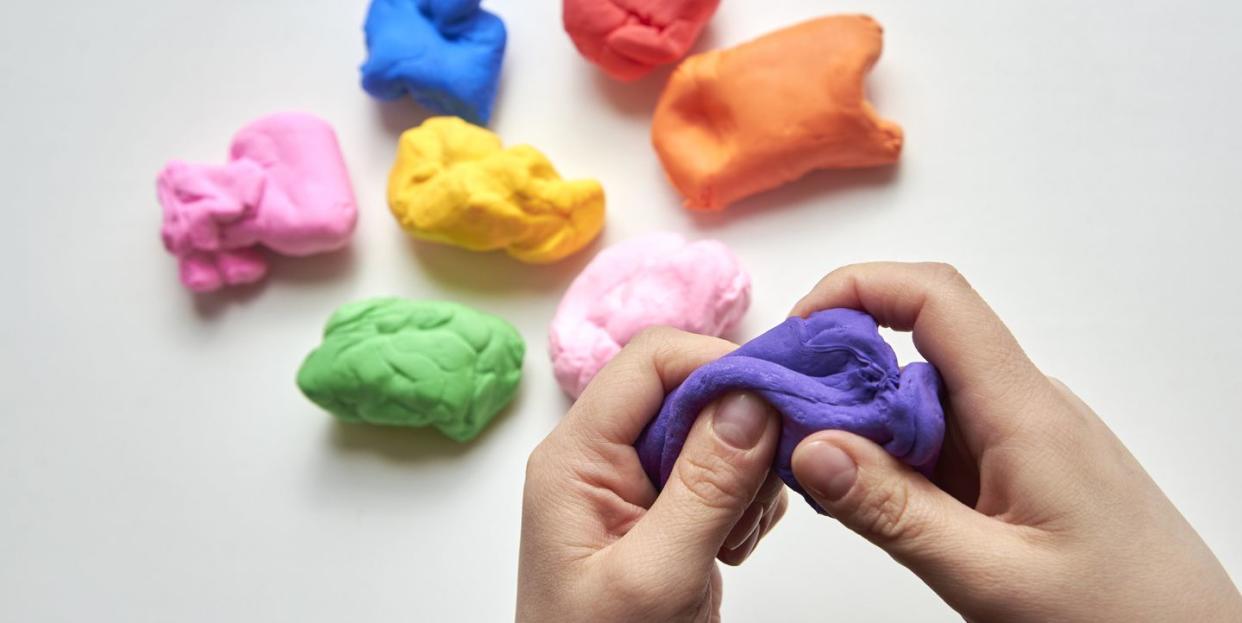
One of the most exciting parts of DIY playdough is that you can mix your own colours! There's such a wide choice of food colours around that you can experiment with different brands and blend colours to make hues that you can’t buy in the shops. It's a brilliant way to spark creativity in little ones.
Making your own modelling clay using a playdough recipe is a great skill as once you’ve made it, you’ll never need to buy it again.
What you need to make playdough
You will need:
2 cups of flour, plus extra for dusting your board
1 cup of salt
2 cups of warm water
2 tbsps vegetable oil
2 mixing bowls
How to make playdough in five steps
Step 1
Mix together the flour and salt in one bowl, and the water, oil and a few drops of food colouring in another.
Liquid food colouring is easier to blend then pastes and powders but if you’re worried about staining do cover any surfaces and wear gloves if you prefer. The more food colouring you add the stronger the colour will be. For a more intense shade add in a few more drops.
Step 2
Pour the oil, water and food colouring mix into the bowl with the flour. Use a wooden spoon to mix it all together. If your children are old enough to help you with baking projects then they will love getting involved in the mixing, too!
Step 3
Dust your wooden chopping board with flour just as would do to make pastry or biscuits. Place the dough mix on top and knead for a few minutes until smooth and pliable. If it feels to sticky, add in a bit more flour. The kneading stage is important, especially to ensure that the colour is even throughout.
Step 4
Leave the mixture to cool completely and then your homemade playdough is ready for little hands!
Don't miss our guide to the best craft storage ideas here.
How to store homemade playdough
Our craft team recommends storing homemade playdough in an airtight container in the fridge to keep it fresh.
You could use plastic tubs, sandwich bags or even empty pots with lids if you have them left over from old shop-bought playdough you may have at home. If it’s kept air tight it should continue to stay soft, stretchy and usable for several months.
Just be sure to keep it out of the reach of pets because it can be toxic.
Looking for inexpensive craft activities for kids? How about paper mâché, tie-dye or getting creative with toilet rolls?
Happy crafting!
Have you got crafty with little ones? Share your creations with us by tagging @primamag on Instagram!
You Might Also Like

