
Gooey S'mores Scones Recipe
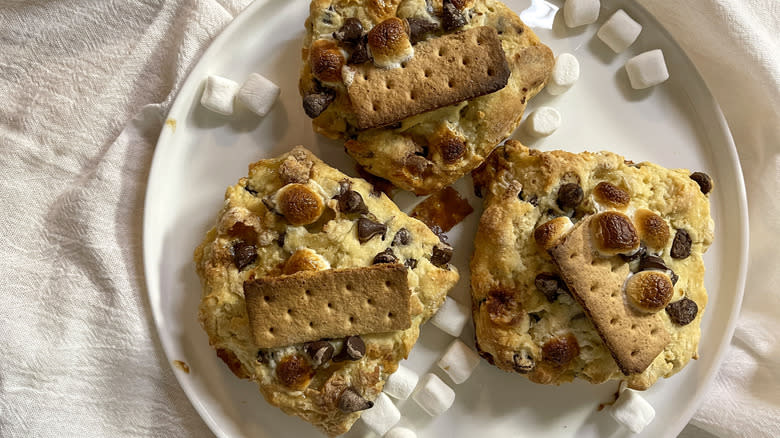
Scones might bring to mind a crumbly biscuit served with afternoon tea, but the baked good offers plenty of room for experimentation. Case in point, recipe developer Kara Barrett's gooey s'mores scones recipe. You read that right — she combines two delicious desserts into one decadent treat. Aside from their colossal appearance, these scones are packed with all the goodies you'd expect from s'mores: marshmallows, chocolate chips, and graham crackers.
If you're looking for the ultimate all-in-one baking recipe to satisfy a sweet craving, these gooey s'mores scones will do the trick. As Barrett points out, "You can channel those wonderful campfire flavors of real s'mores straight from your kitchen with ease." While they look downright impressive, she notes, "They come together quickly and would be a fun weekend project for parents with little bakers." You won't have a hard time mustering up the appetite for these but if you're looking for inspiration, Barrett says, "They make a nice breakfast treat for the weekend."
Read more: 25 Chocolate Brands, Ranked Worst To Best
Gather The Ingredients For Gooey S'mores Scones
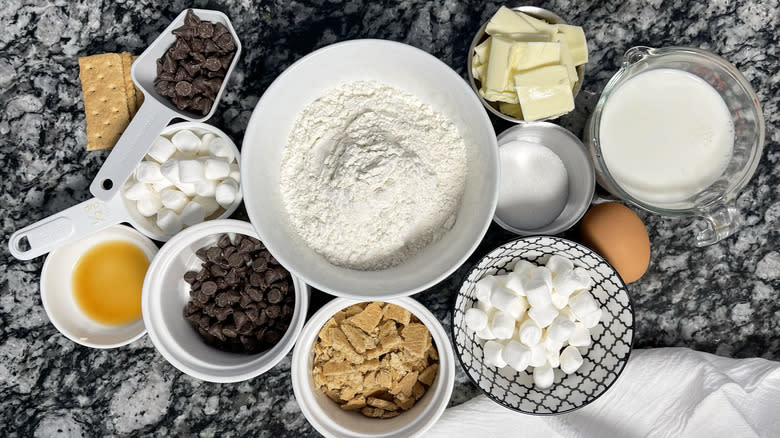
For these scones, get self-rising flour, sugar, and kosher salt, Next, you'll need frozen unsalted butter (cut into pats), which Barrett says improves the scones, explaining, "As the steam escapes, it will help them rise." Next, get semi-sweet chocolate chips, graham crackers (crushed and whole), mini marshmallows, vanilla extract, a large egg, and milk.
Step 1: Whisk Flour
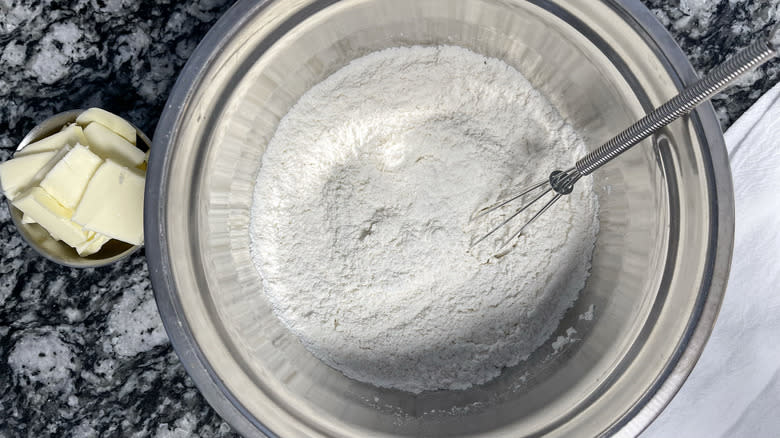
In a medium bowl, whisk together the flour, sugar, and salt.
Step 2: Add Butter

With your fingertips, quickly and gently incorporate the butter into the flour mixture, breaking up any large chunks. Be careful not to overheat the butter.
Step 3: Add Chocolate, Marshmallows, And Graham Crackers
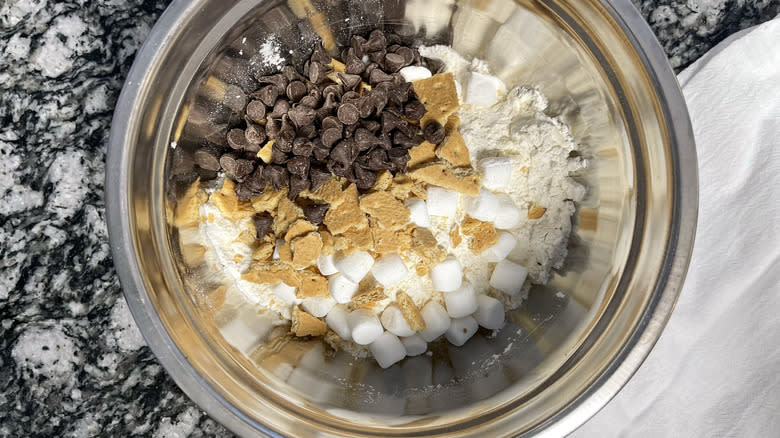
Add ⅓ cup chocolate chips, ½ cup mini marshmallows, and crushed graham crackers, gently incorporating until well combined.
Step 4: Add Wet Ingredients
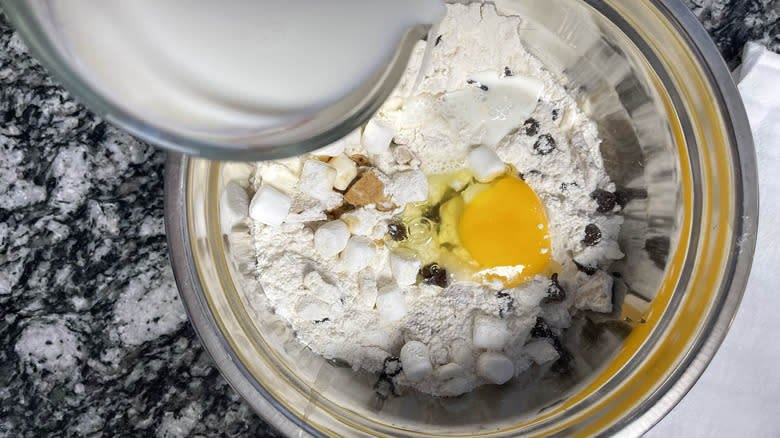
Mix in the vanilla, egg, and half of the milk. Add more milk only as needed.
Step 5: Mix
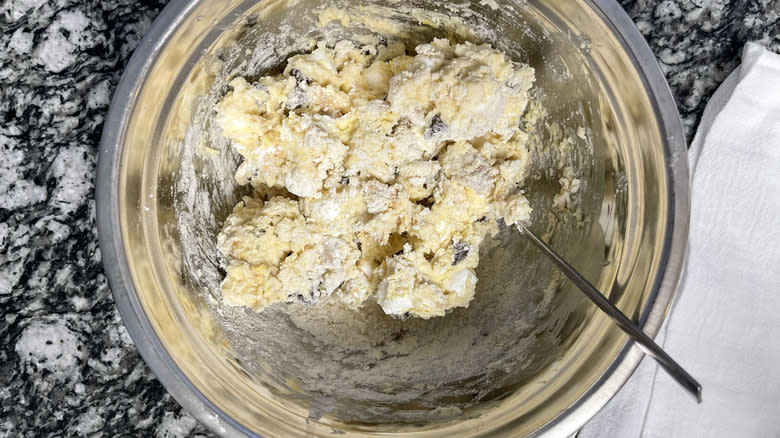
Combine ingredients with a fork until a shaggy dough forms.
Step 6: Shape Dough

Dump onto a lightly floured surface, patting into a square, using more flour as needed if the dough is sticky.
Step 7: Split Dough In Half
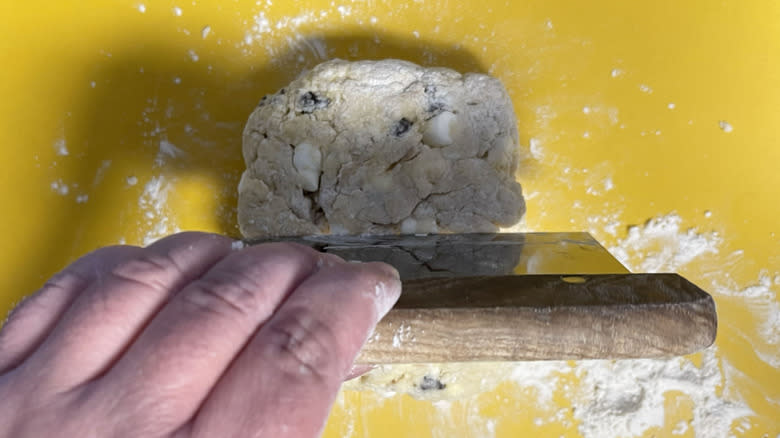
Halve the square evenly with a knife or bench scraper and stack one half on top of the other.
Step 8: Roll Dough
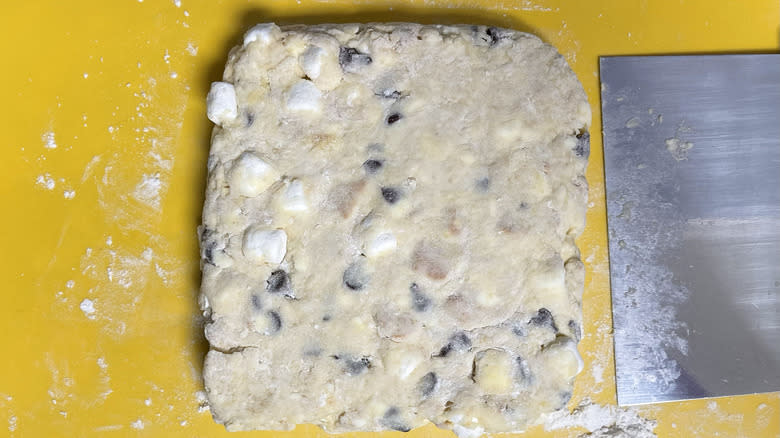
Use a rolling pin or pat the dough back into a 6x6-inch square, roughly 1-inch thick.
Step 9: Divide Dough

Divide evenly into four squares.
Step 10: Add Crackers, Marshmallows, And Chocolate
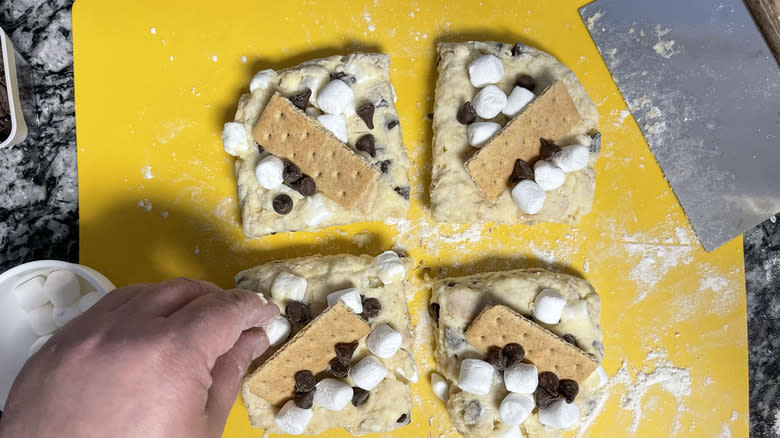
Press the four graham crackers into the top of each square. Gently press in remaining marshmallows and chocolate chips.
Step 11: Chill Dough

Add squares to a parchment paper-lined baking sheet and chill for 30 minutes (up to overnight) in the refrigerator or freezer.
Step 12: Preheat The Oven

Preheat the oven to 400 F.
Step 13: Bake
Bake for 15-20 minutes until tops are golden and marshmallows are toasted.
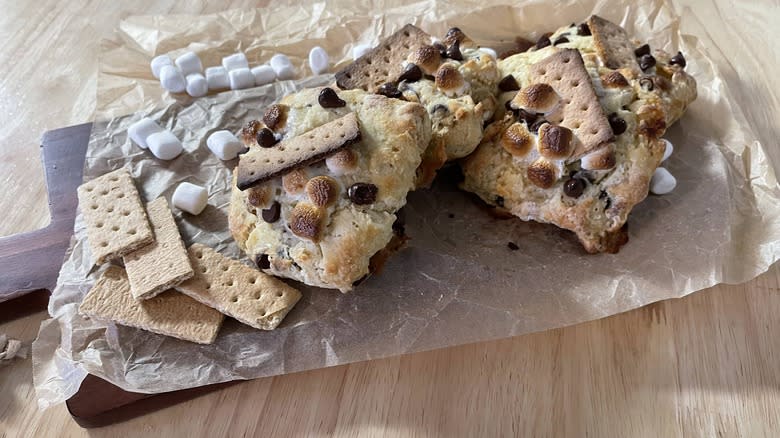
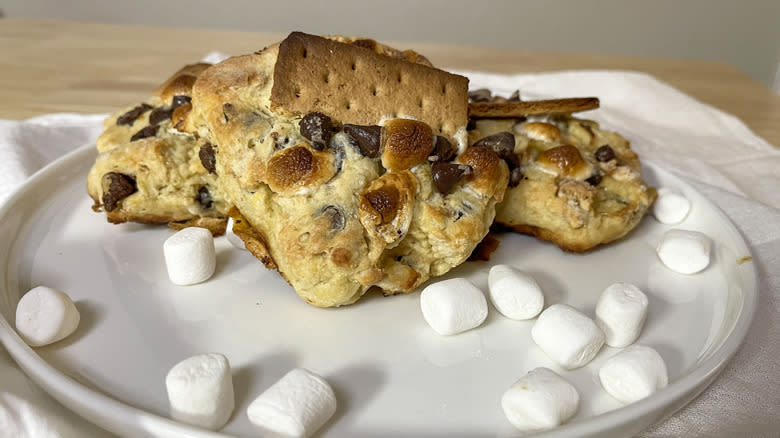
Step 14: Serve
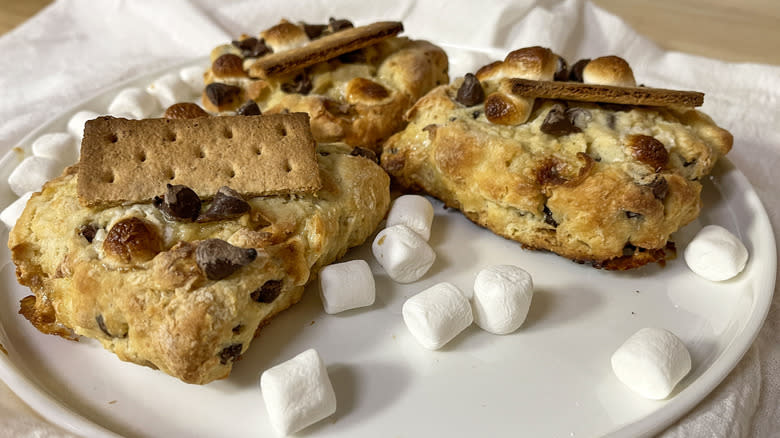
Serve warm while still gooey and enjoy.
How Should You Store Leftover Scones?

If you're making a batch for yourself, chances are you'll have a few leftover scones. "Here's a tip," Barrett says and instructs, "In order to keep those crunchy bottoms, cool your scones on a wire rack immediately after you remove them from the oven. Let them cool completely. If you put them in a baggie or container while they are warm, they will soften." The crunchy golden exterior is part of the appeal of these treats, so you'll want to do your best to keep it intact.
Once they're cool Barrett says, "Wrap or store them in a container and keep them for a few days at room temp or in the refrigerator." Although she remarks, "They will be best eaten the day they are made," you can still reheat them in the oven to obtain that toasted effect. "If you want, you can store the pre-baked scones in an airtight freezer zip bag and bake them when you want a scone. This is probably your best option if you don't want all of them right away," Barrett recommends.
What Steps Can You Take To Ensure Perfect Scones?
Scones are seemingly basic, but there's a notable difference between delicious and passable results. Barrett explains, "Like biscuit dough, scones will benefit from a little lamination. This is the act of creating layers." This technique only requires you to stack the dough halves partway through. "You can laminate multiple times," she says, adding, "It will help create taller, more impressive scones. You've probably seen scones that are very flat looking, and a little sad. This is how you avoid that."
Barrett also emphasizes, "Be gentle, work quickly, and always freeze [the scones] for at least 30 minutes. You will have better results and avoid the dreaded 'spreading' that some bakers encounter with scones," she adds. It doesn't require much more than that, and Barrett concludes, "Between using the frozen butter, laminating, and freezing them before baking, you will have some lovely scones to enjoy."
That said, if you want to give your scones a gourmet finish, she recommends, "You could also add [a] little egg wash and sprinkle the tops with turbinado before adding the toppings. It's a little touch that would add crunch and elevate the overall presentation."
Gooey S'mores Scones Recipe

Prep Time: 45mCook Time: 15mYield: 4 ServingsIngredients
1 ½ cups self-rising flour, plus more as needed
2 tablespoons sugar
¼ teaspoon kosher salt
½ stick frozen unsalted butter, cut into pats
½ cup semi-sweet chocolate chips, divided
½ cup crushed graham crackers, plus 4 small crackers
1 cup mini marshmallows, divided
1 teaspoon vanilla extract
1 large egg
⅔ cup milk, more as needed
Directions
In a medium bowl, whisk together the flour, sugar, and salt.
With your fingertips, quickly and gently incorporate the butter into the flour mixture, breaking up any large chunks. Be careful not to overheat the butter.
Add ⅓ cup chocolate chips, ½ cup mini marshmallows, and crushed graham crackers, gently incorporating until well combined.
Mix in the vanilla, egg, and half of the milk. Add more milk only as needed.
Combine ingredients with a fork until a shaggy dough forms.
Dump onto a lightly floured surface, patting into a square, using more flour as needed if the dough is sticky.
Halve the square evenly with a knife or bench scraper and stack one half on top of the other.
Use a rolling pin or pat the dough back into a 6x6-inch square, roughly 1-inch thick.
Divide evenly into four squares.
Press the four graham crackers into the top of each square. Gently press in remaining marshmallows and chocolate chips.
Add squares to a parchment paper-lined baking sheet and chill for 30 minutes (up to overnight) in the refrigerator or freezer.
Preheat the oven to 400 F.
Bake for 15-20 minutes until tops are golden and marshmallows are toasted.
Serve warm while still gooey and enjoy.
Read the original article on Tasting Table.

