
Our Fermenting Expert Offers 12 Mistakes To Avoid When Canning Food
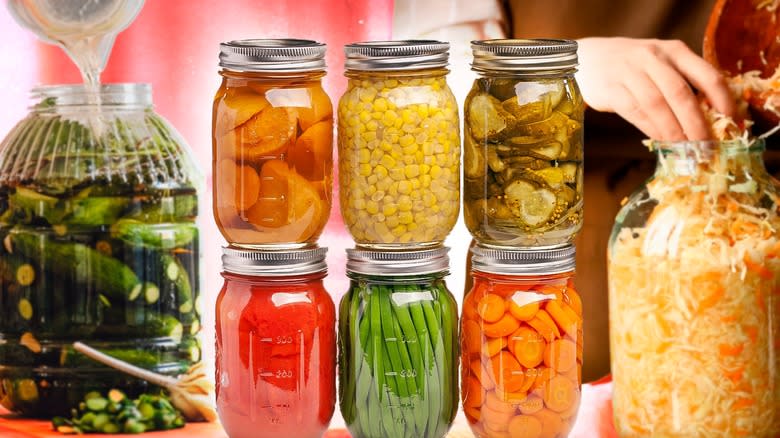
What's in a jar? For those who know the tricks of the trade, a jar can be like a photograph of falling leaves — capturing the fleeting beauty of the seasons in one neat container. Canning food at home is a time-honored tradition that lets you preserve seasonal produce and create pantry staples to enjoy throughout the year. However, it's a practice that demands precision, attention to detail, and a thorough understanding of the process to ensure safety and success. A poorly canned recipe can mean, at best, a ruined one. At worst, it can mean illness or even death.
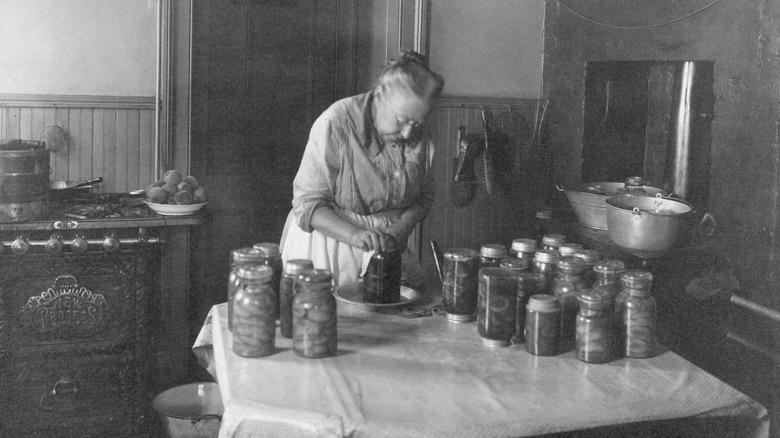
My first experience canning at home was in my great-grandmother's kitchen. She'd teach me silly Italian sayings and it'd sit by the rotary phone, watching her boil jars of fresh tomato sauce in the hot Central California summer afternoons. As I got older, I got into pickling and jam-making and started canning my own recipes at home. At the restaurants I worked in New Orleans, we'd rush to concassé and can all the Creole tomatoes we could before the season ended to have them for the whole year.
In this guide, I'll explore common mistakes to avoid when canning your own food, ranging from equipment mishaps to recipe errors, and everything in between. Whether you're a seasoned canner or just starting out, being aware of these pitfalls can help you navigate the canning journey with confidence and (almost) guarantee that your efforts result in delicious, shelf-stable creations.
Read more: Hacks That Will Make Boiling Your Eggs So Much Easier
Using The Wrong Equipment
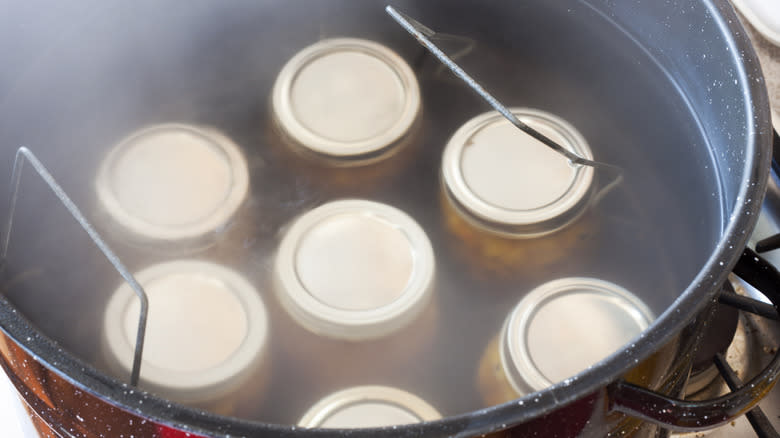
When canning at home, the right equipment isn't merely a matter of convenience — it's a fundamental aspect of safety. There are a few non-negotiables when it comes to canning that goes beyond putting stuff in jars.
Consider the critical distinction between a boiling water bath and a pressure cooker: While both methods serve to preserve foods, they operate at vastly different temperatures and pressures. Using a boiling water bath for low-acid foods (above a pH of 4.6) that require pressure canning not only risks a bad can but also compromises food safety, as the bath can't achieve the necessary temperatures to eliminate harmful bacteria, like the bacteria that causes botulism. Similarly, overlooking the importance of a rack at the bottom of your canner or pot may seem insignificant, but it's essential for ensuring proper heat distribution and circulation in the pot, as well as preventing breakage of your jars.
Canning tongs with proper rubber insulation, or at least some rubber bands, are another must-have — they're your only lifeline for safely maneuvering hot jars in and out of the canner, minimizing the risk of burns and accidents. Imagine the consequences of attempting to retrieve a scalding jar with bare hands — a slip could result in severe injury and ruined batches of precious preserves. Do yourself a favor and grab the right stuff before you jam.
Choosing The Wrong Process For The Product
Selecting the appropriate canning method is important to getting tasty and safely-preserved food. The method you choose — whether water bath canning or pressure canning — should align with the acidity and composition of the food you're preserving. Water bath canning is good for high-acid foods, such as most fruits, pickles, and jams. The high acidity of these foods creates an inhospitable environment for bacteria, allowing them to be safely preserved using the lower temperatures achieved in a water bath. Otherwise, all low-acid foods — such as vegetables, meats, and poultry — should be canned at higher temperatures in a pressure canner. The extreme pressure and heat provided by a pressure canner help eliminate the risk of botulism and other harmful bacteria.
Using a water bath to can low-acid foods or pressure-canning high-acid foods can result in improperly processed goods that are at risk of spoilage and contamination. Plus, certain products, such as pickles, should never be boiled, as it's a surefire way to get mushy, discolored cucumbers.
Check out all the canning resources available to you and follow tested recipes to figure out which method of canning is right for each recipe you want to preserve. By matching the canning process to the characteristics of the food being preserved, you can ensure the highest safety and quality in your home-canned goods.
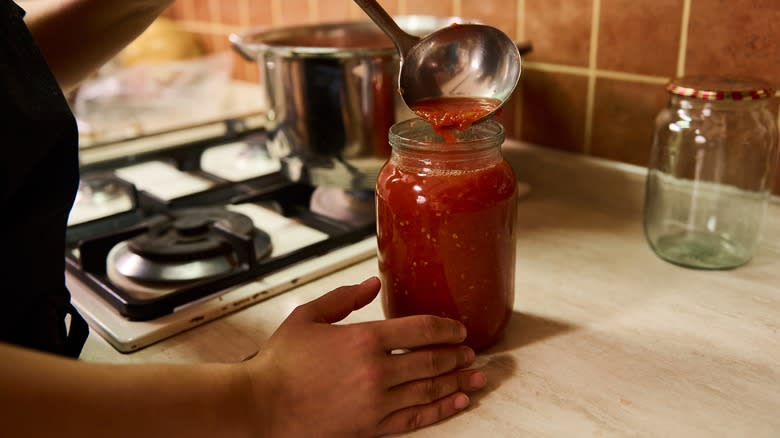
Overfilling Your Jars
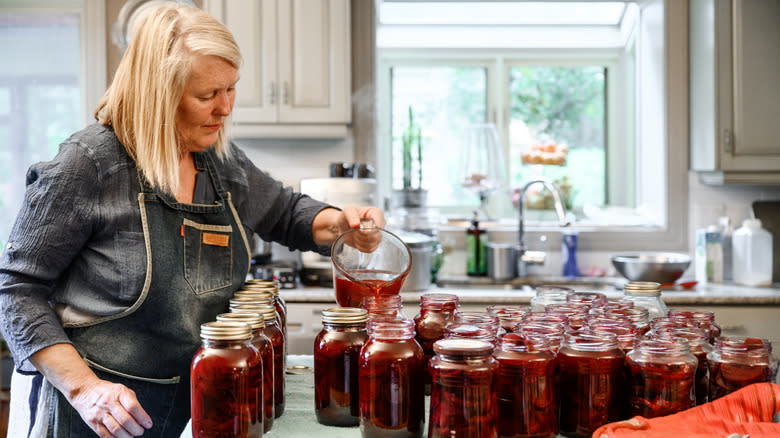
Overfilling jars during the canning process is a pretty common mistake that can lead to significant problems. When jars are packed too full, there isn't sufficient room for expansion as the contents heat up during processing. This expansion can cause a seal failure, or, worse, a jar explosion. Imagine a bath full of boiling water, shards of broken glass, and that recipe you just worked so hard to make. That's an awful mess that you really don't want to clean up.
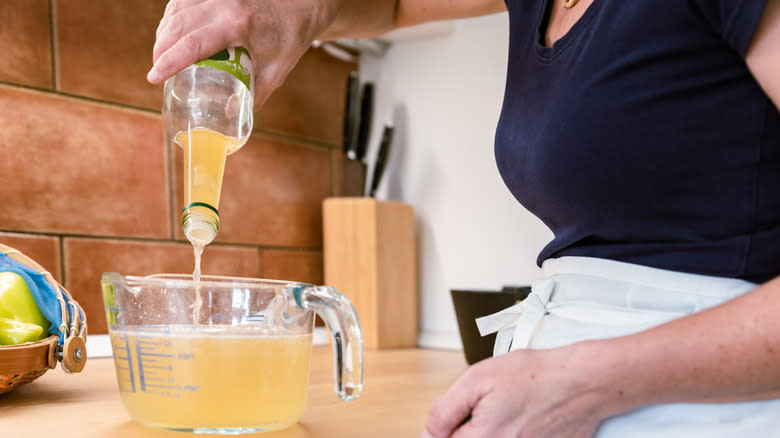
Make sure you stick to the recommended headspace specified in your canning recipe. Headspace refers to the empty space left between the top of the food and the rim of the jar. This space allows for adequate expansion during processing and facilitates proper sealing. Most recipes call for about 1 ¼-inches to ¼-inch of headspace, but the amount required varies depending on the type of food being canned and the specific recipe being followed. Some recipes may call for a larger headspace to accommodate foaming or expansion, while others may require a tighter seal for optimal preservation.
Reusing Old Lids
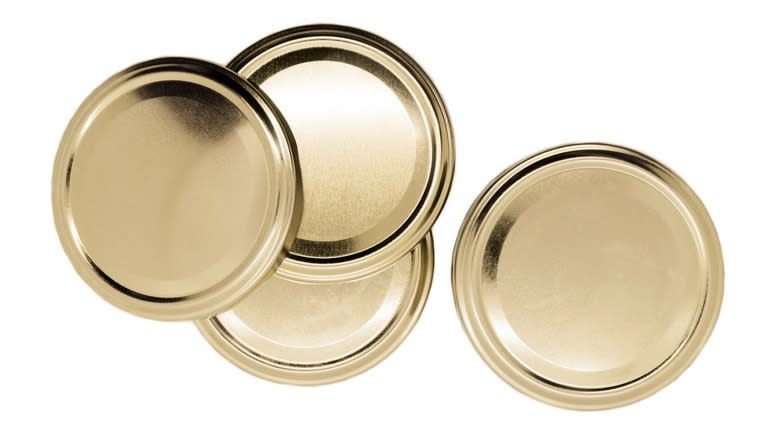
It might seem simple enough sense to use an old — or even once-used lid to seal your goods -- but the potential risks in this shortcut far outweigh any savings. The sealing compound on lids is very thin and degrades over time, resulting in compromised seals that fail to adequately protect your canned goods. Even if a used lid appears to form a seal initially, it may not provide the airtight barrier necessary to prevent spoilage and contamination over the long term. You want to make sure that you've got the most airtight seal you can possibly achieve in your canned goods.
If you do reuse your lids and you notice that your jars won't seal, either use new lids or transfer those jars to the fridge to be used up. Investing in new lids for each canning session is a sure way to get a good seal every time. That, and the cost of new lids pales in comparison to the potential consequences of using old or compromised ones. A leaky seal can ruin your product by leaving it exposed to oxygen as it sits at room temperature. Don't try to be thrifty here — prioritize the safety and quality of your canned products first by using the right lids the right way.
Not Taking Altitude Into Account

Have you ever tried to boil a pot of water way up in the mountains and found that it was taking, like, forever to even produce a tiny bubble? That's because altitude affects the boiling point of water. If you're canning at a higher altitude, don't forget to consider your elevation above sea level when packing your food.
Altitude's impact on the canning process is more than just a minor detail — it's a critical factor that can significantly affect the safety and success of your canned goods. At higher elevations, the atmospheric pressure is lower, causing water to boil at a lower temperature than at sea level. This means that the standard processing times recommended for canning recipes may not be sufficient to achieve the necessary levels of heat to destroy potentially harmful bacteria. And you already know nobody wants to catch a case of botulism. Make sure you use all the resources available to you to figure out your appropriate altitude boiling temperatures to avoid a finicky mistake like this one.
Not Creating A Proper Acidic Environment
Maintaining the correct acidity level is not just a matter of taste — it is a super important safety measure when preserving low-acid foods without a pressure canner. I cannot stress this enough: Tested recipes and guidelines are your lifelines in ensuring that your canned goods are safely acidified. These recipes specify the exact amounts of acid, like vinegar or citrus, required to create an environment hostile to botulism spores. Deviating from these prescribed acidity levels is only safe if you decide to seal your jars with a pressure canner. Only high-acid (over 4.6 pH) foods should be canned in a water bath.
Never substitute or alter the types of acidifying agents specified in recipes without understanding the potential ramifications. Each acidifying agent in your recipe contributes to the overall pH level of the food, which directly affects its safety and shelf stability. Unless you are certain about what you are doing, try not to deviate from the agent that the recipe recommends. And if you want to be extra safe, invest in pH test strips to test the acidity of every recipe.
Going Rogue Without Doing Research

Canning is no doubt a meticulous process, requiring careful attention to detail to ensure safety and quality in the final product. There is a reason there is a pretty standard methodology behind canning, and you should read up on all the processes before wasting time, money, and energy on something you are unsure of.
Make sure you familiarize yourself with the specific requirements for different types of foods, as well as the appropriate methods of processing and preserving them. Read books, go down some internet holes, and, if possible, talk to someone you know who has experience canning food and might be able to show you the ropes. If you really want to get nerdy about it, understanding the underlying science behind the canning process can seriously deepen your knowledge of specific techniques and processes. It can't hurt to do a deep dive into the meanings behind pH levels, acidity, heat penetration, and microbial growth.
And do not forget: Practice makes perfect. The more you familiarize yourself with the theory behind canning, the better. But it is even more important to put those concepts into practice as often as you can. The more you can goods, the more you'll understand the intricacies of what works and what doesn't. Ironing out those kinks will help you get the best results in the long run, and before you know it, you will be practically canning with your eyes closed.
Allowing Hot-Pack Food To Cool Before Canning
Hot-pack canning involves filling jars with freshly cooked, piping-hot food, which helps create a sterile environment within the jar by killing off any lingering bacteria present on the food or within the jar itself. This initial burst of heat can also shrink food to better compact into the jar and create a stronger vacuum inside the jar.
Allowing hot-packed foods to cool before canning provides an opportunity for bacteria to proliferate and contaminate the food, especially if the food enters the temperature danger zone. This is between 40 F and 140 F, which is the ideal temperature range for bacteria to reproduce and thrive. Hot food left to cool before canning can mean sealing bad pathogens inside of your jars.
For best practice, the USDA recommends that you simmer your hot-pack recipe for "2 to 5 minutes and promptly filling jars loosely with the boiled food. Whether food has been hot-packed or raw-packed, the juice, syrup, or water to be added to the foods should also be heated to boiling before adding it to the jars."
Adding Too Many Ingredients
Experimenting with new recipes is always exciting, and while curiosity is important in the kitchen, it might not be the best to stray from canning recipes without a little experience under your belt first. Adding too many ingredients to your jars not only risks upsetting the flavor balance, but it also jeopardizes the safety of your preserved foods. Each ingredient in a canning recipe serves a specific purpose, especially for high-acid recipes meant for water bath canning. In certain cases, messing with the predetermined proportions and ingredients can disrupt the recipe's pH balance, potentially compromising the safety and shelf stability of your canned goods.
If you are going to add ingredients, make sure you keep your acidity levels high enough in water bath canning recipes so that no harmful bacteria compromise your jars. That means adding some extra lime in that salsa to which you may have added extra onions or cilantro. Otherwise, stick to what has been tested and tried before you.
Selecting Produce Past Its Peak
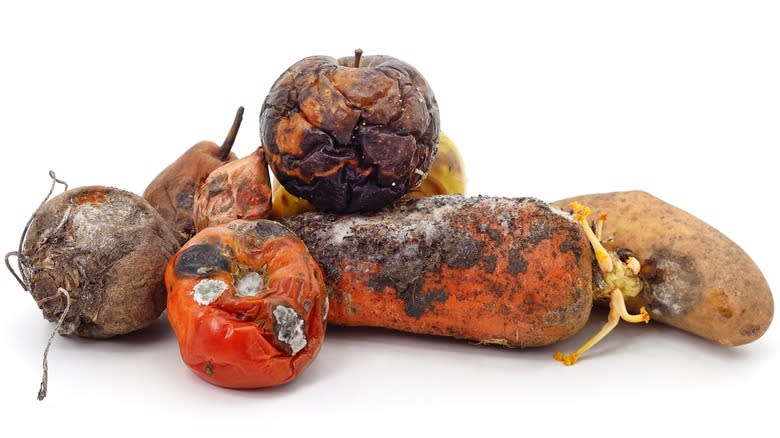
Canning and preserving is a great opportunity to capture the flavors of peak-season produce and enjoy them throughout the year. However, the quality of your canned goods ultimately depends on the quality of the ingredients you use. Working with fresh, high-quality ingredients is of the essence for getting the best results in your preserves.
When picking out produce for canning, choose items that are at their peak ripeness and freshness. Getting fruits and vegetables that are in tip-top shape — firm, vibrant in color, and free from blemishes — ensures that you are starting with the best possible foundation for your canned creations. Produce that is past its prime, overripe, or starting to show signs of spoilage may not only lack flavor and texture but also pose safety concerns. Nobody wants mushy fruit from a jar or moldy cucumbers that could not be saved. Treat your produce like a snapshot of the season and try to select the best you can to enjoy all year long.
Not Checking Your Pressure Canner

Before diving into any canning session, it is imperative to make sure your pressure canner is working properly to guarantee its functionality and safety, as well as those of your jars. Start your checks by meticulously examining the pressure gauge, ensuring it accurately reflects the pressure inside the canner during processing. A malfunctioning or inaccurate gauge can lead to underprocessing or overprocessing, jeopardizing the safety and quality of your canned goods.
Additionally, check the canner's vent to confirm it is free of any debris or blockages that could impede the release of steam during processing. Failure to address these issues may result in inadequate heat penetration or excessive pressure buildup, both of which can compromise the jars you worked so hard to prepare.
All the better: Put your pressure cooker through a test run by simulating the canning environment. Fill the cooker with water, cover and seal the pot properly, and bring it up to high. Test the vents to make sure they dispel steam when opened and that the gauges are reflecting accurate pressure readings.
Rushing The Process

Home canning demands some intense attention to detail and precision, so you can imagine that rushing through the process can end up not so great for you or your food. Do not rush and do not wing it. Proper processing times and techniques are really important when it comes to getting the best and safest possible canned goods right at home in your kitchen.
Underprocessing, a common risk associated with rushing through canning, occurs when foods are not heated to the necessary temperatures for sufficient time to destroy all the bad bacteria. A few seconds might not seem like that big of a deal, but that kind of oversight can mean the difference between life and death in some situations. Make sure you follow all recommended processing times and methods for every recipe you are making, which includes accurately measuring ingredients, preparing jars by sterilization, and processing your filled jars for the specified duration at the correct pressure or temperature.
Patience is a virtue, right? Make sure you've got enough time to execute each step carefully. Dedicating the proper amount of time to this meticulous process can yield some seriously delicious results when done with care.
Read the original article on Tasting Table

