How to Bread and Fry Any Kind of Cutlet
This standard breading procedure is key to making the crispiest schnitzel, Milanese, katsu, and more crunchy cutlets.
Victor Protasio / Food Styling by Chelsea Zimmer / Prop Styling by Jillian Knox
A crispy crust encasing a thin and juicy cut of meat are the characteristics of the world’s great breaded cutlets. It sounds easy, and it is: Simply follow the cooking technique chefs call Standard Breading Procedure to ensure that a firm, crisp crust forms that adheres well to the food. The same simple steps can be used to prepare schnitzel, katsu, milanese, chicken fried steak and more. It helps to keep one hand dry, using it only for working with the dry ingredients, while using the other hand to dip the cutlets in the eggs (or another wet medium, such as buttermilk).
1. Pound the meat with a mallet
Victor Protasio / Food Styling by Chelsea Zimmer / Prop Styling by Jillian Knox
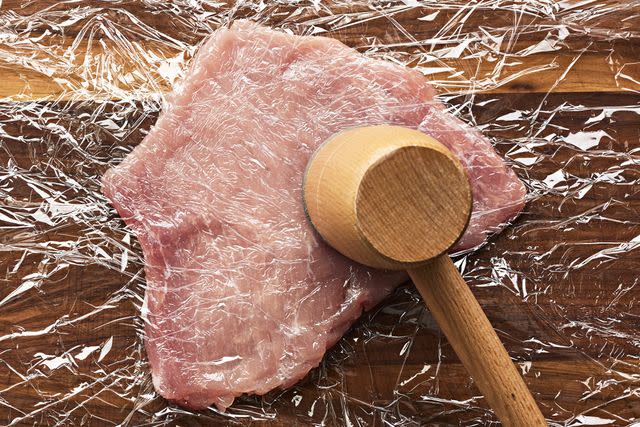
Pounding cutlets to even thinness is a crucial first step. It helps tenderize the meat and ensures that it will cook within the few minutes it takes for the exterior breading to become crisp and golden brown. Working with one cutlet at a time, place the cutlet between two sheets of plastic wrap or parchment paper, or slip the meat into a gallon-size heavy-duty ziplock plastic bag. Pound the cutlet until thin using a meat mallet, the bottom of a heavy skillet, or a rolling pin. Grasp the mallet towards the end of the handle for the most power, start in the center of the cutlet and work your way out. Aim for no more than 1/4-inch thickness: The goal is a piece of meat with a large, flat surface area. Season the meat after pounding it. (You can pound the meat in advance and store the cutlets between sheets of plastic wrap or parchment paper in the fridge for up to two days.)
2. Set up your breading station
Victor Protasio / Food Styling by Chelsea Zimmer / Prop Styling by Jillian Knox
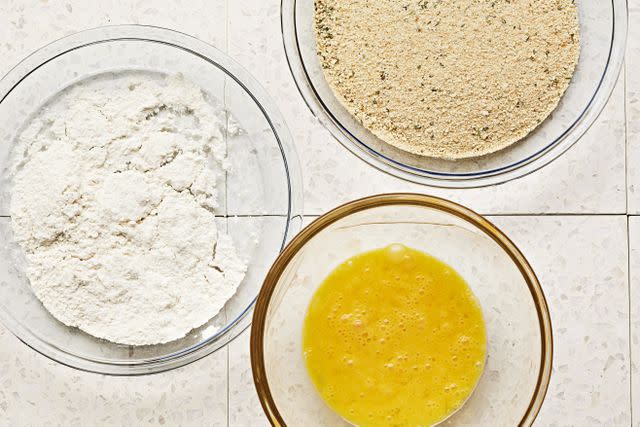
Setting up an organized breading station makes the process for coating cutlets neat and easy to manage. Place flour, beaten eggs or buttermilk, and breadcrumbs in three separate large, shallow bowls. All three will play a role in ensuring a firm, crisp crust forms when you fry, and that it is nicely adhered to the meat.
3. Dredge meat in flour
Victor Protasio / Food Styling by Chelsea Zimmer / Prop Styling by Jillian Knox
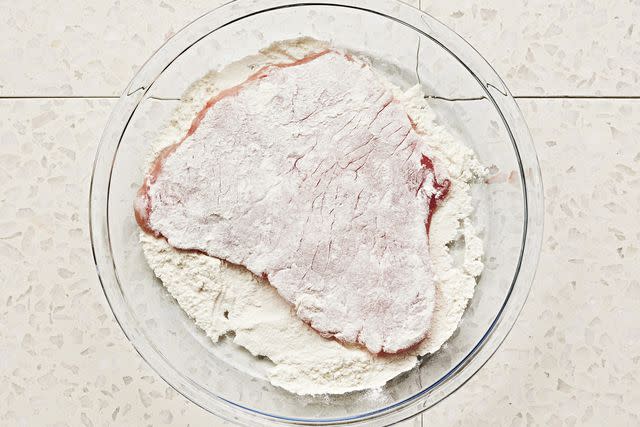
The first step is to dredge the meat in flour to create a dry surface. The flour will help the eggs (or other wet ingredient such as buttermilk) adhere to the cutlet. Shake each cutlet to remove the excess flour.
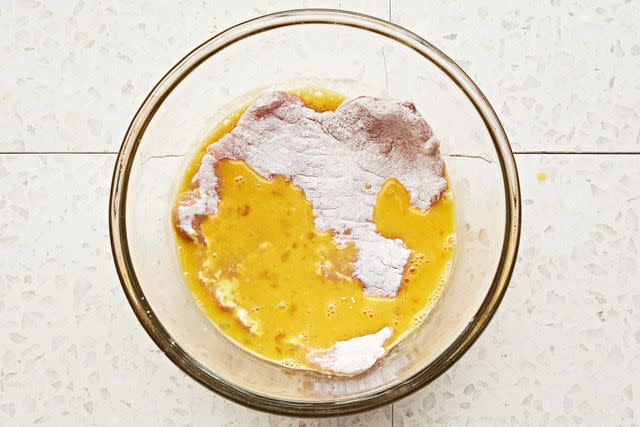
4. Dip the meat in eggs
Victor Protasio / Food Styling by Chelsea Zimmer / Prop Styling by Jillian Knox
Next, dip the floured cutlet evenly in beaten eggs, buttermilk, or another other wet ingredient, and let the excess eggs or buttermilk drip off. You want to have the cutlet well coated in egg to ensure that the breadcrumbs added in the next step bind to the cutlet, but not so wet that the breadcrumbs become soggy.
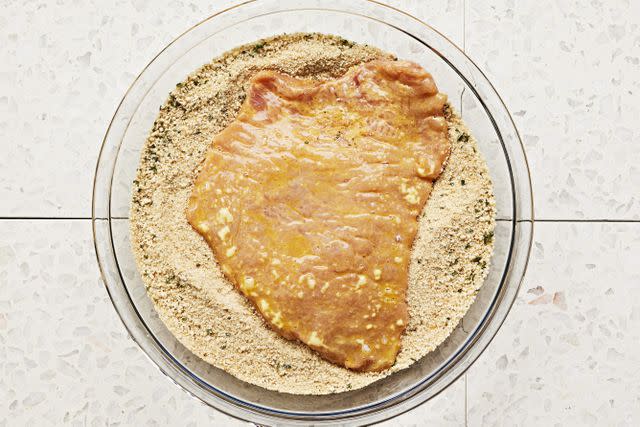
5. Press the cutlet into the breading
Victor Protasio / Food Styling by Chelsea Zimmer / Prop Styling by Jillian Knox
Press the meat into the breading to evenly coat it on both sides. Sprinkle and press the breading into any lingering bare areas.
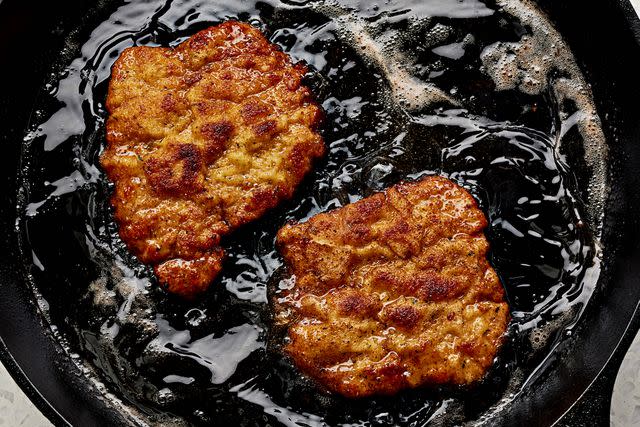
6. Shallow-fry the cutlets
Victor Protasio / Food Styling by Chelsea Zimmer / Prop Styling by Jillian Knox
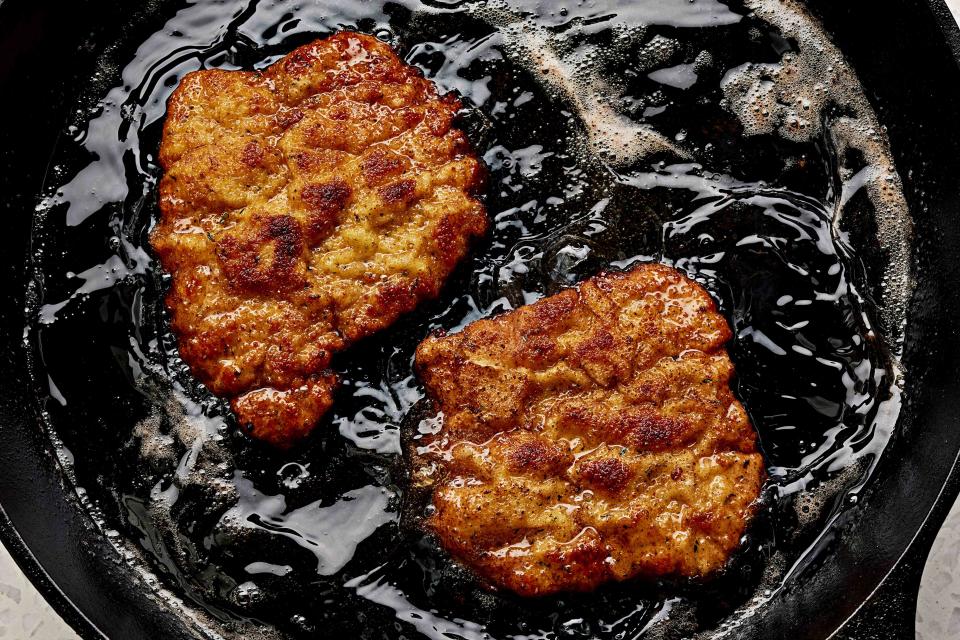
Breaded cutlets need between 1/4 and 1/2 inch of oil in the skillet to shallow-fry to perfect crispiness. That’s just enough oil to come up to the sides of the cutlets so they don’t catch on the bottom of the pan, but no more. Heat 1/4 to 1/2 inch of oil in pan, and shallow-fry the cutlets until golden, a few minutes on each side. Drain on a wire rack. At the optimal temperature, the thin cutlets will cook on both sides in just a few minutes.
To check the oil temperature, drop a few breadcrumbs into the pan: If the oil is hot enough, they will begin to sizzle immediately. If they don’t sizzle right away, increase the heat. If they sizzle but begin to burn quickly, lower the heat. After frying, drain the cutlets on a wire rack to keep them from becoming greasy. You can keep fried cutlets warm in a very low oven, but don’t leave them in too long, as the thin meat will dry out over time.
For more Food & Wine news, make sure to sign up for our newsletter!
Read the original article on Food & Wine.


