
It's so easy to make your own bath bombs

Nothing beats a relaxing soak in the bath at the end of the day. And while bath salts and bath oils are still favoured by many, bath bombs have soared in popularity over the last few years as we've gone potty about adding some fizz to our tub time. And the good news is, it's easy to learn how to make bath bombs yourself.
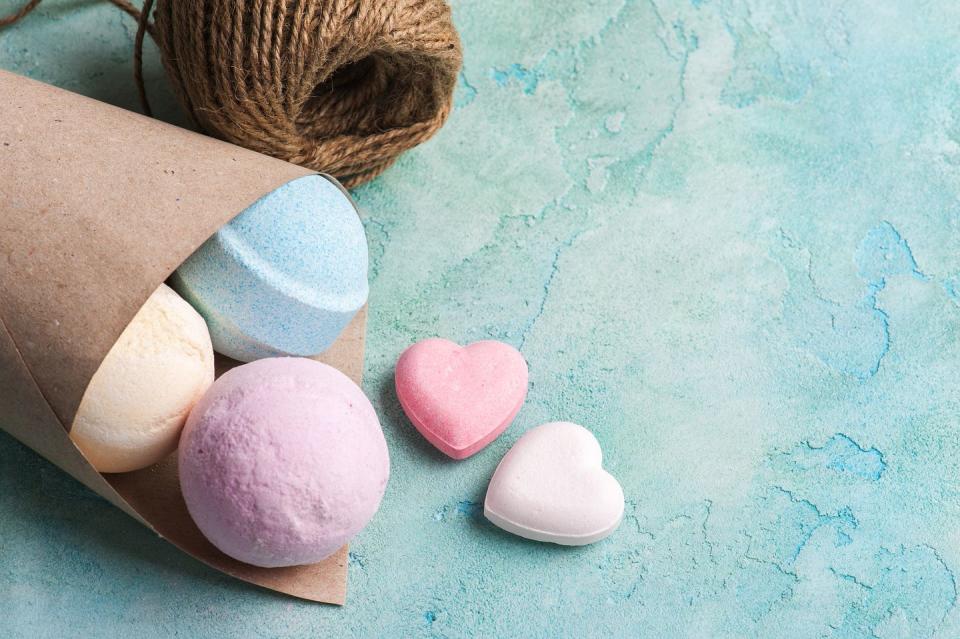
Learning how to make bath bombs will give you a steady stream of pampering treats while keeping the costs right down. Be sure to have a pile of them in your bathroom that everyone in the family can enjoy.
Not only is making bath bombs cost-effective, it's a fun craft you can do with the kids or grandkids; homemade bath bombs would also make a lovely, thoughtful gift for friends and family birthdays, special occasions like Mother's Day or as part of a Christmas hamper.
So get ready to learn how to make bath bombs because... is it even a bath without a bath bomb?
How to make bath bombs
You will need
180g cornflour
360g baking soda
180g citric acid
180g Epsom salt
7.5 tbsp coconut oil (melted)
3 tbsp essential oils
Food colouring
A spray bottle of water
A whisk for stirring
Wooden spoon
You can easily order these ingredients separately and will likely have many of them in the kitchen cupboard at home already.
You also have the option of buying a bath bomb making kit which contains everything you need if you just want to try it out before bulk buying supplies. Bath bomb kits can be found online at places like Amazon.
Directions: How to make a bath bomb
Step 1: Mix all the dry ingredients together in your largest mixing bowl with a wooden spoon, including the baking soda, citric acid, epsom salts, and cornflour.
Step 2: Add the melted coconut oil and essential oil – choose your favourite scent or go for the therapeutic benefits you're after. For example, lavender is very relaxing so is perfect for a bath before bed time. Gently mix your ingredients together with your hands (don't forget to pop your gloves on first).
Step. 3: To help your bath bomb ingredients bind, lightly mist the mix with water using your spray bottle, but don't add too much all at once. Mix it all together and and repeat several times with a few more gentle spritzes of water until the mixture all holds together a bit like a ball of dough.
Step 4: It's now time to add the colour! Separate your mixture into different bowls according to how many colours you want to make. Add food colouring drops into each bowl, around five drops should be enough. Use your hands or your spoon to mix the liquid through the ball so that the colour is evenly distributed, you'll now have different colours of bath bomb mixture.
Step 5: Take your chosen bath bomb mould. If you're using a classic round mould which comes in two halves you could fill one side with one colour and for the other side fill it with a different colour. Overfill each half of the moulds so that when you put the halves together, the mixture is packed in tightly. Clicks the moulds together and wait a minute before tapping the sides and removing them. Et voila! You have made your very own round bath bomb. Leave it overnight to dry out properly before using.
If you're using a silicone mould instead of ball you can still use different colours by layering them on top of each other until your mould is filled. Again, leave the mixture in the mould for a couple of minutes then pop out and leave to dry.
Add your homemade bath bombs to your tub just before you jump in and watch them zip around, bubble up and release their fragrance.
TIP: As well as using essential oils you can also fragrance bath bombs and make them look even more attractive by adding in dried flowers and petals such as rose and lavender.
This is a basic how to make a bath bomb recipe but, of course, you can get creative by adding more colours or extra glitz with some eco cosmetic glitter. Or why not try adding more colours and making a rainbow bath bomb the kids will love?
The basic steps are the same but, when you get to dividing your mixture, create more bowls, try around six, and then use the food colouring to dye the six bowls different colours.
Then, when you pack your moulds with the mixture, instead of one colour in each mould half, layer three different colours in each before clicking the moulds together.
All you need now? Someone to run a bath for you...
And the one thing that improves bath time? A scented candle. Here are a few of our favourites.
Happy crafting!
You Might Also Like

