
The January garden: how to grow your own veg, garden on a budget, and a winter stew using kale
I was talking to Guy Singh-Watson, who runs the Riverford vegetable box scheme, about the problems of bringing in fresh veg from Europe. After Jan 1, for each lorryload he brings in from Europe he has to fill in nine forms 48 hours in advance, detailing exactly what is on board. This is difficult as you don’t necessarily know what is good to pick 48 hours in advance. Prices for imported veg are expected, on average, to increase by six per cent.
Last year Singh-Watson started a UK-grown box and he can see demand for this increasing. He is already growing more leeks, brassicas and roots to compensate for anticipated shortages from Europe in the early months this year.
Hopefully, Brexit will encourage us to grow more of our own. Supermarket veg are generally less tasty and if they have been held up in transit will have even less goodness and kerb appeal.
What I’m sowing now
My first sowing list of the year is exciting. My kitchen windowsill has three cell trays of onion seeds stacked one on top of the other, all sown with Robinson’s Mammoth Improved onion.
Ideally they require 18-24C to germinate – way hotter than my unheated greenhouse but my kitchen is around 17C. Onion seeds start to shoot in a week at this temperature. But as soon as they germinate they need a cooler environment or they grow too leggy.
So I watch the top tray like a hawk and when the action starts it goes straight to the greenhouse. Like leeks, I sow two or three seeds per cell, and let them mature. You get bigger yields this way but slightly smaller onions (or leeks).
Onions good and bad
Last year I tried ‘Walla Walla’ and ‘Isobel Rose’ onions from Suttons, which it claimed were sweet and juicy. It even said that you could eat ‘Walla Walla’ like an apple. However, they were disappointing, small, low yield and with an ordinary onion flavour. The Mammoth Improved, though, were whoppers, crunchy and juicy.
Also on the list...
Other things I am sowing now include additional broad beans ‘The Sutton’, lettuce ‘Buttercrunch’, wasabi rocket, pea ‘Tom Thumb’ (a hardy pea that grows to 23cm with sweet flavour), pea shoots ‘Samish’, watercress, leek ‘Nipper’ and hispi cabbage. All from Robinson’s.
Getting the right temperature is key to speedy germination. The longer germination takes, generally the weaker the plants. I use the charts from Cooperative Extension Sacramento County (visit sacmg.ucanr.edu and search “Soil temperature conditions for vegetable seed germination”).
Then with the aid of a thermometer, windowsills and a heated mat in the greenhouse, I can get a pretty good temperature range.
New citrus plants

It is great when you discover an exotic flavour that you can grow at home. I have acquired some exciting new citrus plants, smallish specimens around 60cm in height but they fruit quite early in their life so I should be picking in two years or so.
The fruits of the finger limes (Microcitrus australasica), are known as citrus caviar; you cut them open and out pop round mini beads, brilliant for garnishing stir frys, salads and fish. We all went overboard for them when I added them to a salad with a Japanese-type dressing.
The second acquisition is a yuzu (Citrus x junos – hardy to -15C), which produces small, grapefruit-like fruit; you use the juice and zest.
The third tree is a Buddha’s hand (Citrus medica var. sarcodactylis, hardy to 5C) which has extraordinary hand-shaped fruit – I understand you use the flavoursome rind.
All from The Wasabi Company.
Gardening on a budget
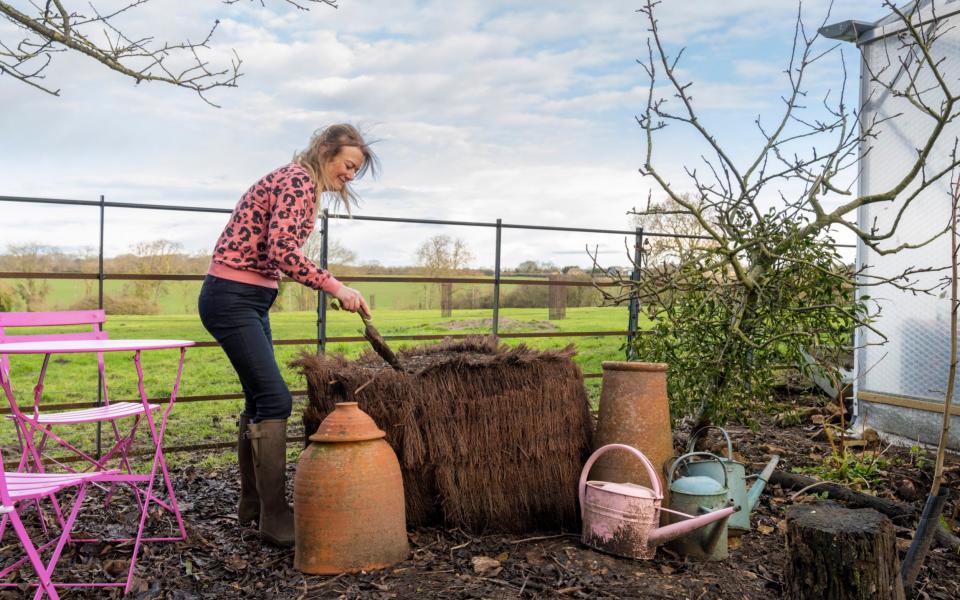
Using earth to build
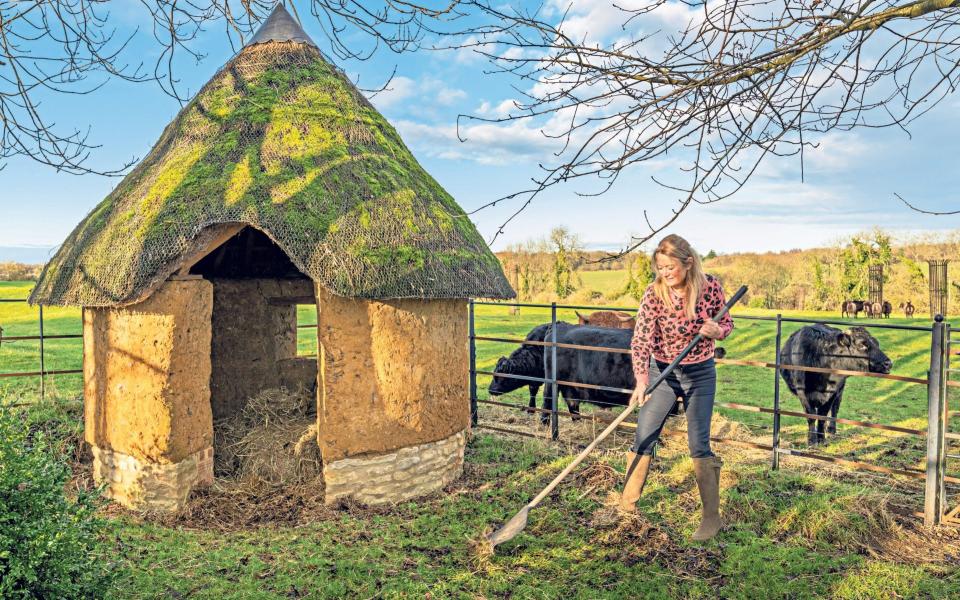
I am often asked to design spaces on a tight budget. Using earth or mud for building is a technique that has been around for hundreds of years. We made a mud hut for the garden using earth dug from the field. It sits on a stone plinth to keep it dry and a friend helped us to thatch it. But mud is also great for walls, children’s play houses and other structures. It takes little skill, plus most of the materials are free.
In a park project in Japan we laid long stretches of paths very economically by forming them in situ: we removed the top soil and shuttered the sides with planks. Then mixed in about 1cm depth of cement, added some fine gravel and raked it all into the soil. The surface was then watered with a sprinkler, rolled and finally levelled with a wooden plank. After a week it had hardened brilliantly.
The Japanese contractors made me a range of samples with gravels before we decided on the exact look. The result was like a bound earth and gravel path on which you could ride a bike or walk in stilettos. It is simple: wartime airfields had runways made like this.
Inexpensive features
Recently I tried this technique for a new path to my polytunnel. I used what I call “gentleman’s” gravel from Hanson Aggregates, Baston Quarry. It is golden in colour and with angular particles 2-6mm in size. I also made a raised bed from a one-ton builders bag filled with soil. These drain well and are tough. To pretty them up I wrap them with hessian sacking or heather fencing rolls cut to size.
Bargain decorative items
My sundial, which livens up a bland end wall of the house, was also homemade. The “sun” is made from a moulded plastic shape from Peter Evans Studios. His catalogue offers thousands of artefacts which take different paint finishes and last forever (we gold-leafed the sundial with materials from cornelissen.com).
Be clever with outdoor paint
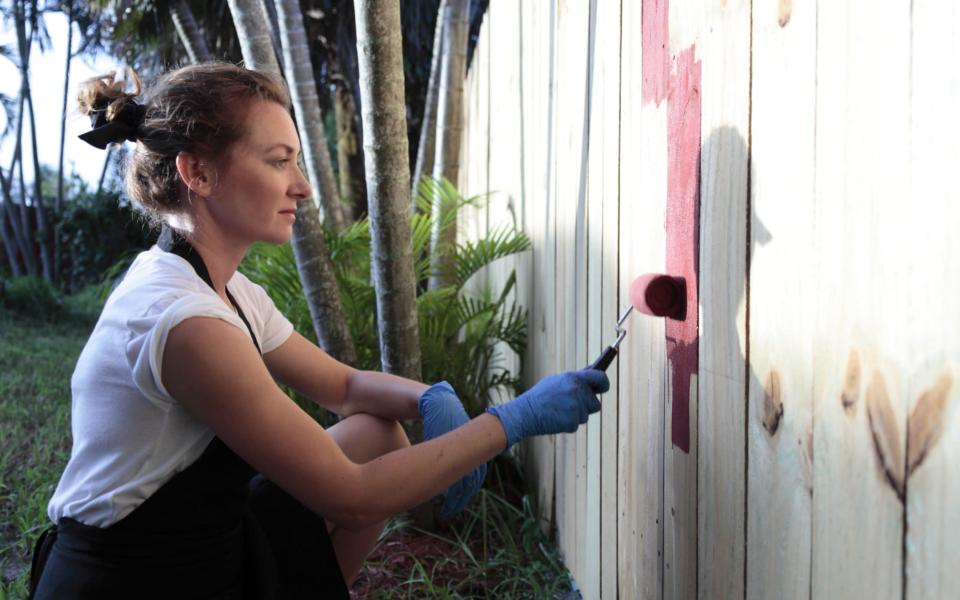
Giving your garden its own signature colour for garden elements such as seats, doors, gates, containers and arbours adds so much to a space. Choosing a fabulous colour is key. There are lots of specialist paint companies producing wonderful shades but many don’t last long outside. However, you can match any brand of colour for outdoor use. There is a great website you can use, e-paint.co.uk.
I tend to use Brewers paint store. Until now I have specified Jotun as a high-quality external paint (repaint interval of nine-12 years) as it can be matched to any shade with Brewers’ colour reader machine.
But this summer Zinsser AllCoat has been racing off the shelves. This has a repaint interval of 15 years, can be matched to any colour, needs no priming and will go on plastic and metal as well as wood.
Ribollita
By Charlie Hibbert, head chef at Thyme

Ribollita is one of my favourite winter dishes. Based on the original Tuscan recipe (devised to get rid of old minestrone and even older bread), it’s midway between a broth and a stew.
SERVES
four
INGREDIENTS
4 tbsp olive oil, plus extra for serving
1 onion, peeled and diced
1 head of fennel, diced
4 sticks of celery, chopped
1 carrot, scrubbed and chopped
4 cloves of garlic, peeled and grated
½ tsp ground fennel seed (if you don’t have ground fennel, just pound some seeds in a pestle and mortar)
6 thyme sprigs, leaves picked and chopped finely
1 lemon, zested
1 tin of whole tomatoes, best you can find
1 tin of cannellini beans
1 pinch of chilli flakes
1 bunch of cavolo nero, leaves stripped
½ loaf of stale bread, torn into chunks
Sea salt flakes and freshly ground black pepper
Parmesan, for finishing
METHOD
Heat the olive oil in a pan large enough to fit everything comfortably. Sweat onion, fennel, celery, carrot and garlic on a medium heat for two minutes. Then add the ground fennel and chopped thyme and cook until the vegetables have begun to soften (approx 10 minutes).
Add the lemon zest and stir through before adding the tomato. Allow tomatoes to cook and thicken for five minutes before adding the cannellini beans, chilli and just enough extra water to cover. This is a thick soup, so don’t drown it.
Allow everything to simmer together for a further 10 minutes.
Finish by adding the cavolo nero and torn bread chunks. Allow the bread to soak up moisture and the cabbage to braise for 10 more minutes.
Season with salt and pepper, ladle into a bowl and grate parmesan on top along with lots of olive oil.
This soup will keep well in the fridge for several days and improve with time, so enjoy.
Videos onYouTube
Watch Bunny’s latest videos on YouTube: “Seeds of Success”; “Saving Money in the Garden – Top Tips” and “Two Tiny Town Gardens – making maximum use of space”.
