
5 easy steps to clean your suede shoes and get them looking as good as new
How to clean suede shoes: it's an age-old question. Especially for us Brits when there's always the risk of rain in the UK (even summer showers) ruining your suede shoes. Yet, as impractical as they may be, we can't help but have a strong sartorial affinity for everything from Birkenstocks to suede ankle boots and textured fashion trainers. They're versatile, classy and, more often than not, super comfortable.
What we don't like, however, is when they (inevitably) get dirty and need cleaning. You'd be forgiven for thinking suede shoes once damp or dirty are a lost cause. But have no fear, there *is* a way to clean your suede shoes. All you'll need is a rubber or eraser, some white vinegar, baking soda, a flannel or face cloth, a suede brush or nail brush, and some suede protector if you have it.
Yep, that's right – the trick for cleaning suede shoes relies on everyday household products, meaning you won't have to fork out for some fancy equipment. Although having said that, a suede brush and some suede protector can be good investments to make. What's better than treating an issue is preventing one from even happening, IMO.
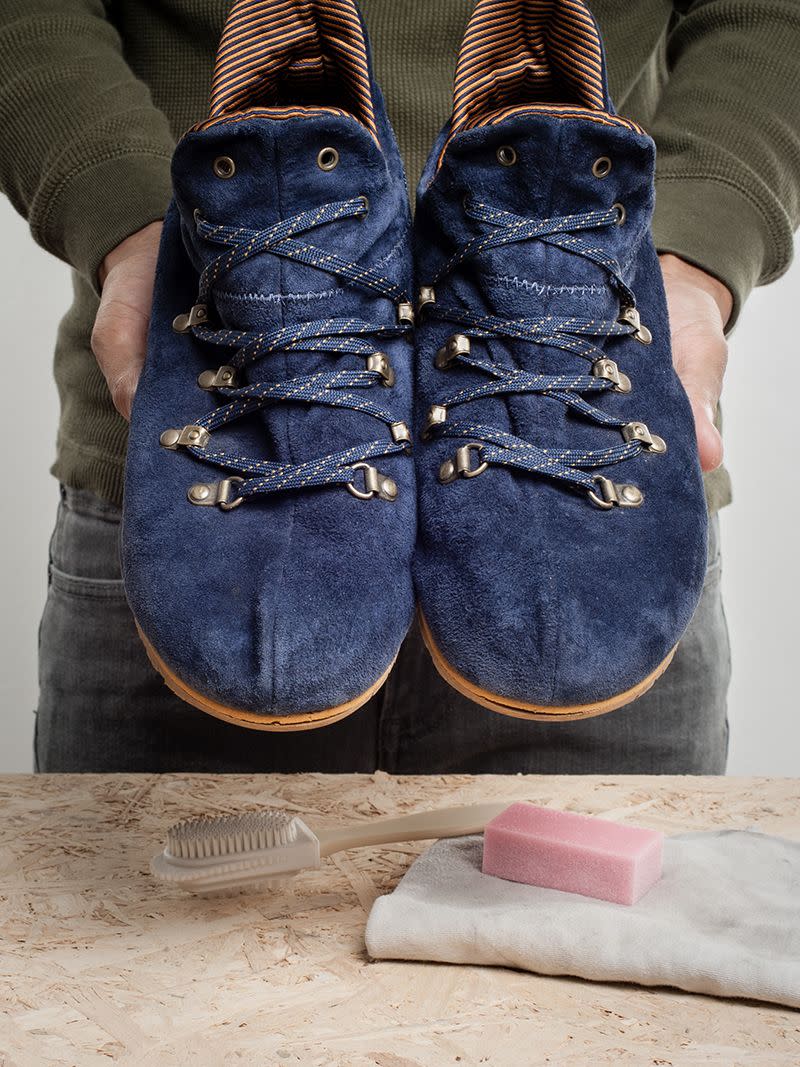
As for the actual process of cleaning your suede shoes, that's really pretty simple, too. So much so, we've condensed it down into five steps. As long as you have the right bits and bobs lying around your house, you'll be able to salvage your suede shoes from all kinds of dirt and get them looking as good as new. And, believe us, it actually works.
Here are five easy steps to quickly and effectively clean suede boots, trainers, heels and sandals:
Start by using a suede brush to remove any excess dried dirt and grit from the surface of the shoe
Next, use a rubber/eraser to try and shift the remaining marks
If a stain still doesn't budge, try white vinegar
If a stain is from oil or grease, try baking powder
Finish with a suede protector
Scroll down for the full instructions, including materials and in-depth guides for each step.
What you'll need:
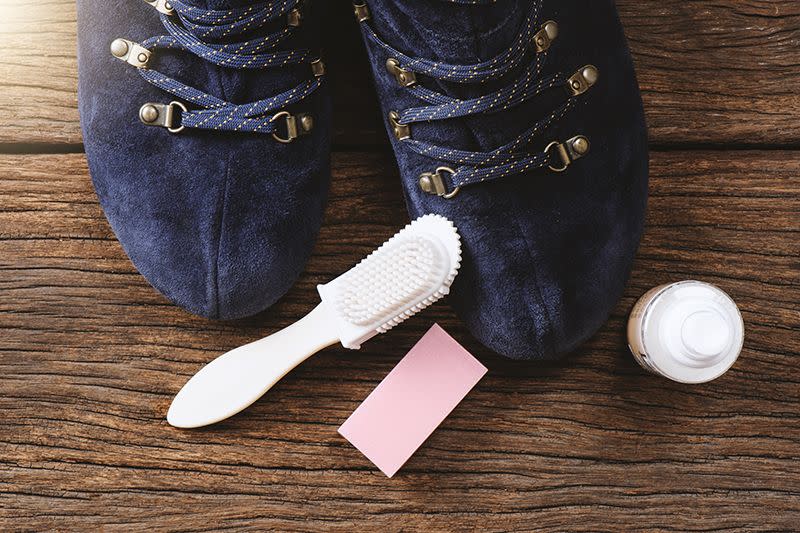
A suede brush/nail brush
White vinegar
Baking soda
A flannel or face cloth
Rubber/eraser
Instructions:
1. Start by using the suede brush to remove any excess dirt and grit from the surface of the shoe
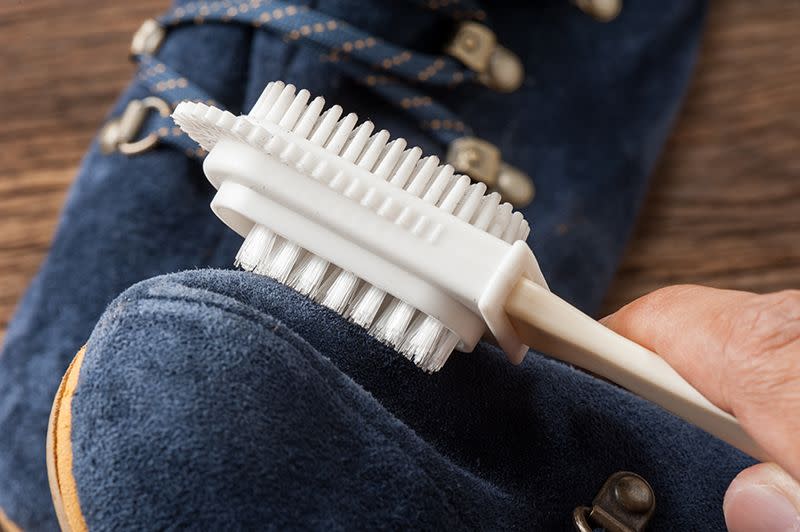
Make sure you wait until any dirt on your shoes is dry before you start this step. Otherwise, if you try cleaning the stain while it's still damp, you'll just rub the particles further into the fabric making it harder to remove in the long run.
Begin by using light strokes in one direction to brush the surface of the shoe to remove loose particles and grit. When brushing, you want to go with the grain (AKA, in the same direction the suede naturally sits).
For more stubborn marks, like scuff marks, apply more pressure and move the brush in a swift back-and-forth direction to help raise flattened suede fibres to further aid with cleaning.
If you don't have a suede brush, a clean nail brush or toothbrush will work just as well.
2. Next, use the rubber to try and shift the remaining marks
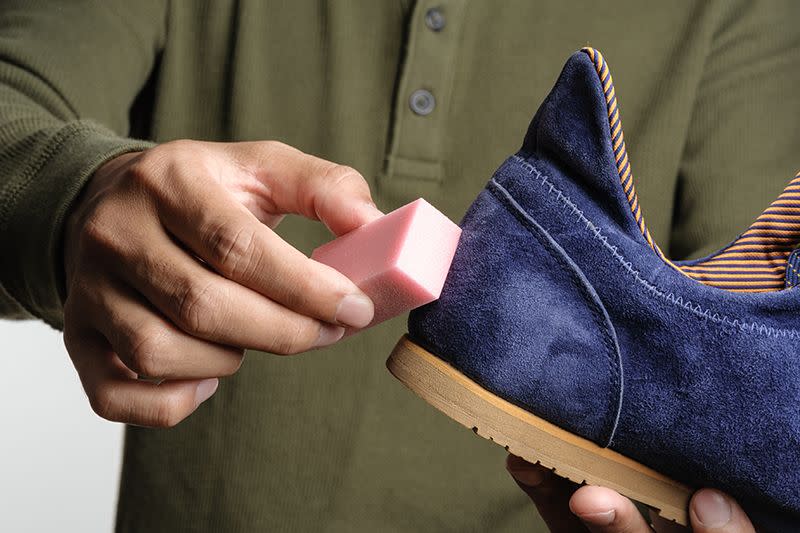
If you have a suede rubber, that's even better, but your regular pencil-case version will still work well – providing the rubber has been buffed free of any pre-existing stains first.
Just as you did in step one, use the same rigorous back-and-forth motion and adequate pressure on the stain. If, after a while, you decide it's still not working, don't force it – you don't want to go too hard on the suede and risk damaging the shoe.
3. If the stain still won't budge, try white vinegar or rubbing alcohol
While applying liquids such as white vinegar and rubbing alcohol might seem counter-intuitive, their acidic compositions mean they're actually brilliant at breaking down particle clumps – which is exactly what you want for cleaning.
Dip the corner of a flannel or washcloth into a small bowl of vinegar or rubbing alcohol (being careful not to drench the whole cloth) and ring out any excess liquid. Delicately dab the damp corner against the stain on your shoe, massaging it into the suede. If nothing seems to be happening, tather than adding more liquid, instead add more pressure reverting to the trusted back-and-forth motion.
The liquid will temporarily dampen the suede, altering the colour of the fabric before evaporating and returning it to its original colour. To determine if the stain has been properly removed, you might need to use multiple applications, allowing the suede to dry in between.
Keep working at the mark and redipping your flannel into the vinegar/alcohol, where necessary, to effectively remove the stain. The key to this step is repetition and patience – you don't ever want to soak your shoe. Remember, excess liquid is *not* good for suede.
Oh and one final note, don't worry about the smell of the liquids transferring onto your shoe as this will fade over time.
4. If a stain is from oil or grease, try baking soda
Of all the stains to remove, having a run-in with an oily or greasy substance is likely the worst. But don't worry, it's not an instant game-over for your suede shoes. Enter: baking soda.
Before you start, you'll want to do a patch test to check how your footwear reacts. We'd recommend choosing a small spot at the back of your shoe where it will be least noticeable. If nothing seems off, you're ready to begin.
Carefully blot off any excess oil/grease with a clean cloth and sprinkle a generous amount of baking soda on the stain so that it is completely covered. Leave it to sit for as long as possible – a few hours will do the trick, but leaving it overnight is ideal.
Once the waiting is over, gently remove the baking soda using a nail brush or suede brush before inspecting your handiwork. You'll want to repeat the process until you're satisfied.
5. Finally, finish with a suede protector
Remember what we said about preventing stains? Once your suede shoes are clean and back to looking as good as new, take the time to apply a suede protector.
But not all suede protectors are made equal. Reviews often cite permanent colour changes when using particular products, so if you intend on using a protector, the best approach is to base your selection on customer ratings and reviews to avoid any unwanted results. And again, if in doubt – patch test.
Shop the top customer-rated suede cleaning products on Amazon:
You Might Also Like

